Pages

Sunday 30 June 2019

Mintay wedding gift

Hello crafty friends it's Stephanie here  I am sharing with you today this Mintay marry me box frame gift. I started off by using two of the same mintay patterned papers'  layering a few of the picture elements.   

I thought cutting my own bunting out of the papers for my wording worked perfect with the paper.


I applied a small frame which was perfect access for the happy couple to insert their own photo after the wedding.

As you can see as shown in the picture just pull the heart and place photo inside.

I finished the layout by adding my chosen embellishments  as listed below thanks for looking hugs Stephanie xx

Saturday 29 June 2019

Mintay Flowers Card

Hello everyone,
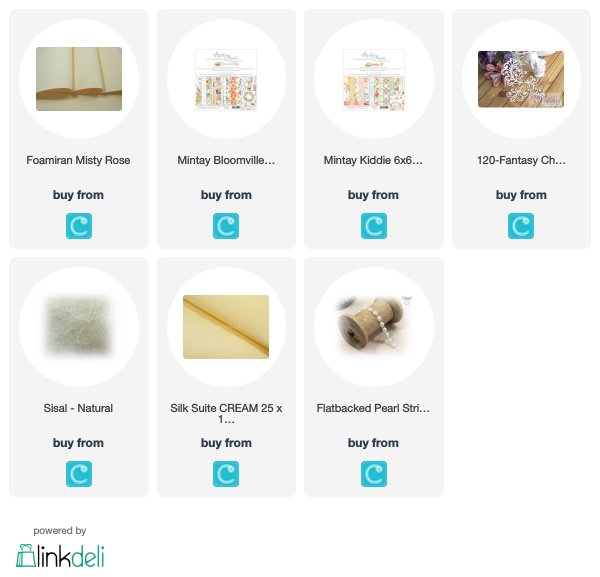
today I show you a card with Mintay's sweet paper from the Kiddie and Bloomville collections. I made my favorite curved stitches. I added small flowers from foamiran, Fantasy Chipboard, Sisal and pearls.


Hugs,
Maggie

The products used can be ordered in the Crafteezee Webshop:

Wednesday 26 June 2019

Hanglar & Wings


Good morning everyone.
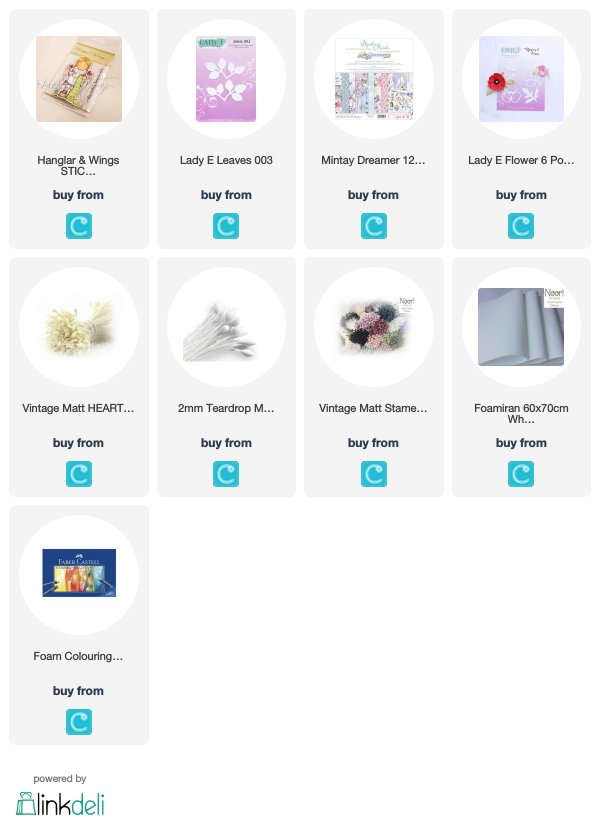
Tammy here, sharing a card using the lovely Hanglar & Wings rubber stamp.
 This suited me just perfect as I am currently knitting baby clothes for my Daughters 3rd child.

She's been coloured with water colours and polychromos pencils to give some depth.


Flowers of cause are handmade by myself using the new Lady E dies.
 I have used oil pastels to give them some colour. A little heat for shaping and stamens to finish off.
No embellishments were added as I felt it did not need any.
 Just a small sentiment was enough, which is from my own stash.


Thank you everyone for taking the time to look.
We all hope, that we give you lots of inspiration for your own creations.
Enjoy the rest of your week.
Hugs
x


Tuesday 25 June 2019

Bingo card

Hello Crafteezee friends!

Elena is here :-)
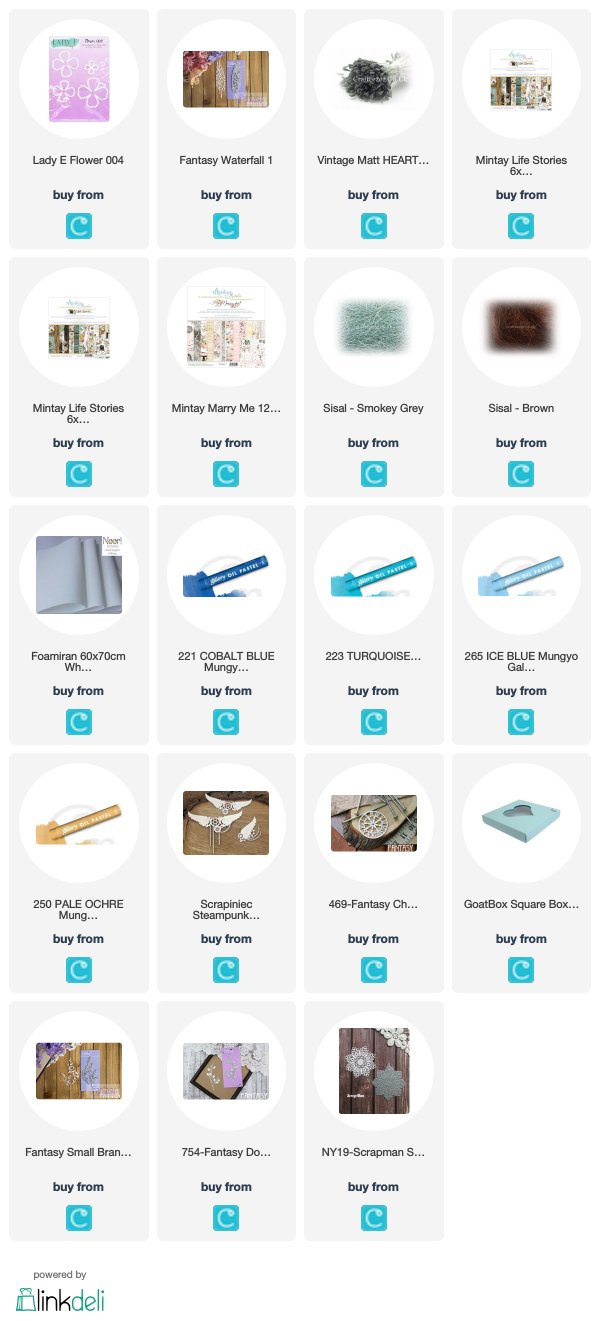
I am popping in today with a new card made with adorable Mintay papers, a Fantasy chipboard, lots of cutouts and my foamiran flowers that I love making.


I love layering and Mintay papers helped me such a lot. I think it is designed to help crafters like me to gain a beautiful messy layout of their creations.


I can't resist using cutouts in my projects. I love fantasy leaves dies. They are so delicate and lifelike. Those that I have used are in the list below.


You know I love making flowers. These have been made by me using Lady E flower die set 004 using Zephyr Silk foamiran and Mungyo oil pastels.


Oh, can you see this adorable blue card box? There are a lot of different shapes and colours in the shop and many, many other precious things :-)


Thank you for stopping by!
See you next week.

Hugs,
Elena xxx


Monday 24 June 2019

Introducing Crafteezee's All Dressed Up Stamps


Hello Everyone,

How exciting, we have taken the plunge and produced our very own brand of stamps kicking off with the oh so popular designer Wendy Burns from All Dressed Up.  I have chosen to colour up "Love to Dance" first, isn't she gorgeous.  They have already hit our shelves and you can order HERE.


For our first release we have chosen 4 images, left to right Looking Good, What to Wear, Love to Dance and Time to Sparkle.


Papers are from Pion Design.  I have used a Scrapman Napkin Doily Die, but in half and displayed on either side of the card.
At the top of the card I have used a Scrapiniec Doily Lace Chipboard Border.


The image was coloured with distress inks an at each corner I have placed a filagree corner, filagree butterfly and some new vintage brads to the top right.

I made a single flower using Lady E Die Flower , added some stamens, wax cord and vintage roots.


Hope your as excited as me about this new journey.

Hugs Tracy xx


Sunday 23 June 2019

Mintay songbird gift idea

Hello crafty friends it's Stephanie here today I wanted to share my gift idea with you using the gorgeous  Mintay songbirds collection. My gift is a box frame layout as shown in the first picture.


I used the Mintay patterned paper layering a few different papers to create the centre piece of the layout. The green photo frame as shown is a template for the recipient to fix their chosen photo.


I added wording to my bloomar laser cut chipboard as shown finishing off with hand cut butterfly's from the mintay bonus sheet adding pearl trims for more detail.


I added natural sisal behind my hand cut flowers and Minnie prills for more detail to the flowers.

To finish off the box frame on my border I duplicated the paper to give it a 3d effect.
 thanks for looking hugs Stephanie xx

Beautiful Aviva

Greetings Crafty Friends,

I created a canvas with this photo of myself and my new granddaughter Aviva. She is the sweetest little girl. She looks a little annoyed here. Too many kisses from her Gigi.

I am so excited to share with you my canvas I created. I used the beautiful Mintay Paper Bloomville. This paper is amazing I love to fussy cut and use pieces on my creations. You can pop the pieces up with pop up tape. This will add dimension to your project.

I added moss and flowers to add some interest to my creation.

Thanks for stopping by!
Karen


Here is a closer view with the details.

Friday 21 June 2019

Birthday wishes

Welcome everyone to my very first post for Crafteezee.
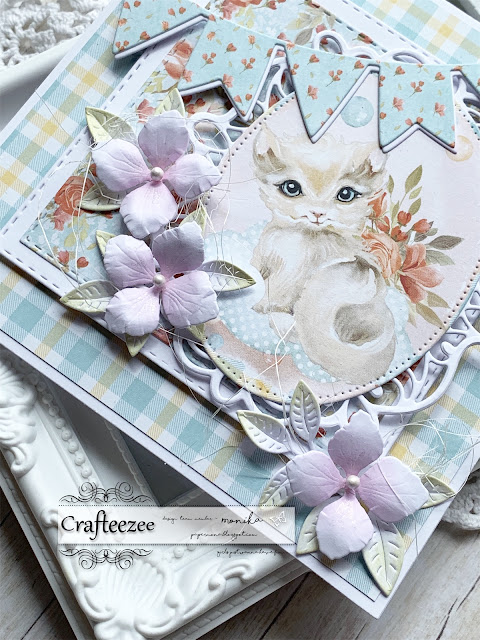
I made a square, multi layered birthday card for a cat lover. I started off by using graham patterned paper with additional layers all from Mintay Kiddie paper collection.
Added a girland and leaves from Craft & You with beautiful paper flowers from Lady E flower 5 die set.  


Have a look at this beautiful flowers, they are so easy to make. I used ordinary white card with a touch of pink ink, shaped it and of course I had to add some fine glitter just to make it even more special. 


I hope that you liked my project :)

Thank you for visiting!
Have a lovely weekend.
Monika xxx


Wednesday 19 June 2019

Foamiran orchids - a tutorial

Hi, DT Henriëtte here today sharing a tutorial on how to make this 
foamiran orchid branch.


I have a step-by-step photo tutorial on how I made this branche.

First I looked on the internet for a free orchid template.  
There are a lot of templates or example on Pinterest. I used this one. 
Before printing I did scale it down a bit.
With a wooden skewer I traced the cut out template pieces on white foamiran.
All pieces 5 times and then I cut them out.
For the 15 smaller leaves I used a simple leave template I drew myself..


With a baby wipe and oil pastels I added yellow colour to the centre part of the orchid.
(I think these parts of the flower are called the column and labellum).
Using a wood skewer and a ink pad I added the pink dots.
You can use other coloring media like chalks, inks or paint.


Then I held the foamiran pieces shortly against a medium hot iron.
While the pieces are still warm I pressed them on to a mold to get more texture.
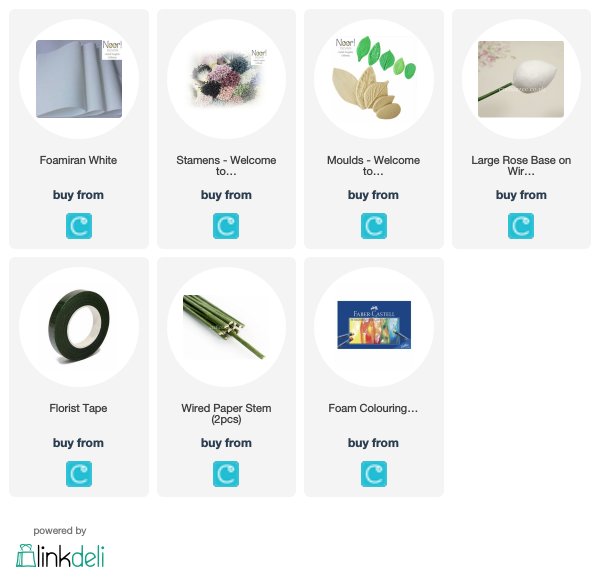
You don't have to use a special orchids leave mold. Crafteezee has suitable molds 
available like this one or this one.
You shape the petals a little with your hands.


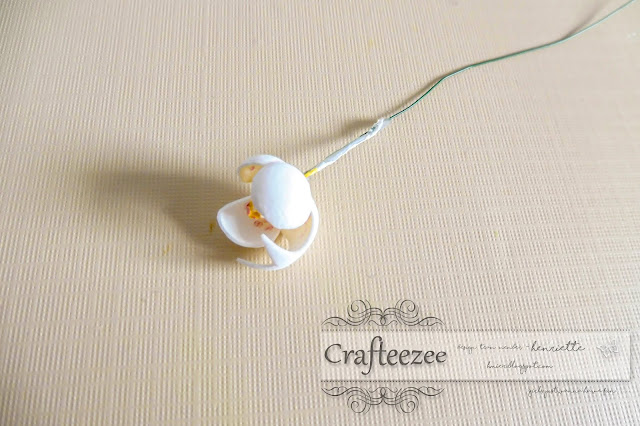
Using a heat gun I glued a single stamen on a piece of green wire.


I pricked a small hole in the centre piece and carefully pushed the wire through the hole.


Then I pricked a hole in the 2 leaves part, pushed the wire through and with a dot of hot glue  attached it to the first part.


This is repeated with the 3 leaves part.


The stem was to slender so I added a double folded piece of wire and taped it 
together using green florist tape.


I made 5 flowers repeating the above steps.


The branche also has 3 flower buds. 
I shape a cone using tin foil and glued it on a double folded wire.
Crafteezee has ready made buds in store.


I colored the leaves on the bottom part with green pastels. 
Then I glued on the 5 little leaves. Each leave overlapping the previous one a little bit.
I used flower tape for the stems.
Crafteezee also has wired stems available in the store.


Finally I made the branche.
I started with a long piece of taped wire and begin by adding the first flower bud, 
wrapping the tape around the two wires.
 After a little bit you add another flower bud, wrapping the tape 
around all the wires and so on.
The result is a beautiful orchid branche.


With just a sheet of white foamiran and a few other supplies you can make 
these lovely flowers which last for a long time.


Thanks for visiting the Crafteezee blog.

Hugs, Henriëtte.