Pages

Showing posts with label Dutch Doobadoo Mask Art. Show all posts

Sunday, 17 December 2017

An invitation card

 Hello everyone!

Most of us are thinking of christmas right now, at least when it comes to crafting, but I went a little further in time for today's creation. I have a card to share today, that would be the perfect invitation for you New Year's Eve party.


For the base I used the Recipe Card die by Magnolia and die cut it from white cardstock. Then I stamped Wine Tasting Tilda in the middle and colored her in. I used my scoring board to score the card in the middle, only to the left and right of the image, not scoring the image itself. With my scissors I've cut around the upper part of the image, starting and stopping at the scoring line.

I used Distress Ink Victorian Velvet to color the white cardstock in, getting lighter the closer I got to the image. With the Mask Art Party and Structure Paste by Dutch Doobadoo I added the party words. To avoid the ink staining the paste I used my heat tool to dry the ink completly before applying the paste.

I used a rectangle from red cardstock behind the base to make my card more stable and put some Rebecca Lace inbetween the two cards.


 This is my colored in image. I used Copics to colore this cutie.


To the lower left of my card I've added a few embellishments. First I've die cut the plate from the Plate and Cuttlery die set and used it as a doily. On top of that I've put the champagne glass from the Glass and Signs die set. I've die cut the glass once from clear acetate and once from white cardstock, then cut off the stem and the top part of the glass cut from white cardstock before coloring it in using reds. Then I've glued the acetate glass on top of the colored part to fill the glass.

I also tied a heart - also from the Glass and Signs set - to the stem and added a white Cherry Blossom and a deep red open rose next to the doily. 

In the end I've added a few silver glitter sequins and the "cheers", die cut from red cardstock.

Have a happy week, everyone!
Hugs, Kathrin

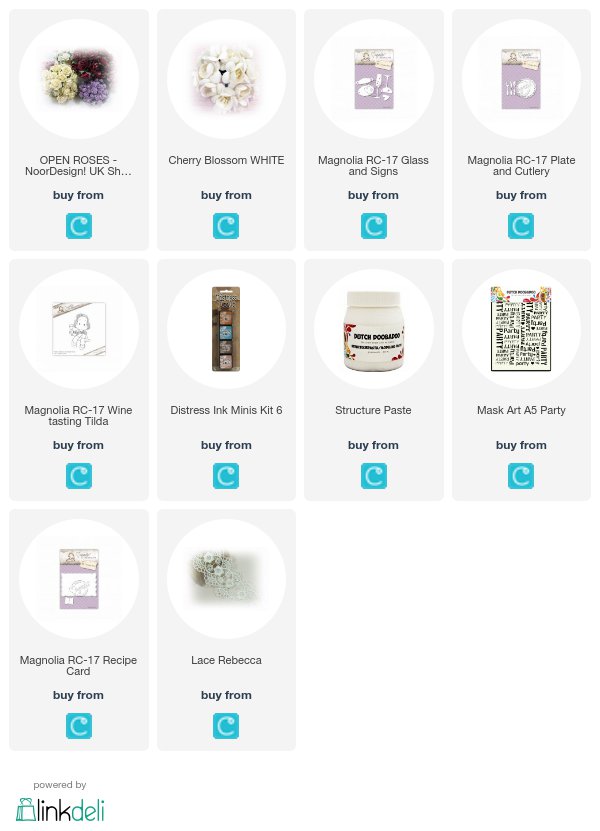
The products used can be ordered in the Noor! Design U.K. webshop:
Tuesday, 10 January 2017

Mixed Media Shabby Chic

Hello everyone how are you all?
I've got an infection in my right hand, my fingers & thumb are swollen but my thumb I cannot bend or move at all & its so so painful. I ended up in A&E on Sunday night as it got very painful & swollen....would you believe I just woke up like that on Saturday morning, thought I had somehow broken my thumb lol......anyway the Dr said it was an infection & has put me on antibiotics.

So I've been unable craft or colour boo hoo......my fabulous boss Tracy told me put my health first & dont worry about DT commitments but then I was up in pain this morning at 2am & 3am decided I would try make a card......a shabby chic card that turned into a little mixed media lol.

So here it is......sorry its a little late
The first layer I just distressed the edges & then machine sewn around the edge. The second layer got the same initial treatment but then I had gesso watered down all over the paper.....then used a Dutch Doobadoo stencil & added structure paste....also using the same stencil added Viva Decor Ice.....I then added watered down spun sugar distress ink & splatters of gesso.
Here is a photo before I added embellishments. I also added more distress ink splodges so there was more pink & more paint splatters but forgot to take another photo :-(

This paper is so pretty & perfect for shabby chic cards.
Of course for extra texture I added Cheesecloth & Tiny Gypsophila & of course bits of lace here & there.....keep your scraps as they are perfect for adding under paper, under flowers or in between little rips when you have distressed your paper ;-)

The large pink flower I made when I first got my foamiran last year....this was the 2nd flower I made, I played & this is what I came up with. I was trying make a carnation as they were the first flower I fell in love with lol......I dont think it resembles that but its not bad for a first attempt. I have had 1 day at making a few flowers & not made anymore since......its so enjoyable as well :-(

You can see the bits os lace in between the rip in the paper here.
I also added lace under the scrapiniec & owl. The Scrapiniec I placed onto foam first to give it dimension & height.

Of course added lots of pretty flowers, a piece of straw, waxed cord tied into a bow & a Lemoncraft Button tucked in amongst them.

I have to say I really enjoyed myself making this card & will be experimenting more with different mediums & mixed media. Maybe next time I will make a video of the process.
It was hard with very limited movement especially as I'm right handed but I managed....slowly lol.

Thanks for stopping by & your lovely comments.
Lotsa hugs Vicky xxx


The products used can be ordered in the Noor! Design U.K. webshop:


Monday, 8 August 2016

Tag Bookelet with Tutorial

 Hello and good morning everyone. Today I share a special project with you; a Tag Bookelet. I saw it a while ago and so love this idea. You need seven tags for that project. See below how it turned out. I used the gorgeous Maja Design Summertime papers for it. I truly adore this collection. 

Here yo can see the frontside of the Tag Bookelet...


This is how it looks like from the side...


 From above...


The backside...


And all five tags... with space on the backsides for your own messages...


This is a very special gift for a very special person and it is really easy and very fun to make. Here is a little turorial for you... feel free to ask me if you have any questions...

cut 2 pieces of cardstock 10 x 21 cm, then score each 1.5 cm 
and cut or punch the one edge as you like.


7 tags 8 x 21 cm


add adhesive tape as you can see below...


and tape it on both sides of two tags as you can see below...


sight from the side...


cut a piece of cardstock 7 x 8.5 cm, score the longer side at 3.5 and 5 cm 
and add adhesive tape as shown below...


glue it on both tags as shown below...


insert the other five tags... now you're ready to decorate it!
Have fun!


I hope you will like my little tutorial and feel inspired to create a Tag Bookelet too. I look forward to see yours. Just let me know when you made one. I would love to see.  

Have a happy day!
Hugs, Karina

The products used can be ordered in the Noor! Design U.K. webshop: