Pages

Showing posts with label Magnolia. Show all posts

Friday, 7 September 2018

You Nailed It

Hello!

Today I'm here with a new creation to share with you!
Is a card made using one of my Tilda's called 
I used also a wood wall stamp from You Can Do It Tilda and Wood Wall set.


The Image is coloured with distress inks and re-inkers.
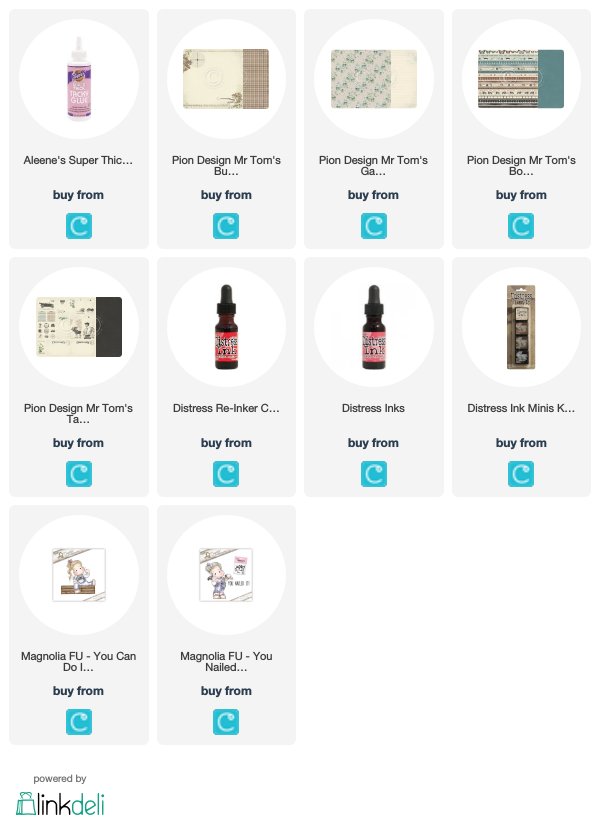
Paper pads used are frorom Pion Design Mr Tom's Treasures collections.
Paper pads used are: 


I cut out few butterflies to embellish my card and
I added some half pearls... nothing more.
I think that this card is perfec.... easy and simple.


Now is your turn to try!
Hugs, Barbaa GR

The products used can be ordered in the Noor! Design U.K. webshop:

Friday, 9 March 2018

Lollipop cards

Hello everyone!

It's again my turn to share my creations with you today. 
I made few lollipop cards for my kid's teachers...
This time the photos aren't the best.... I forgot to take pisc when I finished them. LOL


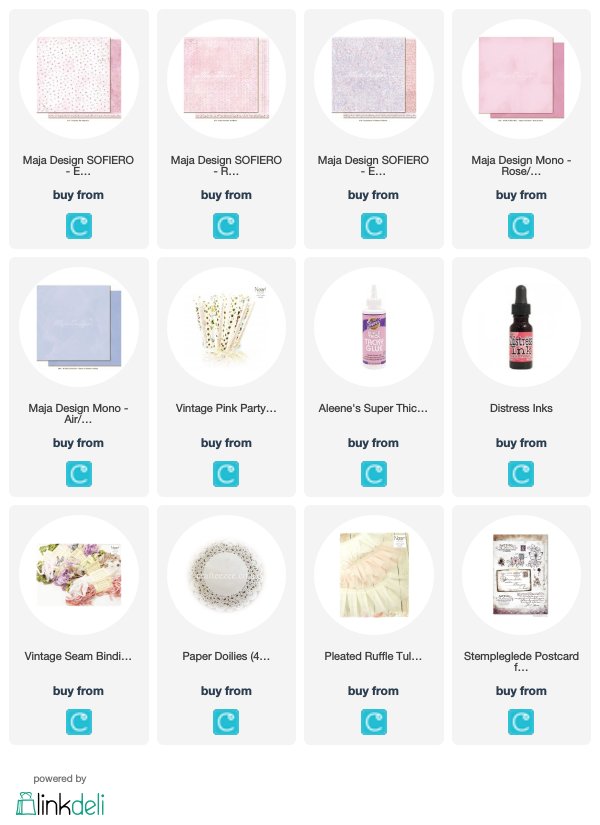
For this lollipop cards and for gift boxes I used Maja Design Papers... All paper pads are from Sofiero collection.

I added Pleatted Ruffle Tulle on the back side and Paper Doilie... on both cards... 
For finish  I added Vintage Seam Binding...


I used Magnolia stamp and for background Stempelglede stamps... they are listed below this post.
The imae is coloured with Distress inks.
These cute little boxes cointain Ferrero rocher...
All products used are listed below this post.


Tank you so much for visiting!
Hapy crafting!

Hugs, Barbara GR


The products used can be ordered in the Noor! Design U.K. webshop:

Tuesday, 27 February 2018

You Made It!

Hello everyone!!
I'm little late with today's post but I have to made a card for my son's friend.
And now I'm share it with you. 
For this card I used another one of my old Magnolia stamps... 


Edwin is coloured with Distress inks. Then I added some gesso all around the image and for finishing I distressed using walnut Distress ink pad.

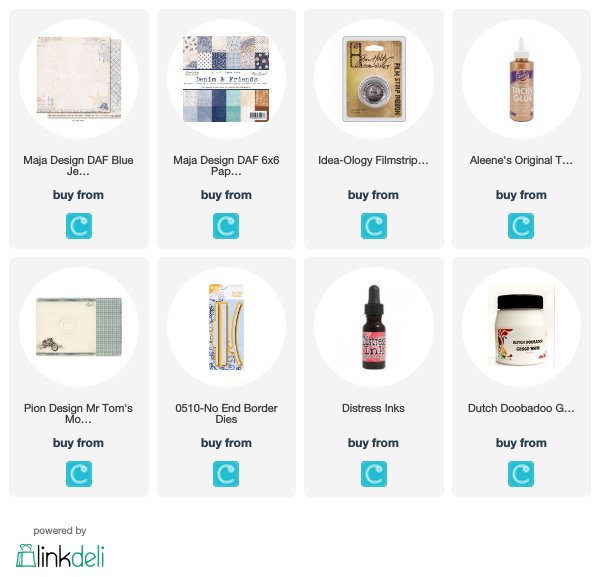
Paper pads are from two different design collections.... Maja Design and Pion Design... all listed below my post.

 For the border on right side I used Joy Crafts No end Border Dies... Now on Sale!!! I love it sooo much! Hope you agree with me. LOL


I added also Tim Holtz Filmstrip and sentiment from Maja Design Denim & Friends collection.
Very simple card... Now is your turn to create. 
Pop over the shop chose your stamp and your embellishment!

Happy crafting!
Barbara GR

The products used can be ordered in the Noor! Design U.K. webshop:

Sunday, 25 February 2018

A card for a 40th birthday

Hello everyone!

A little ago I've been invited to a 40th birthday - and since this has passed now I can share the card I made for this occasion:


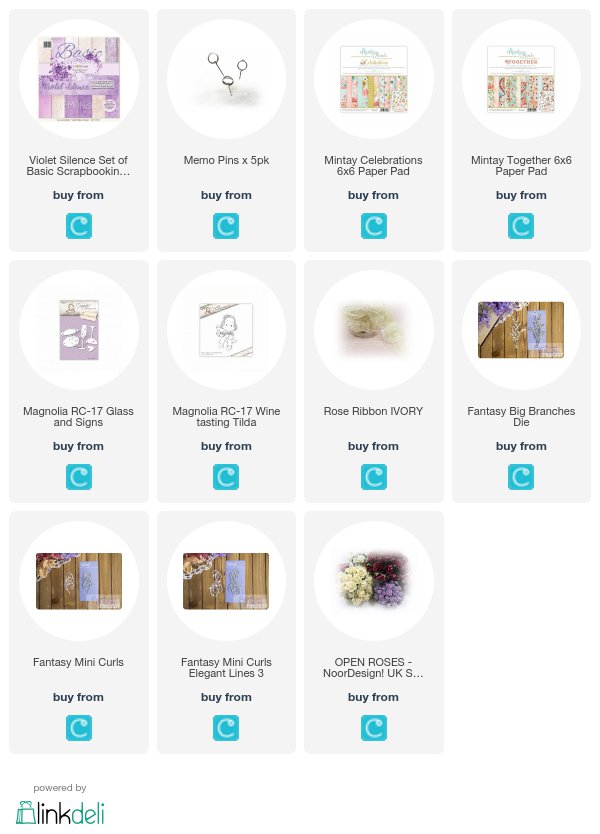
 Well, I think you agree with me that those days need to be celebrated. And it wouldn't be a celebreation without champagne. So I've decided to make a card in the shape of a champagne bottle. I've let my Cameo do the work with cutting this bottle... ;) Then I've covered it with designer's paper by Mintay and Lemoncraft.


I know, I've used Wine Tasting Tilda before - but she was just too perfect for my card to not use her. She was colored in with Copics again.


You wouldn't believe how many embellishments can be put on a card that is only 10 cm wide.

Under Tilda I've put two paper straws - I know, we've all been told to not drink alcohol with paper straws. But for decorations it just went too great with my theme...

Under the straws there is a flourish by Fantasy Dies and a branch, same brand.

I also wanted to add some flowers for a female touch. So I used one of the beautiful fabric flowers cut from the rose ribbon and put two of the open roses next to it.

Tilda is sitting on a die cut word "cheers" and I used a different flourish, also by Fantasy Dies, under it.

Oh well, and since we're all a bit mean I just had to include the age... ;) I've die cut the sign from the Glass and Signs DooHickey set, glued the die cut 40 onto it and then used a memo pin to adhere the sign to my card.


At the top of the bottle I had stamped and die cut a round "happy birthday" saying and used it as the label of my bottle. In the middle I've placed a punched out heart and wrapped some Baker's Twine around the bottle before glueing the saying down. Then I've added a few pearls here.

Have a happy day everyone!
Hugs, Kathrin

The products used can be ordered in the Noor! Design U.K. webshop:

Sunday, 18 February 2018

another baby card

Hello everyone!

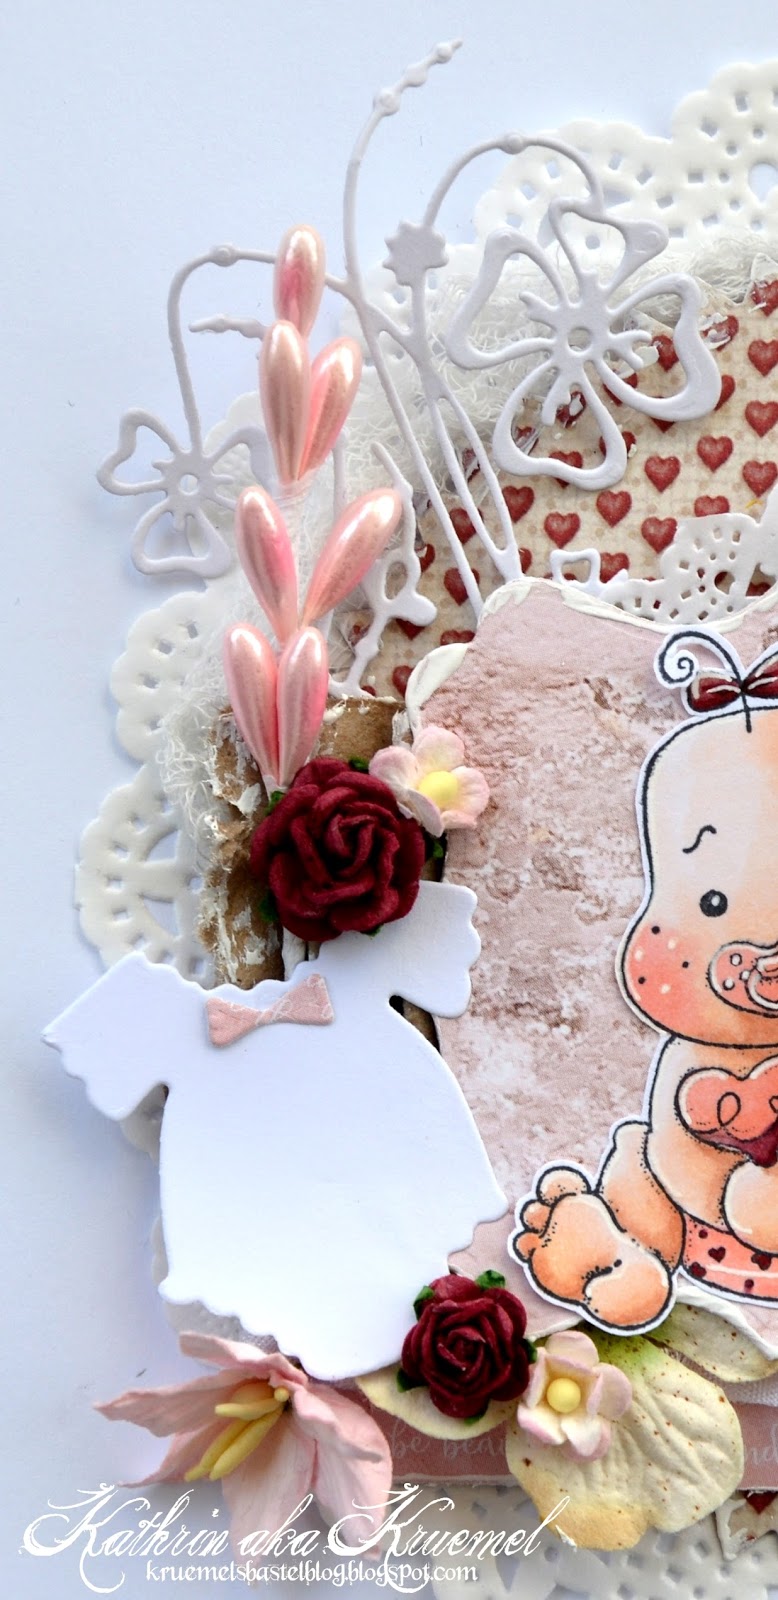
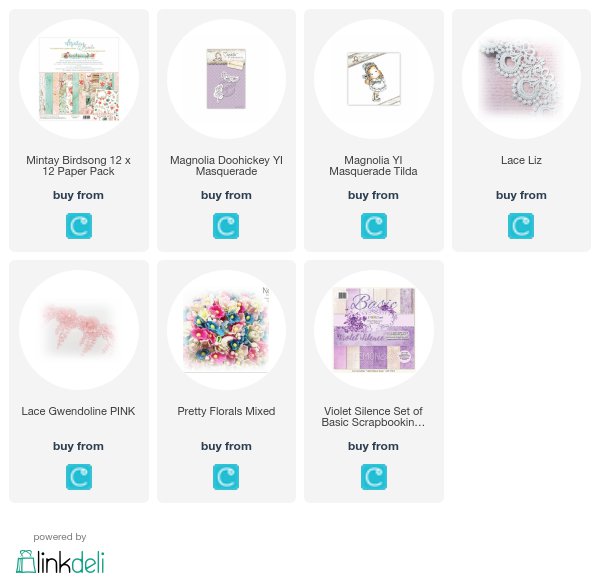
For this month's challenge I've made a baby boy card using Adorable Edwin. Now I got the idea to make the same card for a girl. So I just changed the colors, papers and image and voila - here is my baby girl card:


 As you can see - it looks completly different allthough it's like I used the same sketch for it.

I used papers from Mintay and Pion Design here. The hearts' print from one of the christmas papers just seemed perfect here.


This is Adorable Tilda - and I love her chubby feet. She's been colored in with Copics again, trying to get as close as possible to the colors of the papers. I didn't succed with the pink completly but I think it still fits.


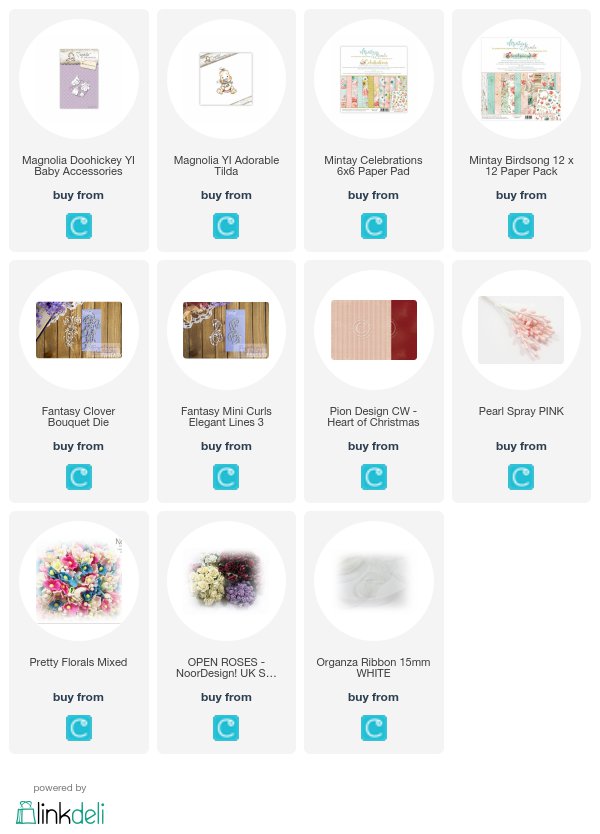
I've added most of the embellishments to the right side of the card again. The onesie is from one of the older DooHickey Club Kits. Around it I've put some flowers and a pink pearl spray. Under the spray I've placed the beautiful clover die by Fantasy Dies. It's wonderfull soft and detailed.


On the right side there was room for some decorations as well. On top of the die cut heart I've used the Mini Curls Elegant Lines die by Fantasy Dies and added more flowers as well. And I had to use the foot die by Magnolia again as well, which I've tied to some white Organza ribbon.

See you again next week!
Hugs, Kathrin

The products used can be ordered in the Noor! Design U.K. webshop:

Sunday, 11 February 2018

Home

Hello everyone!

It's Kathrin here again today - and I made a card that is all about home. Wether you want to welcome someone new in your neighbourhood or want to send a card to someone who moved into a new home recently - I think, my card'd fit. 

Have you been sad about maybe not ordering the Magnolia advent calendar last year? No need to be sad anymore, all the stamps and dies are now available individually. And I used a few of them on my card. 


For this card I picked brown and light pink papers from different paper packs and brands. I wanted to give this card a kind of a rustic look. Allthough I think with the pink and flowers it also got a vintage or romantic touch.

Between the papers I've added some lace, a doily, cheesecloth and also a piece of corrugated paper.


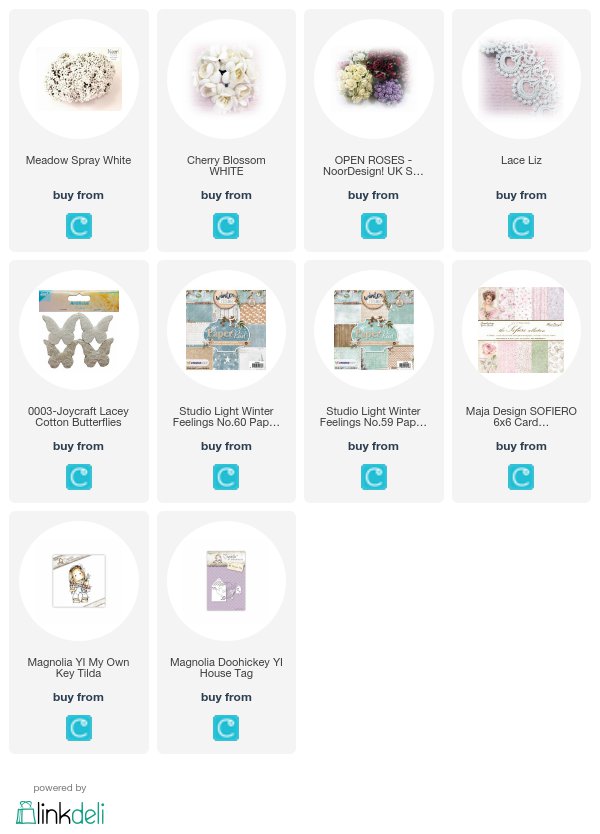
This is cute My Own Key Tilda. I colored her in with Copics and cut her out close to the stamped lines. While doing the coloring I went with soft colors to make the image fit to the papers I've picked. Most times I do the coloring first and then pick the papers that fit my coloring, but here was one of the rare times I did it the other way.

Those houses are new dies by Magnolia - and I love them! On the bigger one I've put a stamped "home" with a heart instead of the O. And the smaller one - and yes, you have to look close to see it, I just put next to/under it. 


 Of course I also had to add a few embellishments. There are flowers, a meadow spray, tiny pearls and also a bronze colored key charm. And since I felt like the top needed some decoration as well I've added one of the laced butterflies here.

 Have a happy day everyone!
Hugs, Kathrin

The products used can be ordered in the Noor! Design U.K. webshop:


Sunday, 4 February 2018

Edwin with Rose

Hello everyone!

Valentine's Day is just around the corner - so I have made a romantic card to share with you today. 


 I made a very soft card - mostly because I wanted to use those beautiful new papers by Mintay. 

For the base I used the Recipe Card Die by Magnolia and then put my designer's papers on top of it. You know me, I love layers - and I went a bit wild here. Inbetween the papers I've put some lace and a doily.

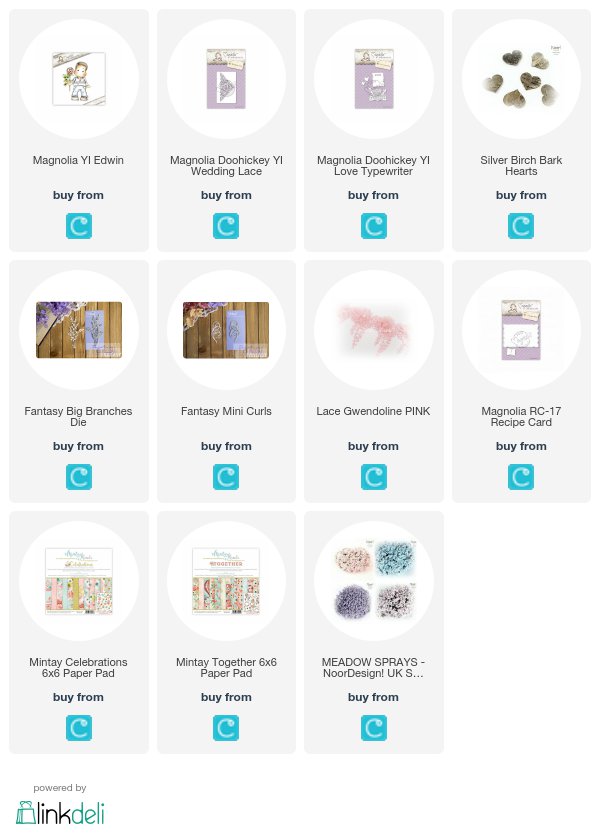
Do you see those beautiful flourish corners? They are made using the Wedding Lace die by Magnolia. I've just cut along the end of the die cut flourish to recieve individual corners.


This Edwin with Rose is a real cutie. He's been colored in with Copics but I only used very light tones to make the coloration match the papers. That's why there isn't as much detail in the coloring as I usually do.


I kept most of my decorations on the right side of my card. Since the typewriter die comes with a love note I just had to use this. Underneath there is a flourish and a die cut branch.

The silver birch bark heart was perfect in color since it has some kind of greyish-blue which goes great with the turquoise. I also added a pink Meadow Spray here.

Have a happy sunday!
Kathrin

The products used can be ordered in the Noor! Design U.K. webshop:

Sunday, 28 January 2018

a little box with Tilda

 Hello everyone!

For today's post I've decided to do something different than a card - so I made this little box. It is 10 x 10 cm in size and holds a bar of those square chocolats:


The box is cut from white cardstock and then I've used designer's papers by Lemoncraft and Mintay to decorate it. I went with pink and blue as the main colors. And yes, I already realized it myself - as soon as Magnolia is involved I tend to do a lot more layers again. But it's fun to do and I like the look of those finished projects.

On top of the bottom layer of paper I've put some white lace and between the papers there is one layer of corrugated paper which I've painted white partially. The box was too small to also add matting to my papers and I needed something to break the layers up a bit.


This Masquerade  Tilda is a real cutie. I had to color her in before I knew what to make with her. I did the coloring with Copics and covered the dress with clear Wink of Steall to make it sparkle.

Even if the stamp might be made with Mardis Gras in mind but I think dressed like this she might also be on her way to a very fancy party. And I know she'll be the star of the evening!


Since I used Tilda with her mask of course the matching dies were my first pick for decorations. There is her eye mask and I also used the feather, that comes in the same set. It's glued to the top right of my box.

The pink fabric flower was cut off from a piece of pink lace Gwendoline. Then I added a blossom and a tulip here. And when I've die cut the feather I had the idea of adding a real one as well - which I did above the flowers. It just adds a specia touch...

Have a happy sunday everyone!
Hugs, Kathrin

The products used can be ordered in the Noor! Design U.K. webshop:

Friday, 26 January 2018

Farmer Tilda

Hi!

What can I say... it's Friday  and I'm with you today to share my DT creation.
As you now Tracy have new papers in her  shop. They are  from Mintay papers . 
The collection is called Celebrations 6x6 paper


For this card I chose Frame Tilda.   
I colouerd my this gorgeous Farmer Tilda with Distress inks. 


I  added a Paper Doilie behind the image, two lovely Silver Birch Bark Hearts
 on the left side and flowers all around..
Here are also a cupcake and presents... I cut them out  from Minty's paper pad...


Now is your turn. Choose papers, embellishment and stamp and lets atart.

Happy crafting!
Hugs, Barbara GR

The products used can be ordered in the Noor! Design U.K. webshop:

Sunday, 21 January 2018

Frozen....

Hello everyone!

Honestly, I'd be ready for spring with its warming sun, the blooming flowers and outdoor times. But I know that we are still in the middle of winter and so I made a winter card today to share with you:


I thought, since I'm doing winter I'm doing it thoroughly and so I only used white and light turquoise combined with a hint of a grey-ish blue. 

I made a round card - when I started I wasn't sure if I wanted to make a lollipop flower or not. So I started with a large doily and put a paper rosette made from white cardstock on top of it. I ended up with just a card but if I change my mind I can still put a paper straw between the sections of the paper rosette.

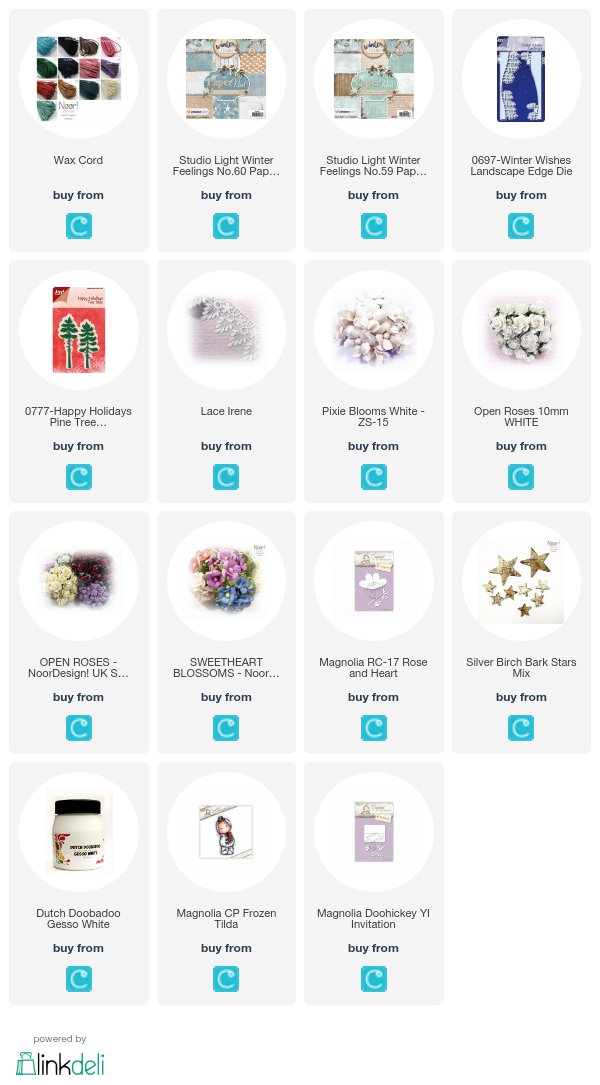
The papers I used are all the light ones I was able to find in the Winter Feelings No 59 and No 60 paper pads by Studio Light. I've cut them in different shapes and put them on top of each other. And yes, even if there is no cheesecloth - I made this card! ;) But I had to put some lace between the papers...


This is Frozen Tilda - and when I first saw her I knew I needed to give her a home. She's just too cute! I've colored her in with Copics and cut her out. 

Behind the large circle I've also put the Pine Trees by Joycrafts and added a few flowers here.


On the right side I used one of the Landscape die, put it across the card and then added a few flowers - open roses and pixie blooms - here. I also wanted to use something different than just flowers and so I went with one of the stars made from birch bark. To make it match the colors on my card I've covered it with white Gesso.


And then I also needed some decorations on the top of the card. I used the new Invitation die by Magnolia here. It cuts two slits in one half and I used these to put the wax cord through. Then I've wrapped it around the "invitation" and tied a bow from it. I also used the heart shaped tag - the one that can be opened - here and tied it to the bow. The mittens in the background are from one of the older DooHickey Club kits. But I just needed to add them since they match so perfectly in theme.

Have a happy, frosty winter day eveyone!
Hugs, Kathrin

The products used can be ordered in the Noor! Design U.K. webshop:
Wednesday, 17 January 2018

HB2U


Good Morning,

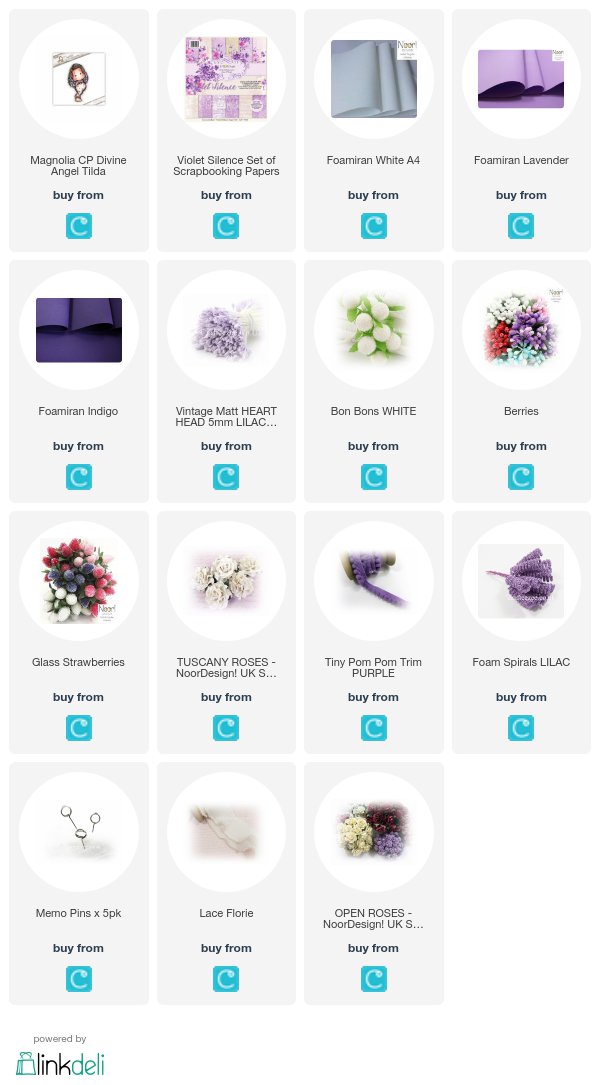
I have made a birthday card using the new Lemon Craft Violet Silence Scrap booking papers, as my favourite colour is purple I absolutely love these new papers.


I have coloured up Divine Angel Tilda using Inktence Pencils, even though this is a Christmas stamp she can also be used all year round 


I made these foamiran flowers a little while ago but didn't have a card the right colour to put them on, when I saw the new papers I dug through my foamiran box & found these flowers & they go perfectly with the papers.


Thank you for stopping by & pop back tomorrow for some more gorgeous inspiration from the DT

Hope you have a super day

Hugs

Emma


The products used can be ordered in the Noor! Design U.K. webshop:

Friday, 12 January 2018

YI Wonderful Tilda

Hello everyone!

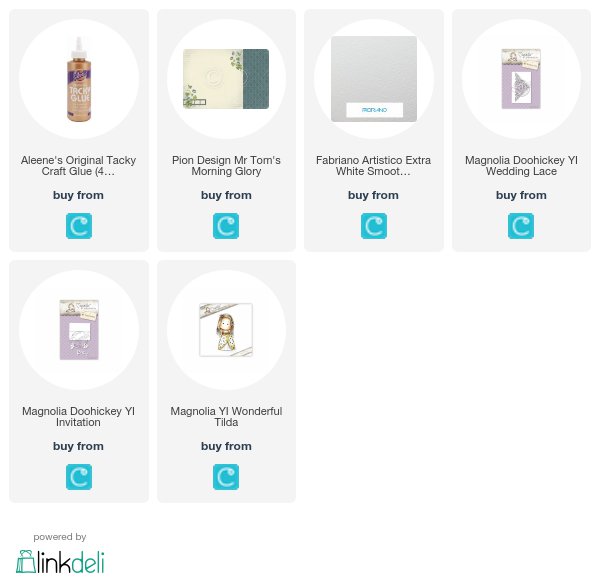
It's Friday and is my turn to share some inspiration with you again. For this week's post I chose one of the newest Magnolia stamps called YI Wonderful Tilda available for pre-orders at Trasy's shop!!!
So... If you didn't oreder Christmas box now you have a chance to buy stamps now.


This time I try coloring my Tilda with Prismacolor pencils...


I made a very simple  card... The dies used are also from Christmas box... one is 

Magnolia Doohickey YI Wedding Lace and


The dies are also available for pre-orders!!!


Paper pad used is from Pion Design Mr Tom's Morning Glory collection,..
And this is all from me today!
Order your stam and dies and try!

Happy crafting!
Barbara GR


The products used can be ordered in the Noor! Design U.K. webshop: