Pages

Showing posts with label Magnolia Doohickey. Show all posts

Sunday, 25 February 2018

A card for a 40th birthday

Hello everyone!

A little ago I've been invited to a 40th birthday - and since this has passed now I can share the card I made for this occasion:


 Well, I think you agree with me that those days need to be celebrated. And it wouldn't be a celebreation without champagne. So I've decided to make a card in the shape of a champagne bottle. I've let my Cameo do the work with cutting this bottle... ;) Then I've covered it with designer's paper by Mintay and Lemoncraft.


I know, I've used Wine Tasting Tilda before - but she was just too perfect for my card to not use her. She was colored in with Copics again.


You wouldn't believe how many embellishments can be put on a card that is only 10 cm wide.

Under Tilda I've put two paper straws - I know, we've all been told to not drink alcohol with paper straws. But for decorations it just went too great with my theme...

Under the straws there is a flourish by Fantasy Dies and a branch, same brand.

I also wanted to add some flowers for a female touch. So I used one of the beautiful fabric flowers cut from the rose ribbon and put two of the open roses next to it.

Tilda is sitting on a die cut word "cheers" and I used a different flourish, also by Fantasy Dies, under it.

Oh well, and since we're all a bit mean I just had to include the age... ;) I've die cut the sign from the Glass and Signs DooHickey set, glued the die cut 40 onto it and then used a memo pin to adhere the sign to my card.


At the top of the bottle I had stamped and die cut a round "happy birthday" saying and used it as the label of my bottle. In the middle I've placed a punched out heart and wrapped some Baker's Twine around the bottle before glueing the saying down. Then I've added a few pearls here.

Have a happy day everyone!
Hugs, Kathrin
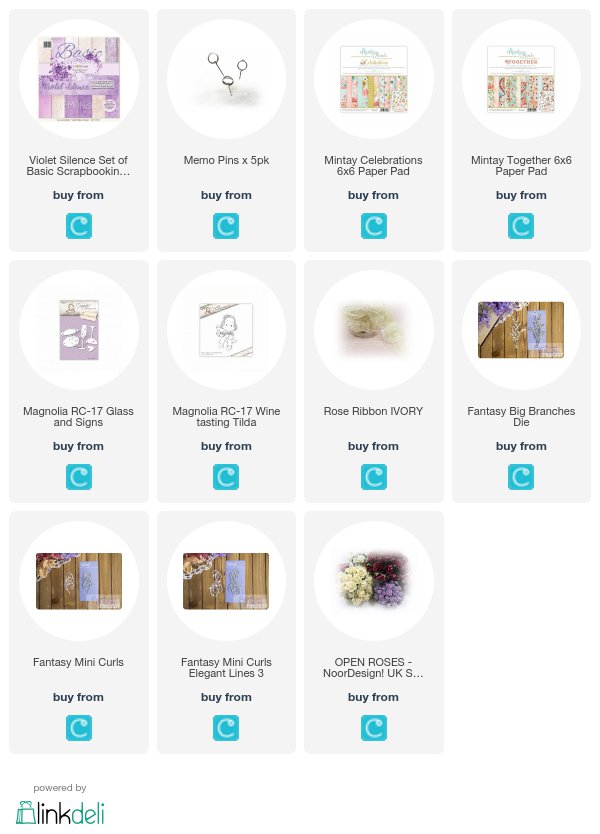
The products used can be ordered in the Noor! Design U.K. webshop:

Sunday, 11 February 2018

Home

Hello everyone!

It's Kathrin here again today - and I made a card that is all about home. Wether you want to welcome someone new in your neighbourhood or want to send a card to someone who moved into a new home recently - I think, my card'd fit. 

Have you been sad about maybe not ordering the Magnolia advent calendar last year? No need to be sad anymore, all the stamps and dies are now available individually. And I used a few of them on my card. 


For this card I picked brown and light pink papers from different paper packs and brands. I wanted to give this card a kind of a rustic look. Allthough I think with the pink and flowers it also got a vintage or romantic touch.

Between the papers I've added some lace, a doily, cheesecloth and also a piece of corrugated paper.


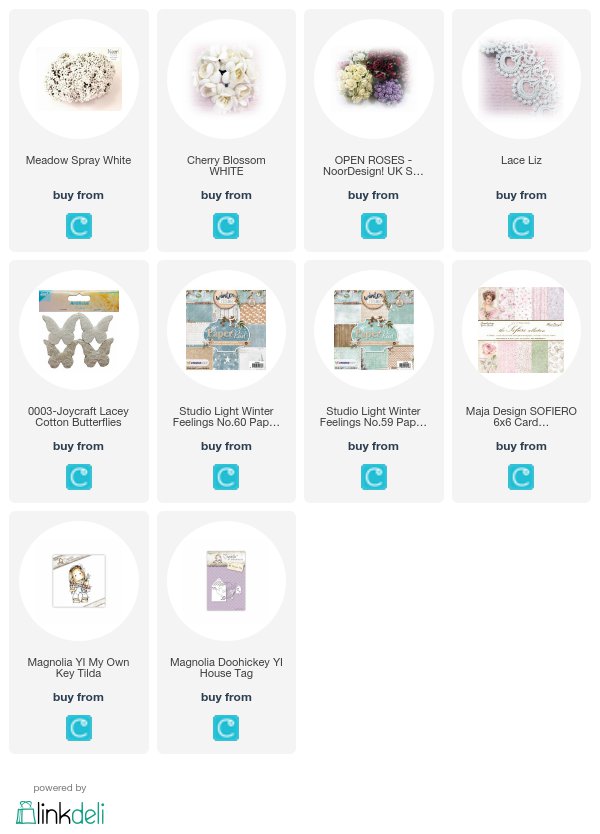
This is cute My Own Key Tilda. I colored her in with Copics and cut her out close to the stamped lines. While doing the coloring I went with soft colors to make the image fit to the papers I've picked. Most times I do the coloring first and then pick the papers that fit my coloring, but here was one of the rare times I did it the other way.

Those houses are new dies by Magnolia - and I love them! On the bigger one I've put a stamped "home" with a heart instead of the O. And the smaller one - and yes, you have to look close to see it, I just put next to/under it. 


 Of course I also had to add a few embellishments. There are flowers, a meadow spray, tiny pearls and also a bronze colored key charm. And since I felt like the top needed some decoration as well I've added one of the laced butterflies here.

 Have a happy day everyone!
Hugs, Kathrin

The products used can be ordered in the Noor! Design U.K. webshop:


Sunday, 4 February 2018

Edwin with Rose

Hello everyone!

Valentine's Day is just around the corner - so I have made a romantic card to share with you today. 


 I made a very soft card - mostly because I wanted to use those beautiful new papers by Mintay. 

For the base I used the Recipe Card Die by Magnolia and then put my designer's papers on top of it. You know me, I love layers - and I went a bit wild here. Inbetween the papers I've put some lace and a doily.

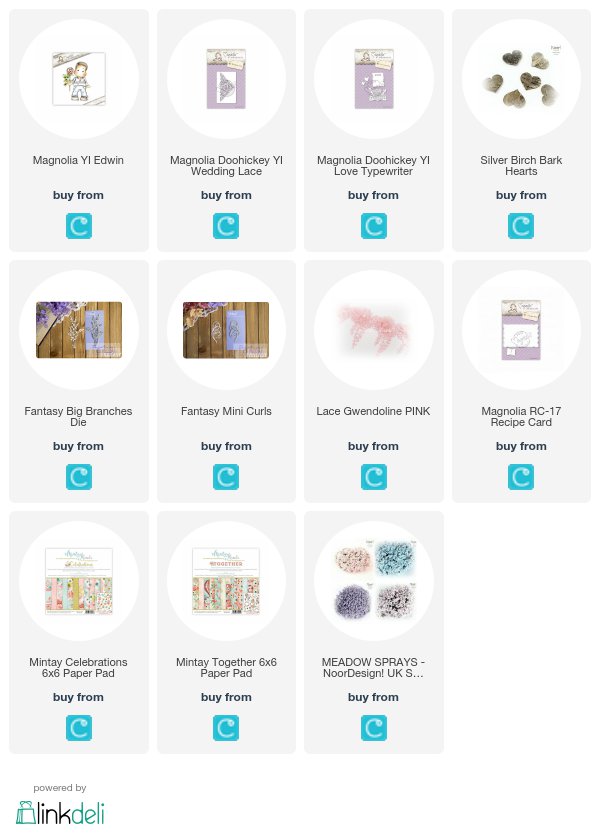
Do you see those beautiful flourish corners? They are made using the Wedding Lace die by Magnolia. I've just cut along the end of the die cut flourish to recieve individual corners.


This Edwin with Rose is a real cutie. He's been colored in with Copics but I only used very light tones to make the coloration match the papers. That's why there isn't as much detail in the coloring as I usually do.


I kept most of my decorations on the right side of my card. Since the typewriter die comes with a love note I just had to use this. Underneath there is a flourish and a die cut branch.

The silver birch bark heart was perfect in color since it has some kind of greyish-blue which goes great with the turquoise. I also added a pink Meadow Spray here.

Have a happy sunday!
Kathrin

The products used can be ordered in the Noor! Design U.K. webshop:

Sunday, 28 January 2018

a little box with Tilda

 Hello everyone!

For today's post I've decided to do something different than a card - so I made this little box. It is 10 x 10 cm in size and holds a bar of those square chocolats:


The box is cut from white cardstock and then I've used designer's papers by Lemoncraft and Mintay to decorate it. I went with pink and blue as the main colors. And yes, I already realized it myself - as soon as Magnolia is involved I tend to do a lot more layers again. But it's fun to do and I like the look of those finished projects.

On top of the bottom layer of paper I've put some white lace and between the papers there is one layer of corrugated paper which I've painted white partially. The box was too small to also add matting to my papers and I needed something to break the layers up a bit.


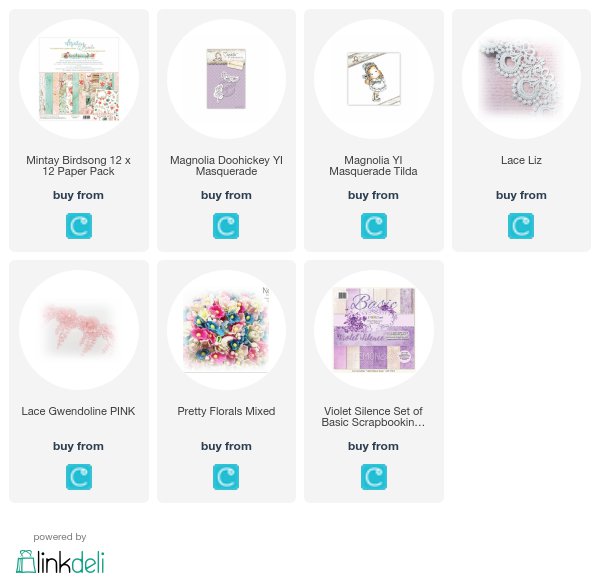
This Masquerade  Tilda is a real cutie. I had to color her in before I knew what to make with her. I did the coloring with Copics and covered the dress with clear Wink of Steall to make it sparkle.

Even if the stamp might be made with Mardis Gras in mind but I think dressed like this she might also be on her way to a very fancy party. And I know she'll be the star of the evening!


Since I used Tilda with her mask of course the matching dies were my first pick for decorations. There is her eye mask and I also used the feather, that comes in the same set. It's glued to the top right of my box.

The pink fabric flower was cut off from a piece of pink lace Gwendoline. Then I added a blossom and a tulip here. And when I've die cut the feather I had the idea of adding a real one as well - which I did above the flowers. It just adds a specia touch...

Have a happy sunday everyone!
Hugs, Kathrin

The products used can be ordered in the Noor! Design U.K. webshop:

Friday, 12 January 2018

YI Wonderful Tilda

Hello everyone!

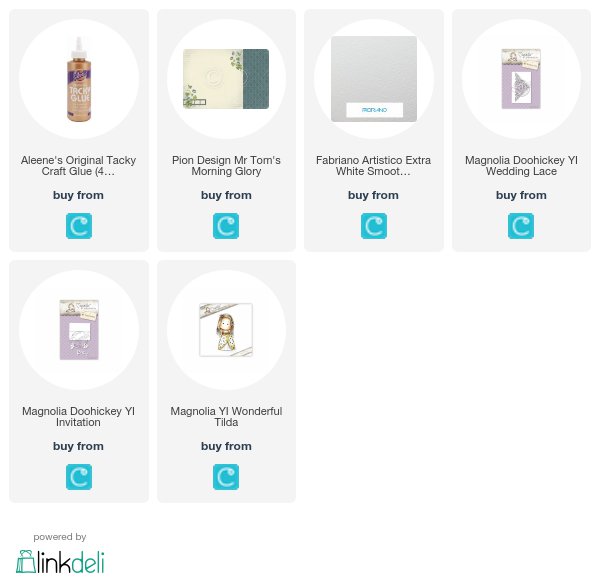
It's Friday and is my turn to share some inspiration with you again. For this week's post I chose one of the newest Magnolia stamps called YI Wonderful Tilda available for pre-orders at Trasy's shop!!!
So... If you didn't oreder Christmas box now you have a chance to buy stamps now.


This time I try coloring my Tilda with Prismacolor pencils...


I made a very simple  card... The dies used are also from Christmas box... one is 

Magnolia Doohickey YI Wedding Lace and


The dies are also available for pre-orders!!!


Paper pad used is from Pion Design Mr Tom's Morning Glory collection,..
And this is all from me today!
Order your stam and dies and try!

Happy crafting!
Barbara GR


The products used can be ordered in the Noor! Design U.K. webshop:


Wednesday, 10 January 2018

Sitting on a Branch with Tilda


Good Morning,

After going a little spring like last week I have gone back to wintry colours as it's just so cold & dreary here at the moment, spring seems like an age away.


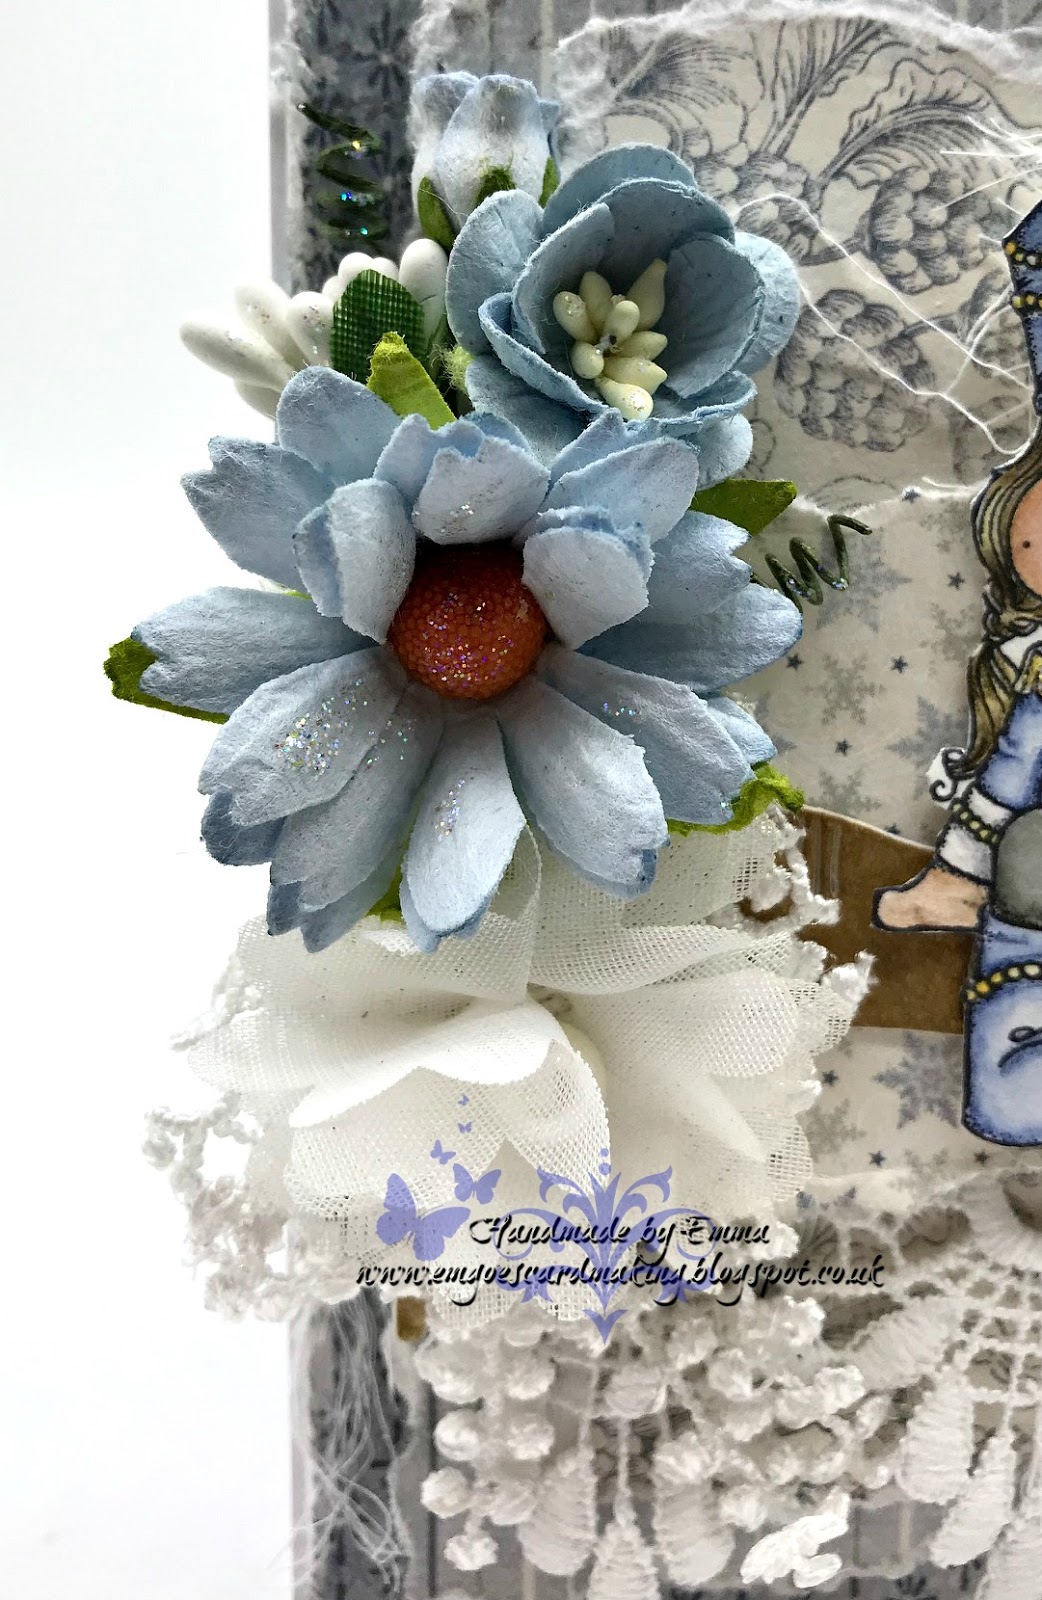
For my card I have coloured up CP Tilda using Inktense Pencils & have added some stickles to her lapels. I have fussily cut her out & sat her on a branch. For the branch I have used the tree dies from the Doohickey Dies Vol 16 and put it on its side.


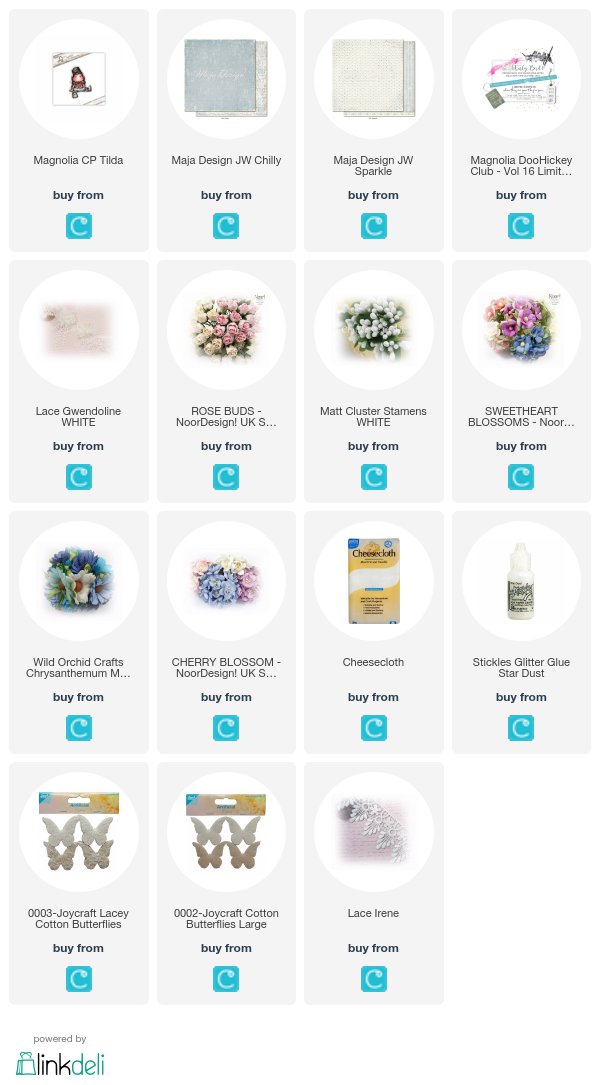
I have used some rose buds, Sweetheart blooms, Cherry Blossoms, a Chrysanthemum, white matt stamen & lace Gwendoline in White for my little arrangement and a small amount of cheesecloth.


The papers I have used are Maja Designs Joyous Winter Chilly & Sparkle 12x12 papers, I have distressed the edges of the base piece with scissors & carefully torn the edges of all the other layers.


Thank you for stopping by today & pop back tomorrow for some more inspiration from the team.

Hope you have a lovely day

Hugs

Emma x


The products used can be ordered in the Noor! Design U.K. webshop:

Sunday, 12 November 2017

A fall-ish card

 Hello everyone!

Today I am sharing a card that has more a fall-ish look. I have made so many christmas cards already that I needed a break for them. And november is still fall, right? So, I sat down on my desk and this is what I ended up with:


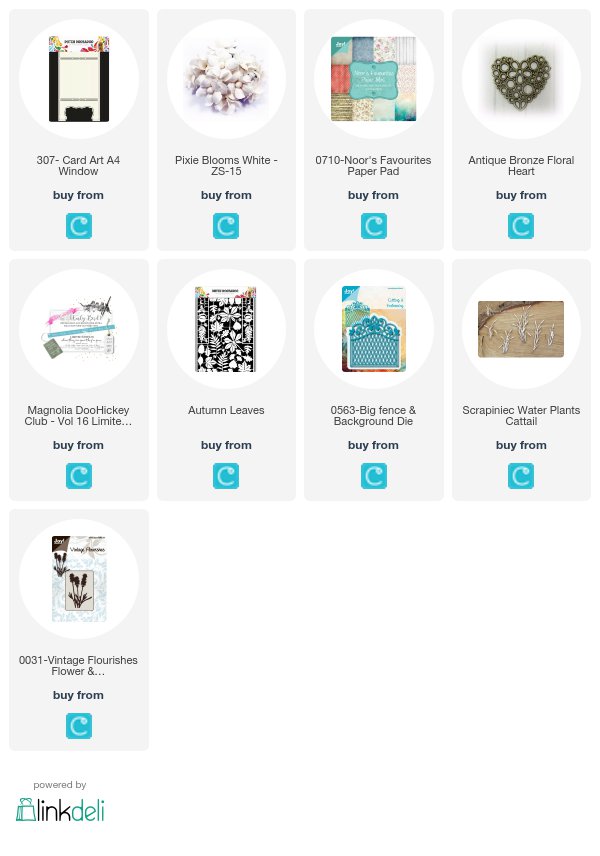
I used the Card Art Window stencil by Dutch Doobadoo for the card base. It's cut from craft cardstock and then I've put some designer's paper from the Noor`s Favourite Paper Pad on the outside. 

The german text means "with you the world is a better place". I've cut it in a banner shape and put it across the bottom of my card. It's only glued down on the left side so the card can still be opened. Since the card didn't stay closed completly I've used two magnets. One is hidden under the designer's paper on the right half of the card, the other one is glued to the back of the banner. They now keep the card closed.


On the bottom left I've added some fall-ish decoration. I used some leaves from the Paper Art Autumn Leaves here and inked them up using different types of browns to give them a fall-ish look. I also added a few berries and a white Pixie Bloom here.


I drive my husband crazy with my need for symmetrie - not only craftwise. So to balance it out I also added some decorations to the top right of the card. It's made from Cheesecloth, an antique bronze heart charm and a bow from twine.
Sorry, I didn't realize the glue wasn't dried here when I took the picture - and when I did it was too dark already to get a decent one.


When the card is closed you can see a part of a scene through the cut out window. When you open the card you get a full look at the scene.

The inside of the card is covered with another designer's paper from the Noor`s Favourites Paper Pad.  I went with a blue one with dots here.


Here's a close up of the scene I created. I started with a die cut cloud in the back. The next layer is made from the Big Fence and Background die. I love how filigrane and detailed it is. 

I used two cattails from chipboard next and added a die cut flower to the right side.

All the other parts are made using the DooHickey Kit #16. I used the ladder in the set as a fence. And isn't that hedgehog a real cutie?

Since I didn't want the hedgehog feel lonely I added this fox stamp by Magnolia. It's out of stock in the store, but I am sure quite a few of you bought it and maybe I can give you some inspiration on how to use it.

I guess, next time will be a christmas themed card again - until then, have a happy day!

Hugs, Kathrin

The products used can be ordered in the Noor! Design U.K. webshop:

Sunday, 5 November 2017

A frosty winter card

 Hello everyone!

Winter is really close now - and I am looking forward to it! Well, now I'm saying that, let's talk about it in two months... 
I am a person who loves the sun and heat. But doing winter crafts is a totally different thing than having to stand outside in the cold shoveling snow. I like to use those light and icy colors. And that's what I did on today's card:


I went with light blue and white papers from the Peony Avenue series by Studio75. All papers got a white matting.

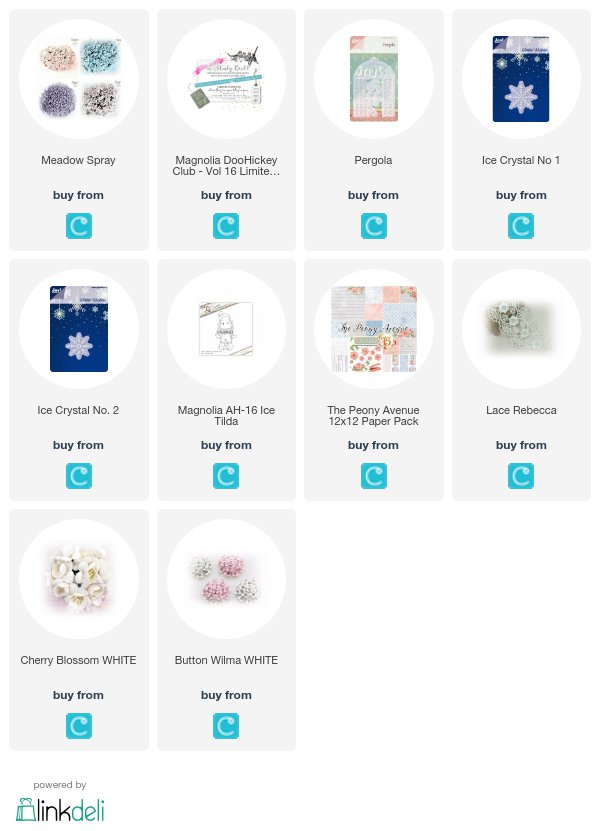
In the middle of the card I used the pergola die by Noor!Design. The lace I put across my card kind of looks like a  light layer of snow. It's lace Rebecca, which is double the height originally. Since that was too much for my card I just cut it in half lengthwise.

To the top right corner I've added a die cut winter text and a small heart shaped tag.


 Ice Tilda has bundled up to have fun in the cold. She's been colored in with Copics.

Next to her I've added a few embellishments: a die cut snowflake, a flower or grass thing that I have no name for, a light blue meadow spray, a white blossom and that Wilma button. With it's little blossoms and rhinestones it has the perfect look for my card.


 Behind the pergola I've put a large tree. This tree, and also the heart shaped tag and that flower thing I don't know how to name, are from the DooHickey Club Kit #16 by Magnolia. It has a fall theme but there are quite a few dies included that are perfect for winter cards as well.

I also added two snowflakes, put on top of each other, here.

So, let's wait for the first snowflakes. Have a happy sunday!
Hugs, Kathrin

The products used can be ordered in the Noor! Design U.K. webshop:

Saturday, 7 January 2017

♥ Me And My Snowman ♥


Hi everyone!
Diana is here today to show you an inspiration with gorgeous products from the Noor Design UK Webshop. I've made a winter card with the  beautiful frosty papers from MajaDesign. The image is a stamp by Magnolia from the Aspen Holidays Collection. Togeter with the DooHickey Dies. All the things I use are shown under this post.

♥ ♥ ♥


♥ ♥ ♥

♥ ♥ ♥

♥ ♥ ♥

♥ ♥ ♥

Tilda is colored with Distress Inks
Skin: Vintage Photo, Tattered Rose, cheeks Aged Mahogani
Hair: Walnut Stain
Clothes: Tumbled Glass, Stormy Sky, Hickory Smoke
Snowman: Iced Spruce, Hickory Smoke
Background: Weathered Wood

♥ ♥ ♥

Hope you like it!
Wish you all a nice weekend!

XX Diana

♥ ♥ ♥

The products used can be ordered in the Noor! Design U.K. webshop: