Pages

Showing posts with label The Peony Avenue. Show all posts

Sunday, 14 January 2018

A romantic card

Hello everyone!

I have more winter cards planned - but when I made this card it was one of those sunny days that this winter seems to bring not enough of. And so I made a romantic card that also has a spring-ish touch to it.


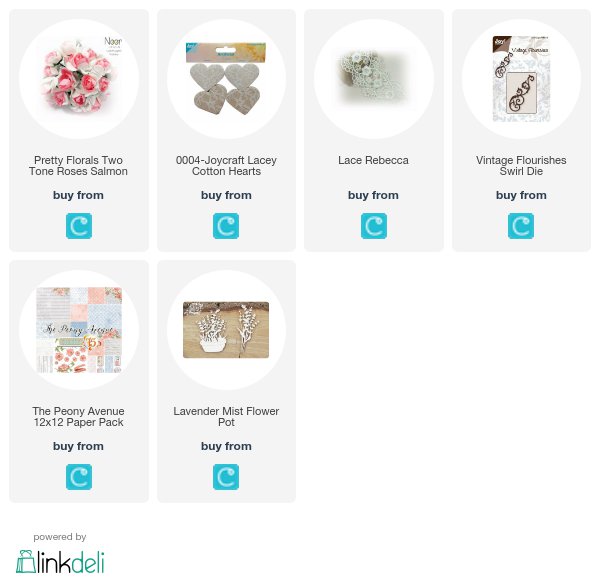
For this card I used different papers from the 12 x 12 Peony Avenue Paper pack. All of them not only match each other wonderfully - they also have beautiful romantic prints. And some of them even come with flowers on the edges, that can be used as eye catchers on the card, just the way I did here.


The ticket I used instead of an image here also was cut out from one of the papers. Underneath I've placed some of the Lace Rebecca - cut in half lengthwise - and the flower pot filled with lavender from Scrapiniec. This makes such a beautiful decoration without having to cut anything. 
And since a romantic card would not be right without roses I've added three of the two-tone roses in white and salmon. Just salmon would have been too hard, but the white petals really tune it down.


Here you see the  beautiful flower print on the paper. I added the cotton heart covered with lace under the top right corner of the ticket, making sure not too much of the flower print gets covered.
I also used a flourish under the paper - and added another one to the left of the card.

Have a happy day!
Hugs, Kathrin

The products used can be ordered in the Noor! Design U.K. webshop:
Sunday, 5 November 2017

A frosty winter card

 Hello everyone!

Winter is really close now - and I am looking forward to it! Well, now I'm saying that, let's talk about it in two months... 
I am a person who loves the sun and heat. But doing winter crafts is a totally different thing than having to stand outside in the cold shoveling snow. I like to use those light and icy colors. And that's what I did on today's card:


I went with light blue and white papers from the Peony Avenue series by Studio75. All papers got a white matting.

In the middle of the card I used the pergola die by Noor!Design. The lace I put across my card kind of looks like a  light layer of snow. It's lace Rebecca, which is double the height originally. Since that was too much for my card I just cut it in half lengthwise.

To the top right corner I've added a die cut winter text and a small heart shaped tag.


 Ice Tilda has bundled up to have fun in the cold. She's been colored in with Copics.

Next to her I've added a few embellishments: a die cut snowflake, a flower or grass thing that I have no name for, a light blue meadow spray, a white blossom and that Wilma button. With it's little blossoms and rhinestones it has the perfect look for my card.


 Behind the pergola I've put a large tree. This tree, and also the heart shaped tag and that flower thing I don't know how to name, are from the DooHickey Club Kit #16 by Magnolia. It has a fall theme but there are quite a few dies included that are perfect for winter cards as well.

I also added two snowflakes, put on top of each other, here.

So, let's wait for the first snowflakes. Have a happy sunday!
Hugs, Kathrin

The products used can be ordered in the Noor! Design U.K. webshop:

Friday, 27 October 2017

All things grow with love....

Hello everyone!

Hope you are well!
Today I'm sharing with you a card made with a stamp from Whimsy Stamps Summer Blooms collection.


I coloured this gorgeous stamp with Distress inks...
Paper pads are from Alice's Dreams collection and from Studio 75 The Peony Avenue collection.
For finish my card I add a lace, charm and Whimsy Stamps Christmas Cheer Enamel Dots...


My CAS card is done!

Hugs, Barbara GR


The products used can be ordered in the Noor! Design U.K. webshop:


Sunday, 22 October 2017

A Halloween Treat

 Hello everyone!

Today I have a Halloween Treat for you. It's a small popcorn box - and I want to show you that you don't have to have any dies or stamps created for Halloween to be able to make a treat.


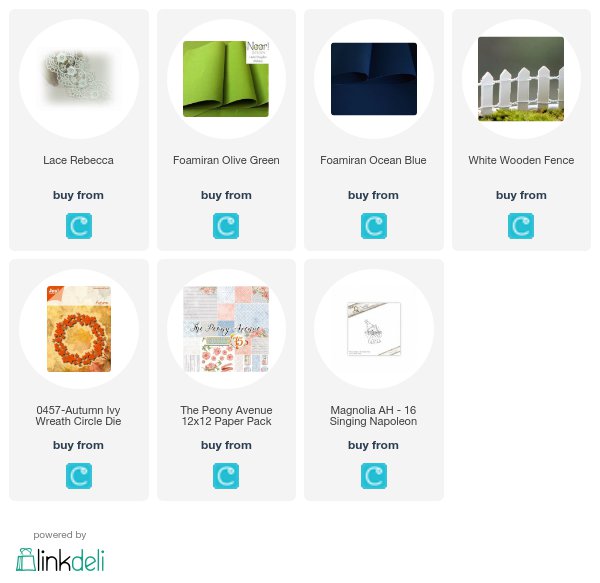
 The box is cut from grey cardstock and I put some designer's paper with a white and grey wall print from The Peony Avenue Paperpad on it.

Inside the box there is a clear bag filled with candies and some of those paper strips you use for gift wrapping. I've tied some green and white twine around the top of the bag to close it and also added a small piece of Rebecca Lace here.


This cute Singing Napoleon with its magician hat is perfect for Halloween. I also colored his belly green, so it looks like he'd put on a small costume.

Behind the cat I've placed a white wooden fence which I covered partially with black ink. Through the fence I've woven some ivy. I was cut from green Foamiran using the Ivy Wreath die. No matter how many videos about the Foamiran I watch, I can't get a decend flower done. But I found out that heating it up with an embossing tool makes the edges bend and curl a bit which adds a great touch to my ivy.


 The Boo was cut from indigo Foamiran - this is really great to use in your Big Shot. You end up with really great and crisp edges.

For the moon, that was made from yellow cardstock, I simply used two circle punches.

I am wishing all of you a great rest of the weekend!
Hugs, Kathrin

The products used can be ordered in the Noor! Design U.K. webshop:

Wednesday, 18 October 2017

Best Wishes


Good Morning,


I'm back wish some more inspiration for you, I have used the Peony Avenue Papers again as I just love how versatile they are. 


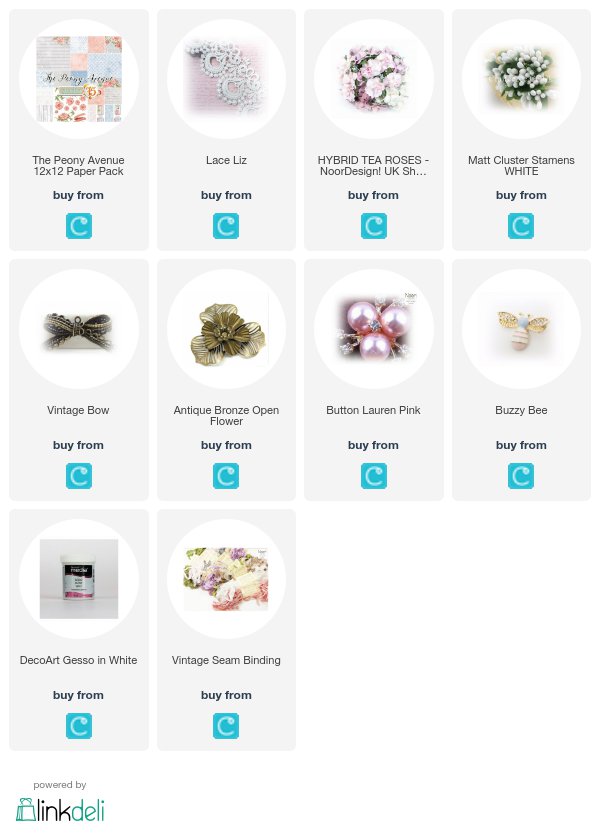
I have cut out one of the ticket sentiments from the sheet & used it as my main element and built around it. The leaves have also been cut out of one of the sheets.


I have mounted this gorgeous pearl button onto a bronze open flower and added a little white gesso paint to give it a softer look.


I couldn't resist adding the sweet little bee, I do love these. The bronze bow finishes off the arrangement perfectly with a little added seam binding.


Thank you for stopping by and come back tomorrow for some more gorgeous inspiration from the team.

Have a lovely day

Emma xx


The products used can be ordered in the Noor! Design U.K. webshop:

Friday, 8 September 2017

Let's Party....

Hello everyone!

My today's post is late but I would like to share with you a card made another Polkadoodle's beautiful rubber stamp called Brought The Cake.


I made it using two diffetent paper pads, one from Pion Design's Patchwork Of Life collection and the other one is from Studio75  The Peony Avenue collection... n 06.

All dies used are from LDRS creative collections:
Fancy Rectangle & Layers, Majestic Rectangle Label and Background Builders Die set.

I added a sentiment and just few flowers ... listred below this post.


The image is coloured with Zig Clean Color Real Brushes.

Thank you for visiting!

Happy crafting!
Barbara GR

The products used can be ordered in the Noor! Design U.K. webshop: