Pages

Showing posts with label Studio 75. Show all posts

Sunday, 14 January 2018

A romantic card

Hello everyone!

I have more winter cards planned - but when I made this card it was one of those sunny days that this winter seems to bring not enough of. And so I made a romantic card that also has a spring-ish touch to it.


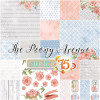
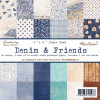
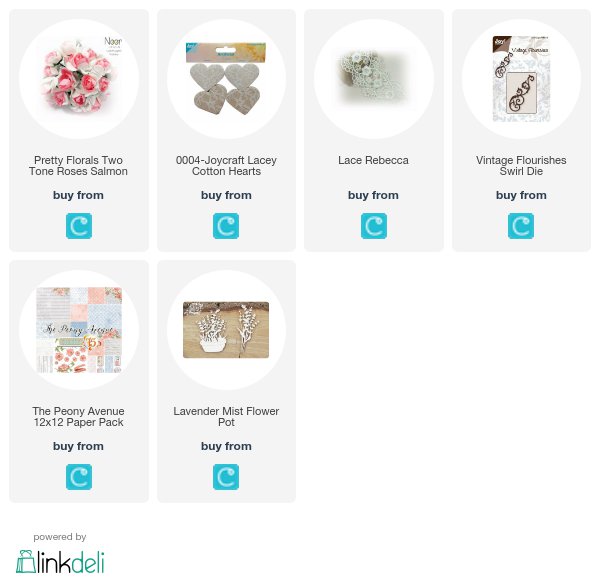
For this card I used different papers from the 12 x 12 Peony Avenue Paper pack. All of them not only match each other wonderfully - they also have beautiful romantic prints. And some of them even come with flowers on the edges, that can be used as eye catchers on the card, just the way I did here.


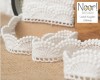
The ticket I used instead of an image here also was cut out from one of the papers. Underneath I've placed some of the Lace Rebecca - cut in half lengthwise - and the flower pot filled with lavender from Scrapiniec. This makes such a beautiful decoration without having to cut anything. 
And since a romantic card would not be right without roses I've added three of the two-tone roses in white and salmon. Just salmon would have been too hard, but the white petals really tune it down.


Here you see the  beautiful flower print on the paper. I added the cotton heart covered with lace under the top right corner of the ticket, making sure not too much of the flower print gets covered.
I also used a flourish under the paper - and added another one to the left of the card.

Have a happy day!
Hugs, Kathrin

The products used can be ordered in the Noor! Design U.K. webshop:
Sunday, 31 December 2017

It's New Year's Eve

Hello everyone!

It's New Year's Eve - the last day of the year. Everyone is looking forward to the new one, leaving behind the old one and all the unpleasant things it might have brought. And of course to all the celebrations planned tonight! That's what I made the theme of the card I am sharing with you today:

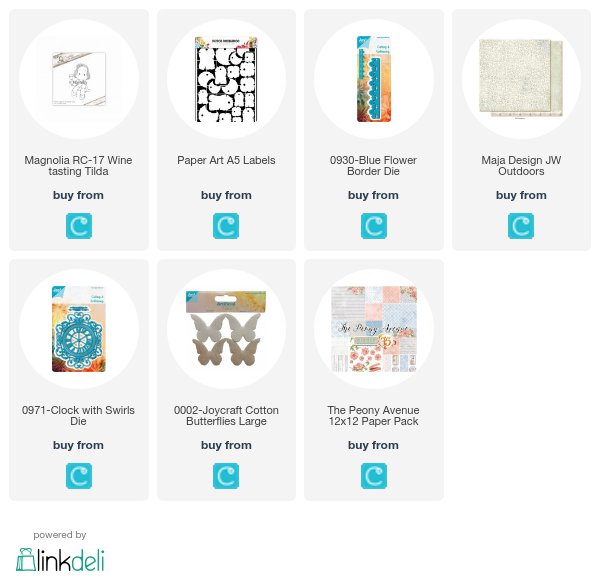
 Here I used the beautiful Outdoors paper from the Joyous Winterdays Collection by Maja Design. I used both sides here - the one with the flourishes in the background and the beautiful green one for the big rectangle in the middle of my card. Inbetween I've put some paper with a script pattern from the Peony Avenue paperpad by Studio 75. I also used the same one for the strip I've put across the card.

All papers are matted with black cardstock to add some contrast to my card. Behind the large rectangle I've put a flower border cut from black cardstock using the border die by Noor!Design.


 In the middle, as the center element, I used the beautiful Clock with Swirls by Joycrafts. I love the look of this die cut! The detailed and swirly frame and the antique looking clock in the middle. 

I used silver mirror cardstock to cut the background part. On the picture I took of the whole card my camera is mirroring in the mirror cardstock so you can't really see it. That's why I took another picture from an angle. Can you see the elegant look? I think using the mirror cardstock only made it look more elegant. The clock was cut from black cardstock.


I used Wine Tasting Tilda for my card again. As you might have seen - the clock shows it's midnight. And Tilda is ready to toast to the new year. She even brought out her nice clothes, wearing a glittering shirt and matching shoes. 


 On the left side of the card I used the Outdoors paper again to cut this little banner and tucked it under the clock. I also used one of the large Cotton Butterflies by Joycrafts here. Who says all butterflies are hiding away in winter?

So, with this last card of the year here on the blog I want to wish all of you a happy New Year's Eve and a wonderful, creative and healthy new year 2018!

Hugs, Kathrin

The products used can be ordered in the Noor! Design U.K. webshop:

Sunday, 29 October 2017

A fall-ish lollipop flower

 Hello everyone!
It's sunday again and that means, I am going to share a new creation with you. For this week I didn't make a traditional card - I made a lollipop flower instead and gave it a fall-ish look:


 I love to make those since there is not only room for some greetings on the back, they also make a nice home decoration.


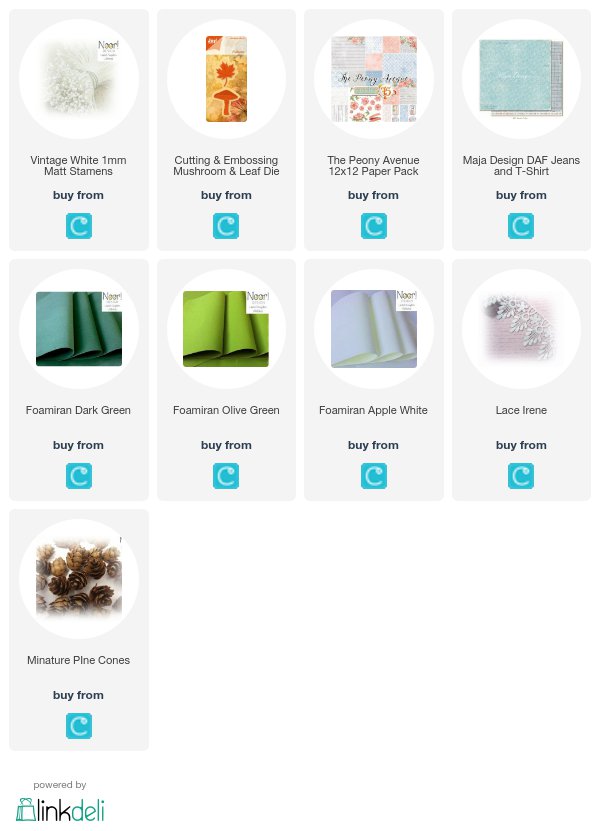
 Base is a large paper rosette made from craft cardstock. I've put a circle from white cardstock on top of it and then a circle cut from the Jeans and Tie sheet by Maja Design. The rectangle I felt like adding to my creation to light up the colors a bit is from the Peony Avenue paperpad by Studio 75.

The mushroom was cut from brown, ivory and red-brown cardstock and then put together. I've made a few slits into the ivory cardstock and curled them up a bit and also used a white gelly marker to add a few dots to the red cardstock.


The leaves are cut from ivory, olive green and dark green Foamiran. I really seem to get a grip on that stuff! Usually I don't have an iron on my craft desk and since my craft room is on the 2nd floor and the iron is stored on the 1st floor  I went next door into one of my daughters' rooms instead and borrowed their straightener. It worked great! Then I used different tones of yellow, orang, brown and green to give the leaves a fall-ish touch.

I also added some berries, some white stamens and a small pine cone inbetween the leaves.


There is a paper straw glued into the rosette and I wanted to decorate this as well. So I've wrapped some Irene lace around it and it reminds me of the mushroom and how I'd treatened the ivory cardstock there. Then I tied a Vintage Bow charm to the paper straw as well.

Have a happy sunday everyone!
Hugs, Kathrin

The products used can be ordered in the Noor! Design U.K. webshop:

Friday, 27 October 2017

All things grow with love....

Hello everyone!

Hope you are well!
Today I'm sharing with you a card made with a stamp from Whimsy Stamps Summer Blooms collection.


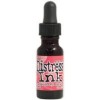
I coloured this gorgeous stamp with Distress inks...
Paper pads are from Alice's Dreams collection and from Studio 75 The Peony Avenue collection.
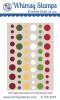
For finish my card I add a lace, charm and Whimsy Stamps Christmas Cheer Enamel Dots...


My CAS card is done!

Hugs, Barbara GR


The products used can be ordered in the Noor! Design U.K. webshop:


Sunday, 17 September 2017

a summer-ish hello

 Hello everyone!

Today I have a card to share that is still a little summer-ish. To me, fall comes way too early this year and so I tried to make it last a little longer with my card.


 Those papers I used are so beautifully soft and light - exactly what I love! I picked up the colors of those papers when I did the coloring of my image. I needed to add some darker turquoise, just because I needed more colors but it's still in the same color family.


 This cute LDRS image is called "Parade". It's pretty big but with all the white on the top right there's enough room for decorations to cover that up. 


 And these are the embellishments I went with. As I mentioned, the image is pretty large so there wasn't room for too many and I didn't want to cover up the image. So I added this Antique Blue Pixie Blossom, that went perfect in color with what I used for coloring. Then I gave Foarmian a go - but I already see that I have a lot to learn. I see myself buying another iron soon to store in my craft room. To pick up the light colors from the papers I've added some wooden decorations and there's also a bow made from turquoise twine. 

Have a happy sunday everyone!
Hugs, Kathrin

The products used can be ordered in the Noor! Design U.K. webshop:


Friday, 8 September 2017

Let's Party....

Hello everyone!

My today's post is late but I would like to share with you a card made another Polkadoodle's beautiful rubber stamp called Brought The Cake.


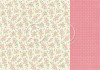
I made it using two diffetent paper pads, one from Pion Design's Patchwork Of Life collection and the other one is from Studio75  The Peony Avenue collection... n 06.

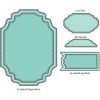
All dies used are from LDRS creative collections:

Fancy Rectangle & Layers, Majestic Rectangle Label and Background Builders Die set.

I added a sentiment and just few flowers ... listred below this post.


The image is coloured with Zig Clean Color Real Brushes.

Thank you for visiting!

Happy crafting!
Barbara GR

The products used can be ordered in the Noor! Design U.K. webshop: