Pages

Showing posts with label Scrapiniec. Show all posts

Wednesday, 5 December 2018

Christmas/Winter Tags with Scrapiniec chipboards

Hello, Henriëtte here sharing two Christmas/winter tags with Scrapiniec chipboards. 


The tags are approx. 4 by 6 inches (10 x 16 cm).
On the left tag I used a heart shaped chipboard from the Cherish Christmas series. 
On the right tag I used the snowflake from the flowers of Winter series. 
Both chipboards have 2 layers.

Lets take a closer look at both tags, starting with the more masculine one.


I used papers from Pion Design (Winter Wonderland) and the woodpattern paper is from 
Mintay (Christmas Stories). 
I distressed all edges and on the wood pattern piece I used a 13 arts stencil vintage wreath and a brown inkpad. 
I used that same brown ink to color the edges of the roses.


There's are also rusty tin snowflakes, birch bark stars, frosted pomegranates, sisal and
 foam stamens on the tag.


I love the brown with the blue color combination.

The other tag is more feminine with the lace and pearls.
The paper on this tag is from Pion Design - Winter Wonderland.
I've added white and clear embossing powder to the snowflake chipboard.


On the edge of the pattern paper I used 3D Snow effect and
in the middle of the snowflake I glued a cute reindeer charm.


The roses are the same as on the first tag but without the brown edges.


I hope you enjoy my tags and I that I've given you some ideas.

Thanks for stopping by. I appreciate your comments!

Hugs, Henriëtte.


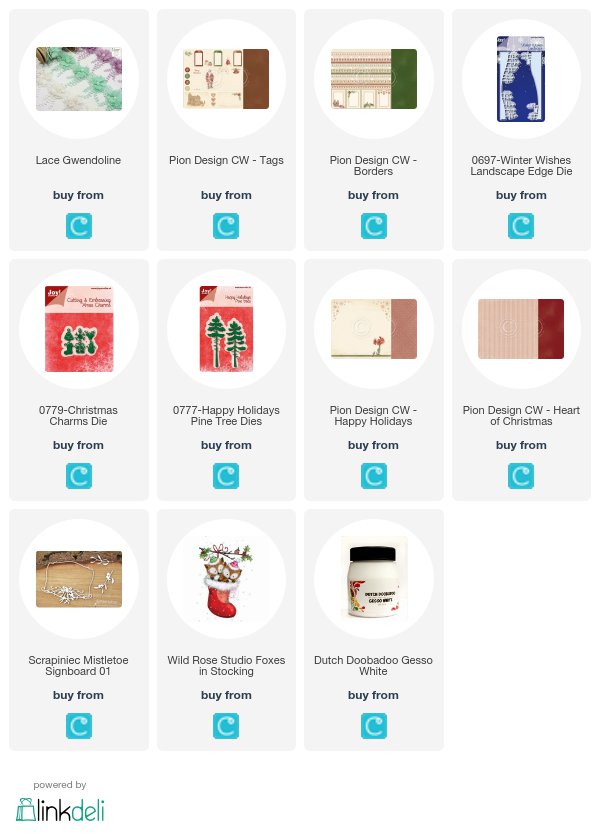
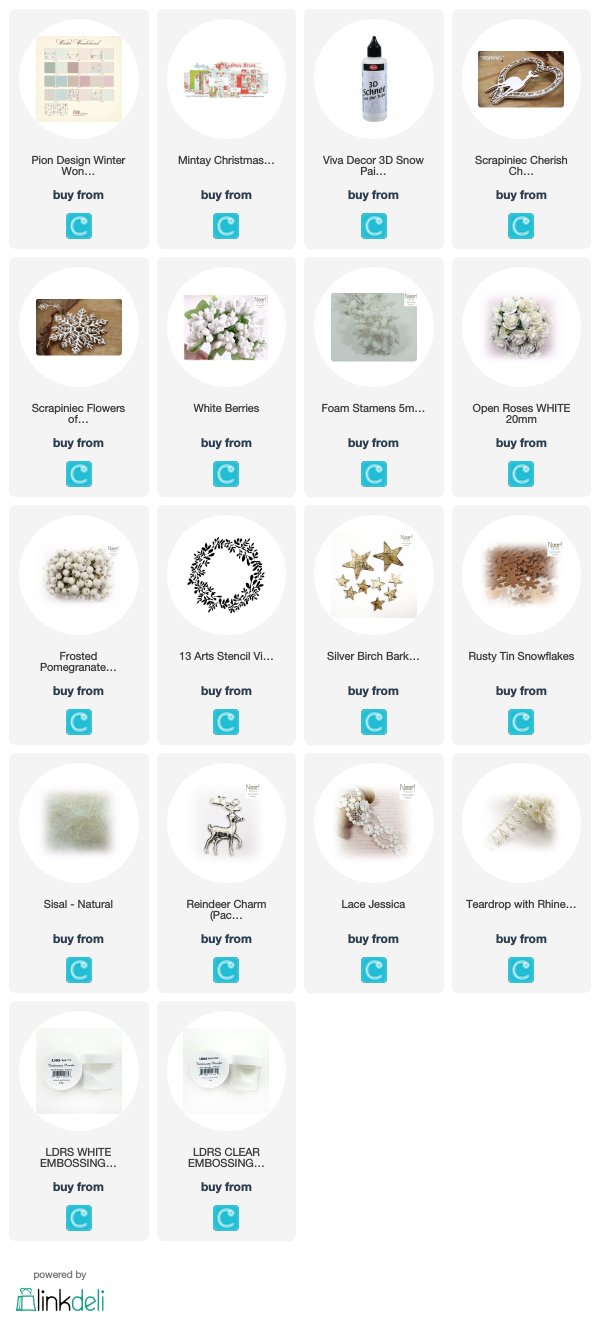
Crafteezee supplies used:
Friday, 6 April 2018

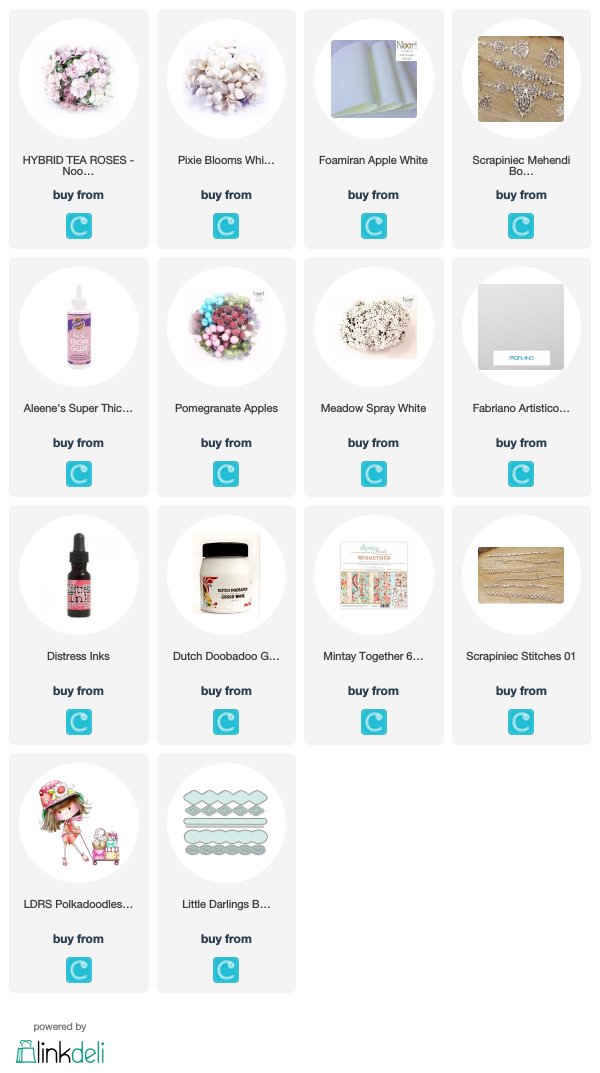
Polkadoodles.... Shopping Haul

Hello!

It's me Barbara with you today. I would like to share with you my newest card made with another LDRS Polkadoodles rubber stamp.
For this week's card I used Shopping Haul.


I coloured the image with Distress inks... then I cut it out and make a stitched border using LDRS Little Darlings Background Builders  1 Die Set.
On the rigt side of the image I added Scrapiniec Stitches chipboard.


I made a peony using white Foamiran.
I glue it on the rigt side of my card adding Scrapinic chipboard called Mehendi Borders, Meadow Spry white and Hybrit Tea Rose.


On the left side I added just one Pixie Blossom and green Pomegranate Apples...
For finish my card I added just some Gesso here and there... 
and nothing other. 

Thank you for fisiting!
I wish you a beautiful weekwnd!!

Hugs, Barbara GR

The products used can be ordered in the Noor! Design U.K. webshop:

Sunday, 14 January 2018

A romantic card

Hello everyone!

I have more winter cards planned - but when I made this card it was one of those sunny days that this winter seems to bring not enough of. And so I made a romantic card that also has a spring-ish touch to it.


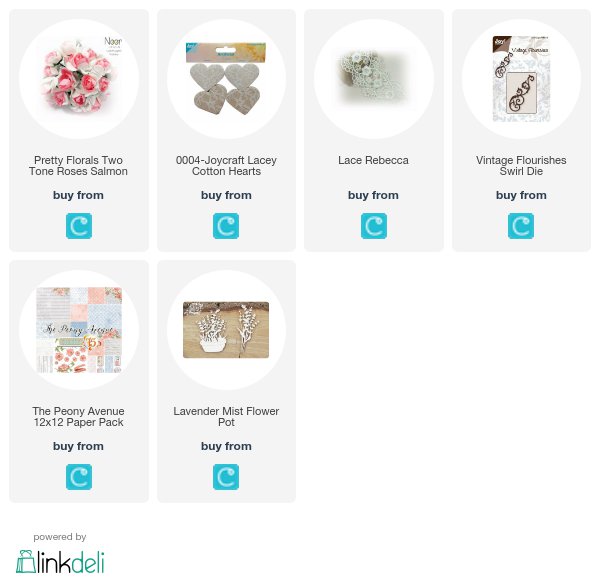
For this card I used different papers from the 12 x 12 Peony Avenue Paper pack. All of them not only match each other wonderfully - they also have beautiful romantic prints. And some of them even come with flowers on the edges, that can be used as eye catchers on the card, just the way I did here.


The ticket I used instead of an image here also was cut out from one of the papers. Underneath I've placed some of the Lace Rebecca - cut in half lengthwise - and the flower pot filled with lavender from Scrapiniec. This makes such a beautiful decoration without having to cut anything. 
And since a romantic card would not be right without roses I've added three of the two-tone roses in white and salmon. Just salmon would have been too hard, but the white petals really tune it down.


Here you see the  beautiful flower print on the paper. I added the cotton heart covered with lace under the top right corner of the ticket, making sure not too much of the flower print gets covered.
I also used a flourish under the paper - and added another one to the left of the card.

Have a happy day!
Hugs, Kathrin

The products used can be ordered in the Noor! Design U.K. webshop:

Sunday, 7 January 2018

A winter card

 Hello everyone!

I hope you all had a great start into this  new year and now we're all back to our creative routine.

After the holidays I sometimes have a hard time picking a new theme. It's a bit too early for Valentine's or spring cards. So when looking out the window I saw snowflakes falling down gently and got inspired to make a winter-ish card.


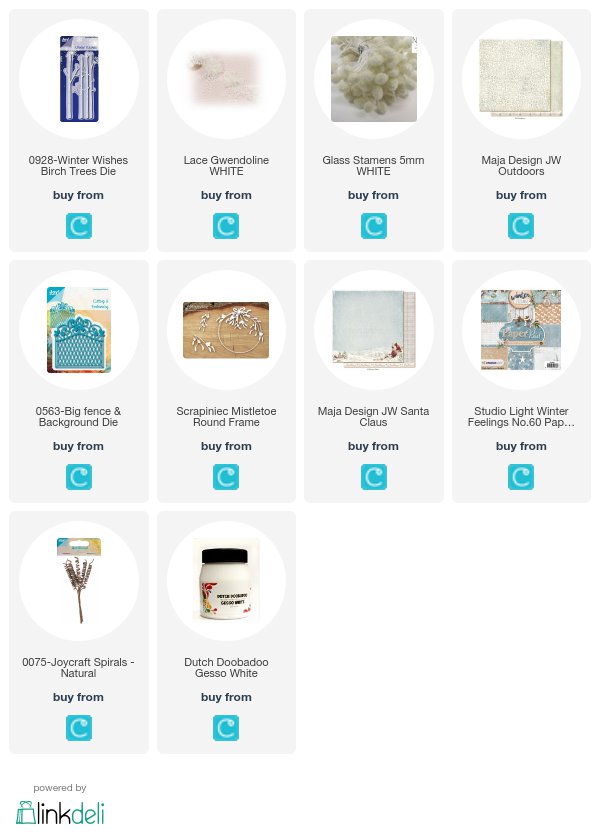
This time I decided against a square card - the shape I like to do most - and went with a regular rectangle card base. On top of that I've put some designer's paper from the Winter Feelings No 60 Paper Pad. I covered the edges with white Gesso to add the impression of snow. 

On top of the designer's paper I've put the birch trees by Noor!Design, a die cut Big Fence and another piece of designer's paper by Maja Design.

For the saying I've die cut the word winter from the same paper I used as the background and used a rhinestone for the i-dot.


 Instead of a stamped image I went with this one that was cut from the bottom the Santa Claus designer's paper by Maja Design. Those two little bunnies playing in the snow really deserve their own card.

Around the image I've added the Mistletoe Round Frame by Scrapiniec. I think this is still great to be used after christmas.


For decorations I went with this fluffy white flower. It was cut from the Gwendoline lace. Then I've put some glass stamen and a brown paper spiral underneath.

Have a happy sunday!
Hugs, Kathrin

The products used can be ordered in the Noor! Design U.K. webshop:

Friday, 5 January 2018

Another Christmas card...

Happy New Year!!!
It's Barbara with you today!
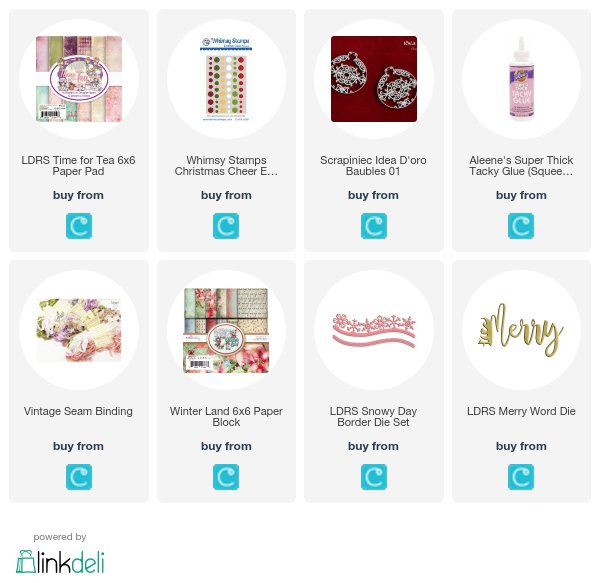
I'm sharing one of my CAS Christmas cards made using Winter Land 6x6 paper pads and LDRS Time for tea 6x6 paper pad.


I used just two dies from DRS collection. They are  Snowy Day Border Die and Merry die.
I added just one Scrapiniec ornament and a little bow made with Vintage Seam Binding..


... and nothing other...


I glued all pieces together using Tacky glue and  2mm foam.
Easy and fast.
Happy crafting!
Hugs, Barbara GR

The products used can be ordered in the Noor! Design U.K. webshop:

Monday, 25 December 2017

Silent Night

Hello everyone on this special day - Merry Christmas to everyone out there! I hope you were able to spent a wonderful Christmas Eve and will have magical Christmas days.

Of course I'll show you a Christmas themed card today. Although I am not that keen of classic Christmas images, I really love this one. This is the last project I'll show you here as I decided to step back from the team to the end of the year. I wish you all a Happy New Year!


A close up of the image...


The poinsettia I made with Foamiran...


Thank you so much for your visit here. Have a wonderful time and bye.
Hugs, Karina

The products used can be ordered in the Noor! Design U.K. webshop:


Monday, 11 December 2017

Rudolph

Hello and good morning everyone, countdown to Christmas - only two weeks to go, crazy!! I have made another Christmas card using sweet Rudolph by Whimsy Stamps and a handmade poinsettia made with Foamiran. 


The coloring is made with Copics.


and a close up of the poinsettia, I added some natual berries to the center and love the look of it.


Thank you so much for your visit here. Have a happy week.
Hugs, Karina

The products used can be ordered in the Noor! Design U.K. webshop:

Sunday, 10 December 2017

A winter card with snow globe

 Hello everyone!

I am totally a person for warm and sunny weather. In winter, when it's snowing, an icy wind is blowing I love to look out my window and enjoy the nature but I don't really like being outdoors. But when it comes to crafting I love to add a lot of frost to my creations. And so I also added some to the card I am sharing with you today.


For the base I used one of the sheets from the Winter Feelings #59 paper pad by Studio Light. It's full of fun and frosty designs. To add even more frost I used Frantage Chunky White on the edges to add a frost pattern.

Across this paper I've put a piece of the Rebecca lace.


As the main element of my card I didn't go with an image this time but this snowglobe. It's made using the snowglobe die by Joycrafts. I've die cut the houses from light and dark grey cardstock and added another layer of white for some snow. The paper with the falling snow is another sheet from the Winter Feelings paper pad. I also added a few of the stars confetti here.

The frame and the bottom of the snowglobe were cut from silver glitter cardstock. It goes so great with an icy color scheme. To make the delicate pattern of the bottom pop out a bit more I used white cardstock behind the bottom.


On the left side I've put some trees behind the snowglobe. I used the birch trees die by Joycrafts to cut them and a white gelly marker to paint in the details through the holes in the die.

This cute Tilda with Snowheart by Magnolia is an older image but I thought it goes so perfectly with my card, I just had to use her.


On the bottom right of my card I've used some turquoise wax cord, white pixie blossoms and some of the white 5mm glass stamen. I only used the ends here, glueing the directly onto my card. They remind of me of ice covered berries. 


On the top right I've put one of the Paper Art Labels by Dutch Doobadoo behind the snowglobe. It looks like  a moon to me and just fits into the scene. I've tied some turquoise ribbon to it and added more berries and a die cut star to it.

 Wishing all of you a happy sunday!
 Hugs, 
Kathrin

The products used can be ordered in the Noor! Design U.K. webshop:

Monday, 4 December 2017

Red Robin

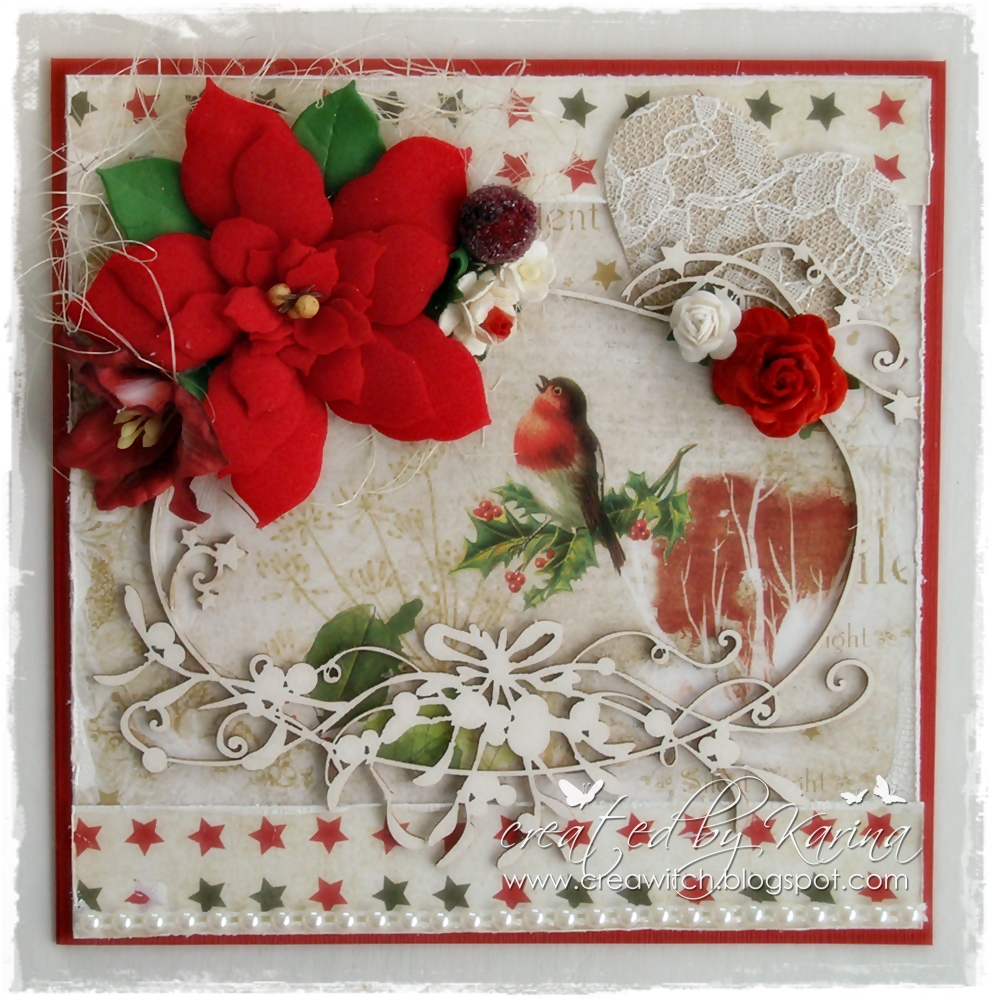
Hello and good morning everyone, I hope you're doing fine and had a happy 1st advent. I had and am lucky to have a week off now for getting ready with all my Christmas preparations. Today I have another Christmas card to show you. Have you known that I love birds? I'm amazed to see them and to hear their songs. They are so beautiful. And so I am also in love with that paper with a sweet little Robin. Of course I had to highlight that cutie with a gorgeous Scrapiniec frame.


Look that cutie, surrounded with this gorgeous Scrapiniec oval frame.


and a lacey heart in the corner...


a poinsettia made with Foamiran is a perfect addition to my card...


Thank you very much for your visit. Have a happy day now.
Hugs, Karina

The products used can be ordered in the Noor! Design U.K. webshop:

Sunday, 3 December 2017

Foxes in a stocking

Hello everyone!

Today I have another christmas card to share and I used quite a few new items on it:


Those papers by Pion Design I used here are just beautiful. I used one with snowflakes printed on the edge/corners in the background, trying not to fully cover the snowflakes with the rest of my papers and decorations. 

On top of that I've added a rectangle from a solid red paper and then one with a hearts print. It's acutally the same paper - I've been using both sides of it.

Across the card I've added a border using the Landscape die, putting a piece of a banner cut from the borders desinger's paper by Pion Design on top of one side.


And here are the cute foxes by Wild Rose Studio. I was afraid the reddish orange/brown I used to color the foxes in would not look good with the dark red, but I think it actually does.

The image was colored in with Copics.


On the bottom left of my card I've added a few embellishments. I went with one of the mistletoe branches by Scrapiniec, a pine cone and a fabric flower here. The flower was simply cut from a piece of lace on which it was sewn for decorations.


Above the decorations I added some pine trees. They were cut from corrugated paper and I used white Gesso to add some snow. The Gesso was also used on the edges of all the designer's papers.

I also wanted to add a touch of green to my card, since there is some in the image. I don't really like the traditional christmas color combination of  red and green, but just a hint of green with lots of reds is fine with me. So I've cut one of the smaller tags from the Tags paper by Pion Design and tucked it under the trees. To the top of the tag I've added a bow from twine and also tied one of the little christmas charms to it. The deer head just fit so perfectly to the woods and foxes.

Have a happy sunday everyone!
Hugs, Kathrin

 The products used can be ordered in the Noor! Design U.K. webshop:

Monday, 20 November 2017

Christmas Wishes

Good morning everyone, today I have another Christmas card to share with you. I used this cute little Santa for my card. I love the colors red, brown and creme for any Christmas projects. So the new Pion Design Paper Collection 'Christmas Wishes' is perfect for any Christmas projects.


Below you can see some close ups of my card...


Thank you so much for your visit. Have a happy week!
Hugs, Karina

The products used can be ordered in the Noor! Design U.K. webshop: