Pages

Showing posts with label Noor's Favourites Paper Pad. Show all posts

Sunday, 12 November 2017

A fall-ish card

 Hello everyone!

Today I am sharing a card that has more a fall-ish look. I have made so many christmas cards already that I needed a break for them. And november is still fall, right? So, I sat down on my desk and this is what I ended up with:


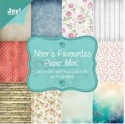
I used the Card Art Window stencil by Dutch Doobadoo for the card base. It's cut from craft cardstock and then I've put some designer's paper from the Noor`s Favourite Paper Pad on the outside. 

The german text means "with you the world is a better place". I've cut it in a banner shape and put it across the bottom of my card. It's only glued down on the left side so the card can still be opened. Since the card didn't stay closed completly I've used two magnets. One is hidden under the designer's paper on the right half of the card, the other one is glued to the back of the banner. They now keep the card closed.


On the bottom left I've added some fall-ish decoration. I used some leaves from the Paper Art Autumn Leaves here and inked them up using different types of browns to give them a fall-ish look. I also added a few berries and a white Pixie Bloom here.


I drive my husband crazy with my need for symmetrie - not only craftwise. So to balance it out I also added some decorations to the top right of the card. It's made from Cheesecloth, an antique bronze heart charm and a bow from twine.
Sorry, I didn't realize the glue wasn't dried here when I took the picture - and when I did it was too dark already to get a decent one.


When the card is closed you can see a part of a scene through the cut out window. When you open the card you get a full look at the scene.

The inside of the card is covered with another designer's paper from the Noor`s Favourites Paper Pad.  I went with a blue one with dots here.


Here's a close up of the scene I created. I started with a die cut cloud in the back. The next layer is made from the Big Fence and Background die. I love how filigrane and detailed it is. 

I used two cattails from chipboard next and added a die cut flower to the right side.

All the other parts are made using the DooHickey Kit #16. I used the ladder in the set as a fence. And isn't that hedgehog a real cutie?

Since I didn't want the hedgehog feel lonely I added this fox stamp by Magnolia. It's out of stock in the store, but I am sure quite a few of you bought it and maybe I can give you some inspiration on how to use it.

I guess, next time will be a christmas themed card again - until then, have a happy day!

Hugs, Kathrin

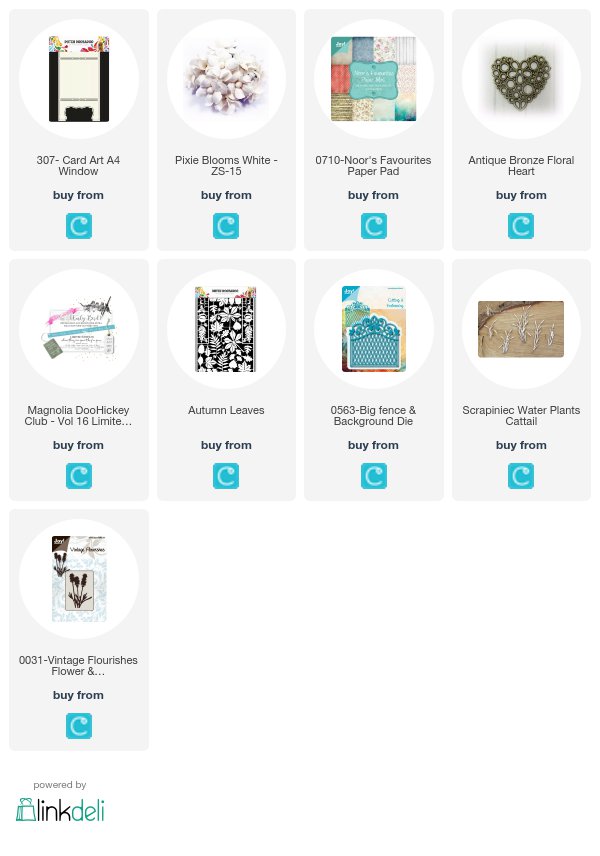
The products used can be ordered in the Noor! Design U.K. webshop:
Monday, 6 November 2017

Winter Wonderland

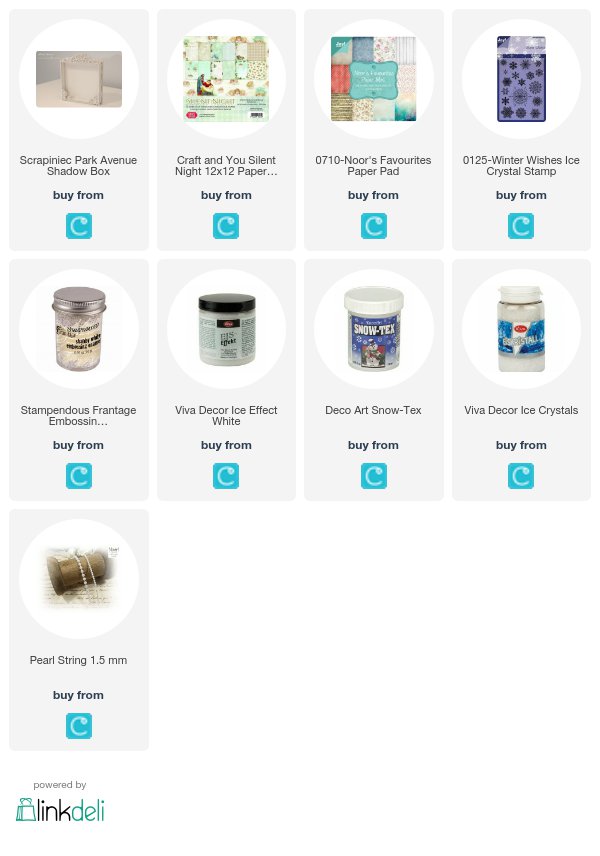
Hello and good morning everyone! When I saw this gorgeous winter themed paper sheet I knew immediately... this have to be highlighted in this shadow box from Scrapniniec. And so did I and am very happy withh the result...


I added some paper stripes to the sites inside and outside - where I also added some pearl string. The frame is embossed with Frantage Embossing Enamels.


First I white embossed some Ice Crystals to the background, then I added some Frantage too, to give it a more winterlike look.


In the corners and edges I added some Snow Tex and Ice Crystal to give it even a more winterlike look.


Thank you for your visit here. So much appreciated as always. Have a happy week and bye for now.

Hugs, Karina

The products used can be ordered in the Noor! Design U.K. webshop:

Sunday, 15 October 2017

Capture the moment

 Hello everyone!
Today I am sharing another card with you. It still has a summer-ish touch - seems like I am just not ready for fall yet.


I used designer's papers in different shades of turquoise and blue from different brands here. I especially love those double sided papers, since the front and back most times go perfectly together. Like the Streetwear sheet by Maja Design on my card - it has the great stars pattern on one side and the lighter turquoise with a soft pattern on the other one. 


For the image I went with Tilda with Daisy Umbrella by Magnolia here. You might think summer at first look at her but I think she's also great to be used in fall. Like, daisies seem to be the first and last flowers in my meadow.


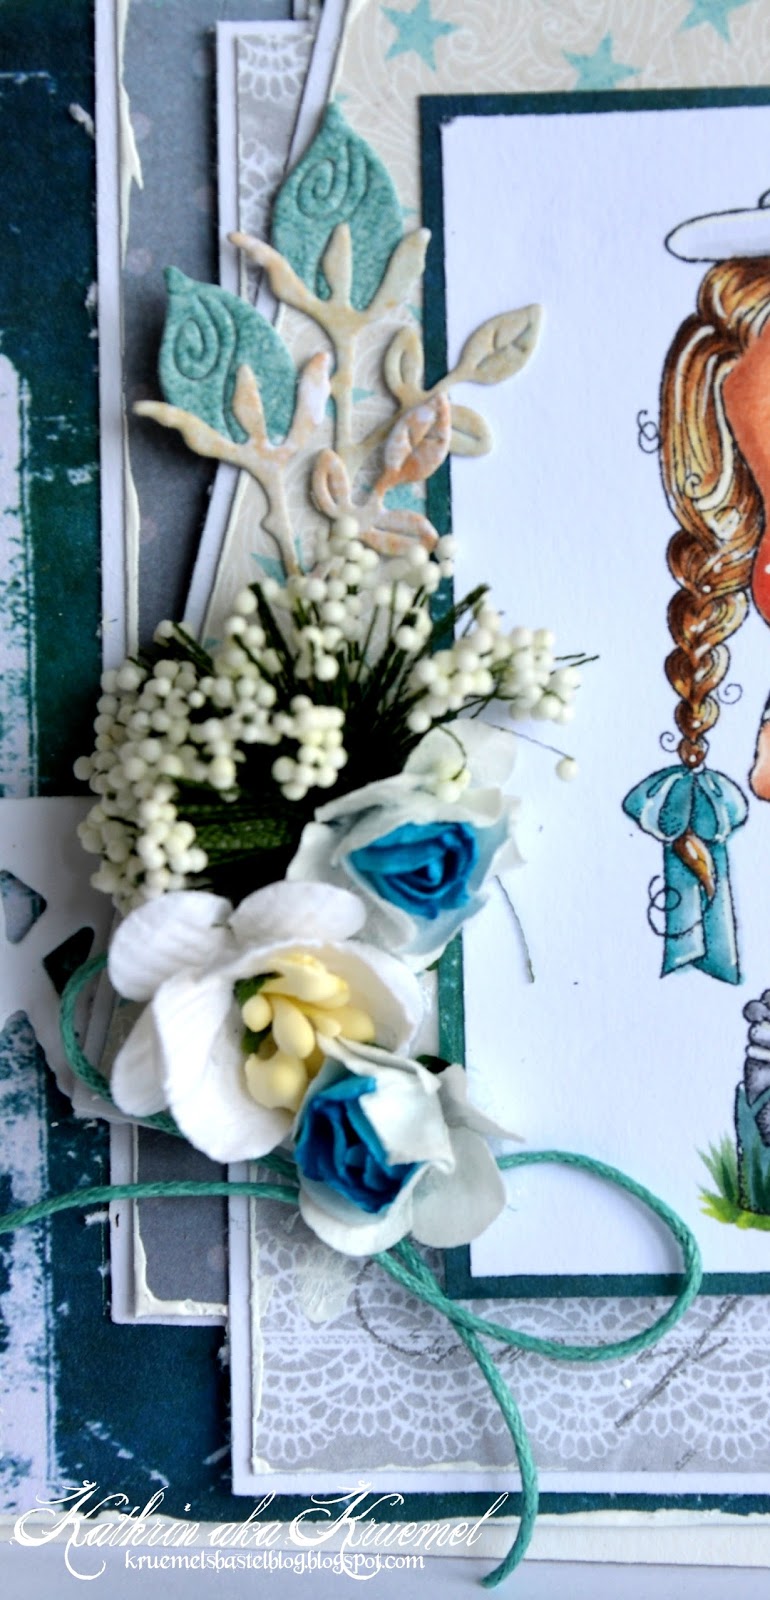
I've put all the embellishments to one side of my card. Besides different flowers I've also added some wax cord and those white Meadow Sprays. Love their bulky look.
And since I wanted something higher in the background I've die cut this rose from the Rose and Heart die set by Magnolia and put behind the spray.


Instead of a stamped image I went with this laser die cut chipboard saying. It was perfect in color and size.

Have a happy sunday everyone!
Hugs, Kathrin

The products used can be ordered in the Noor! Design U.K. webshop:


Sunday, 10 September 2017

My first post on this blog

 Hello everyone!
I was in vacation when I got an email that I am a new DT member for Noor!Design UK Shop. Could vacation get any better? 
Now I am back home again and have my very first project ready to share with you:


I made a little seed bag here and decorated it with a fall-ish theme - yes, sadly summer is coming to an end. But I am looking forward to all those fall colors.

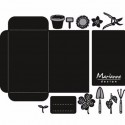
For the seed bag itself I used the Seed Pocket and Garden Tools die set by Marianne Design. I love how it now only comes with the seed bag die itself but also with so many little dies that can be used to decorate it.

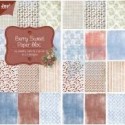
I've die cut the bag from a designer's paper with a wooden print from the Noor's Favourite Paper bloc. Then I put some cheesecloth and white cardstock on the front and then added the smaller rectangle from the set. It was die cut from a blue paper with white dots that comes in the Berry Sweet Paper bloc. 

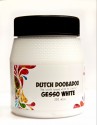
I also added some white paint on the edges of some of the papers. Therefor I used the Gesso White by Dutch Doobadoo. 


For the image I went with the cute Farmer Tilda. Isn't she a real cutie? And with the checked blouse she looks like a real gardener. She was colored in with Copics and then I've cut her out around the stamped lines.

Behind Tilda I've added some twine that I also used to tie a bow on the back and keep the bag closed.


The sunflower was made using some of the smaller dies that come with the seed bag. I've die cut the single parts from different colors of cardstock and then put everything together.


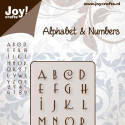
The label that also comes with the seed bag is what I used to add a little greeting to my creation. The "happy fall" was put together from single letters, cut using the Alphabet and Numbers die set. Those letters have the perfect size for this label.

I am looking forward to sharing more creations here with you and to my time here on the team. Until next week I am wishing all of you a happy sunday!
Hugs,
Kathrin aka Kruemel

The products used can be ordered in the Noor! Design U.K. webshop:


Friday, 29 January 2016

For You with Love

Just jumping in before you get to today's beautiful inspiration.  As you know this past month Barbara has brought us some beautiful projects.  I asked Barbara if she would like to join our Design Team and guess what she said............ yes of course and I totally delighted............

Please give a very warm welcome to Barbara as our newest DT Member and I am sure she will be delighting you with her gorgeous crafty makes


.........................................................................

Helllo,

Today I'm sharing my first project as a Noor! Design U.K. DT!!!! Thank you Tracy for this fantastic adventure! LOL

On this occasion I've made a box  with Dutch Doobadoo Box Art A4 Baroque and little envelope with Envelope Art A4 Scallop.


How I made a little envelope with a Dutch Doobadoo stencil? Quite simple... I reduced it. 
Looked like this...


Papers used are from Joy Crafts. I've distressed all the paper edges and then I've added a bit of Gesso to give it the vintage look.


For the "cookies box" I've also used Cutting & embossing Joy Doili Edge Die.


Hope you enjoy like me!

See you very soon with some new inspiration!
Barbara GR


The products used can be ordered in the Noor! Design U.K. webshop: