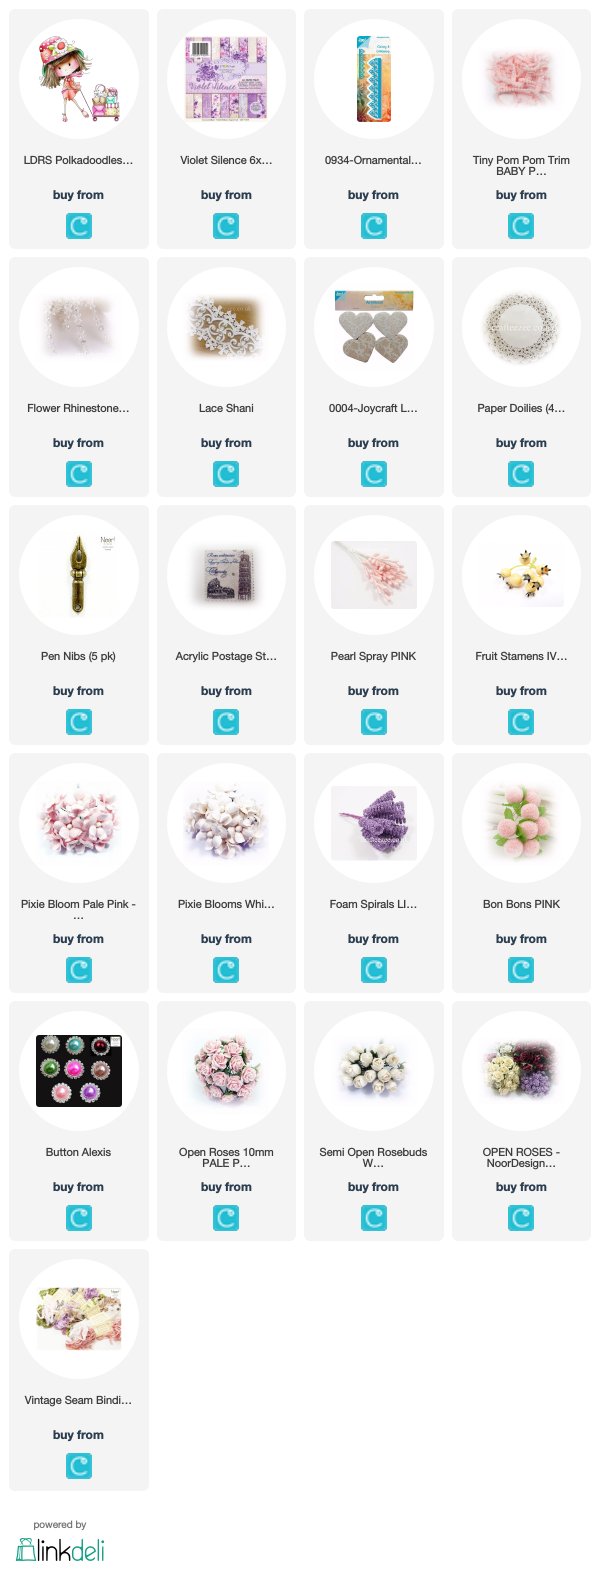
I love this good old standby layout because it allows me to add sooooo much more. ha ha ha! I've used papers from LemonCraft called "Violet Silence", which are so pretty with it's purples and pinks. I added Joy's ornamental die, some fun pink pom pom lace and gorgeous "Flower Rhinestone" pearl lace.
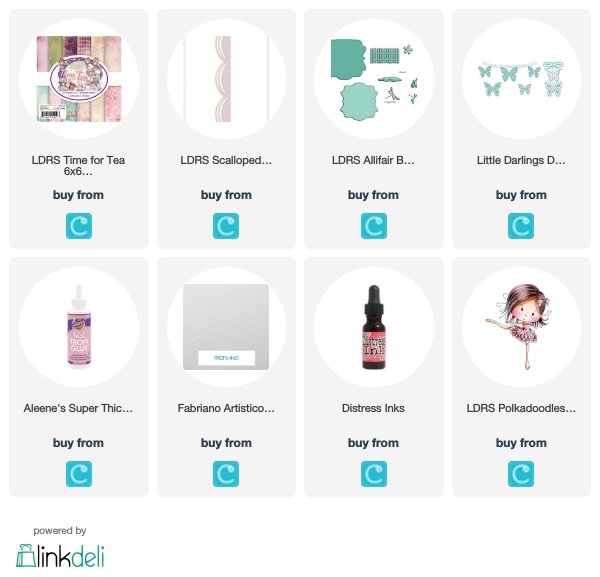
WHAT GIRL DOESN'T LIKE A LITTLE SHOPPING?!! And I'm sure even I have had a need for a trolley on occasion. LOL!! This image is so cute from LDRS Polkadoodles:
SHOPPING HAUL
I snuck a few lace paper doily's under a few layers and added some flowers from the shop including a cream colored fruit stamen. Oh and also layered in a Joycraft lace burlap heart and on top a very cute vintage acrylic postage stamp.
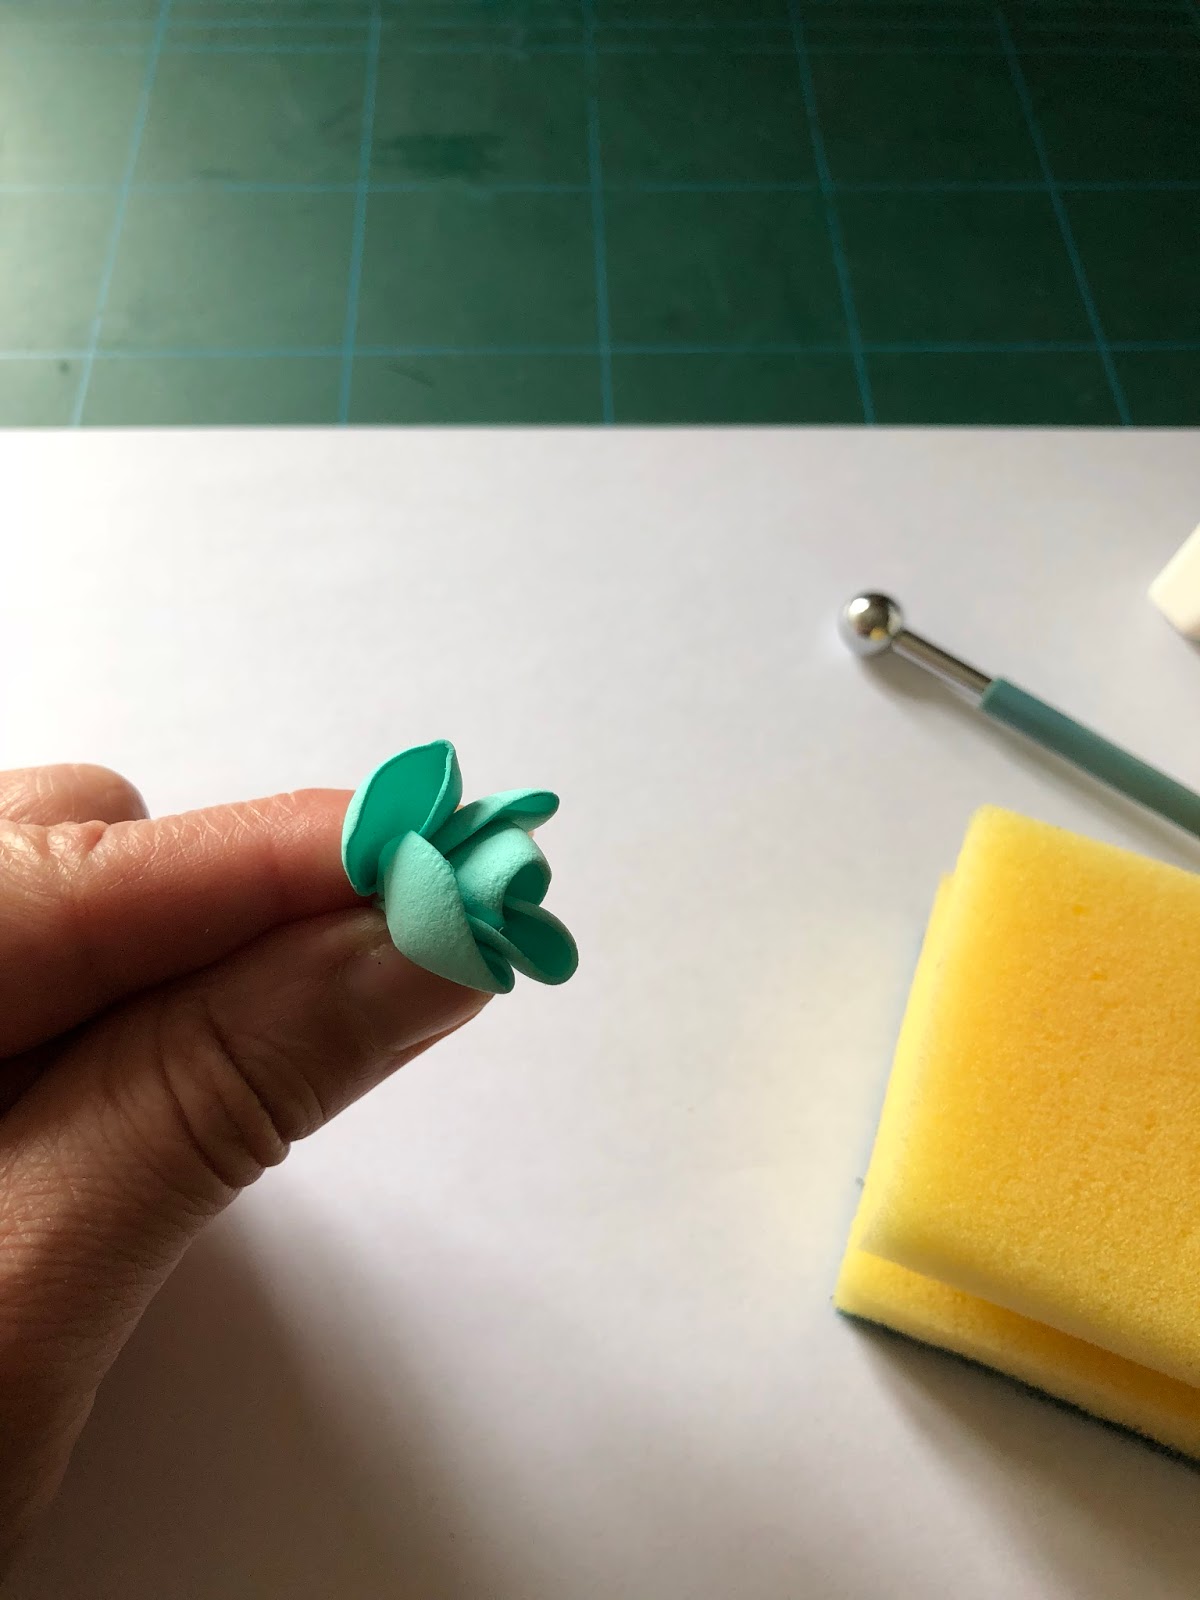
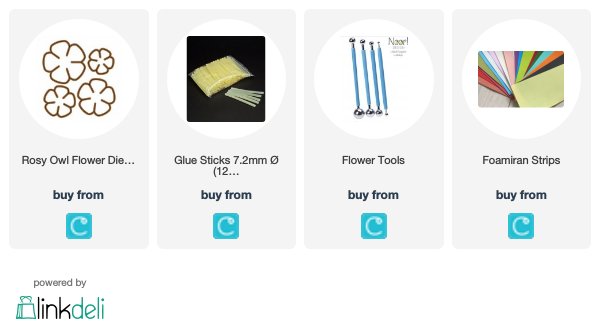
Some more goodies from the store using some pearl pink sprays, lilac colored foam spirals (there are an assortment of colors they come in), a seam binding bow, a very pretty "Alexis" button AND SOME PINK BON BONS! One day I'm going to think that no card can be without a bon bon. LOL!
Please email Tracy if you are looking for something here that's not in the store.
Thanks so much and have a great week!
Hugs,
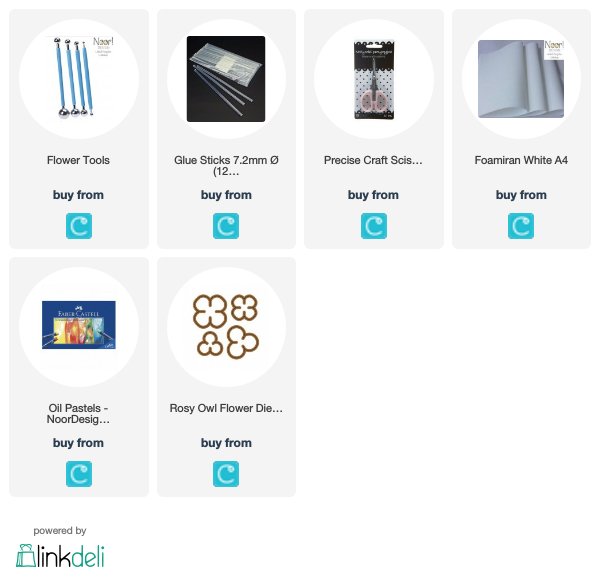
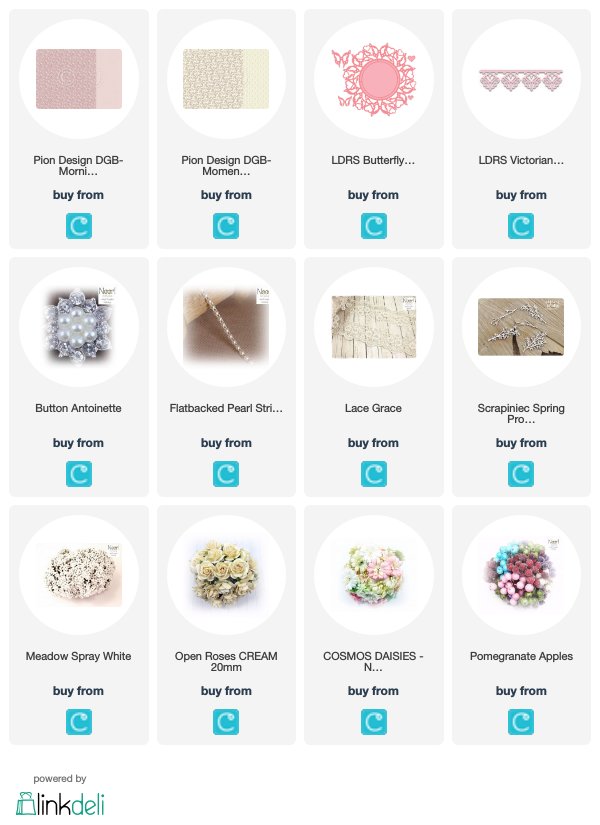
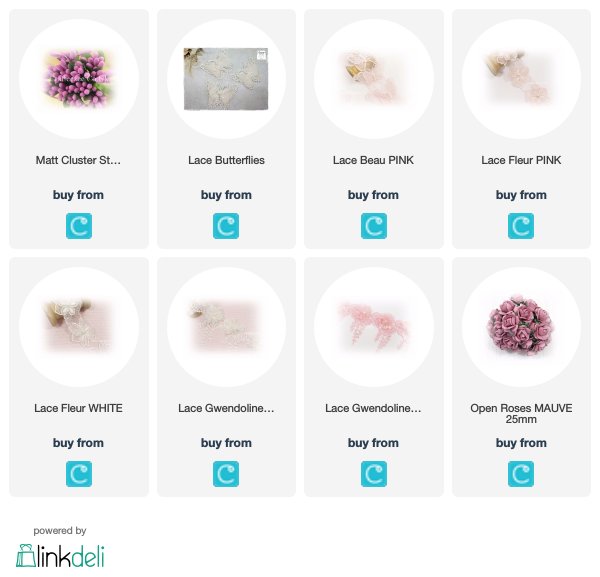
The products used can be ordered in the Noor! Design U.K. webshop: