Hello everyone!
It was high time I used some beautiful scrapbook paper so I've decided
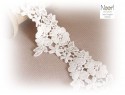
this week to show you one of my favourite creations - a Shaggy Flower money/cheque envelope which is suitable for any occasions.
To give money someone it's not the best present but sometimes happens especially when we receive an invitation in a last minute. However, if this happens lets do this stylish :-)

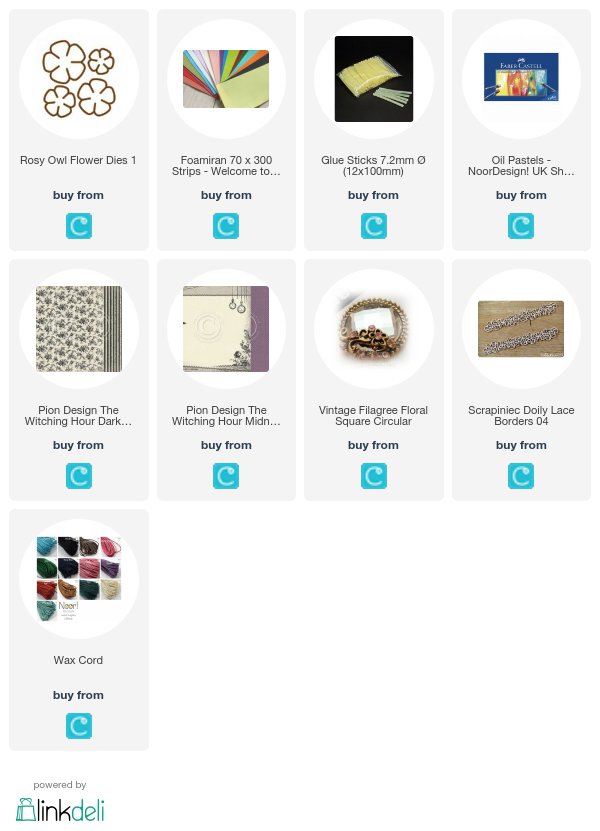
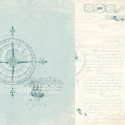
To cover the base of envelope I've used an absolutely amazing sheet of Pion Design The Witching Hour Dark Roses scrapbook paper.

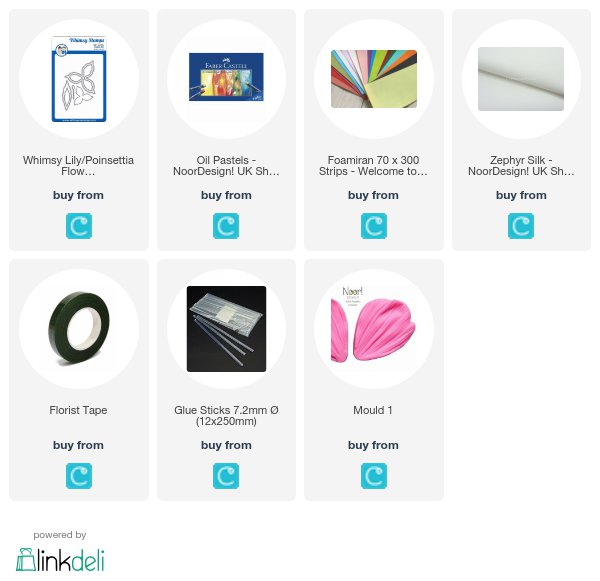
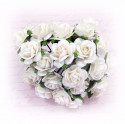
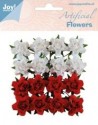
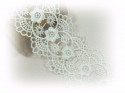
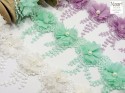
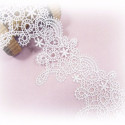
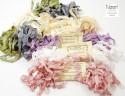
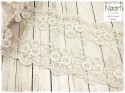
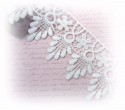
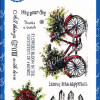
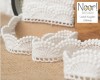
In the top left corner you can see some stunning and easy-making flowers cut by Rosy Owl Flower Dies. To create them I used Genuine Ivory and Antic White Foamiran. I colored the edges with dark purple oil pastel to give then more dramatic view. Also added that stunning Wycinanka lace Border No.4 and some purple leaves.

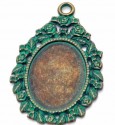
For fastener of the envelope I used this Vintage Button and some white string.


This is my inspiration for you all today!
Thank you for coming around!
See you next time!
Hugs,
Elena xxx
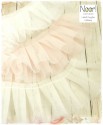
The products used can be ordered in the Noor! Design U.K. webshop: