Hi Everyone!
It is a tutorial time again so I've decided to show you how to make one of the most fragile flowers, a Daisy flower. Daisies symbolise the sun simply because they look like it. These gentle flowers could be a perfect decoration for your scrapbook projects or simply for stylish accessories.
Fortunately, our task won't be difficult because in the www.crafteezee.co.uk there are lots of supplies which will help you to make this beautiful flower.
This tutorial will be split into two parts and today I will show you how to make the centre of the flower. Next time you will see how you make the other part of the daisy flower.
Let's begin!
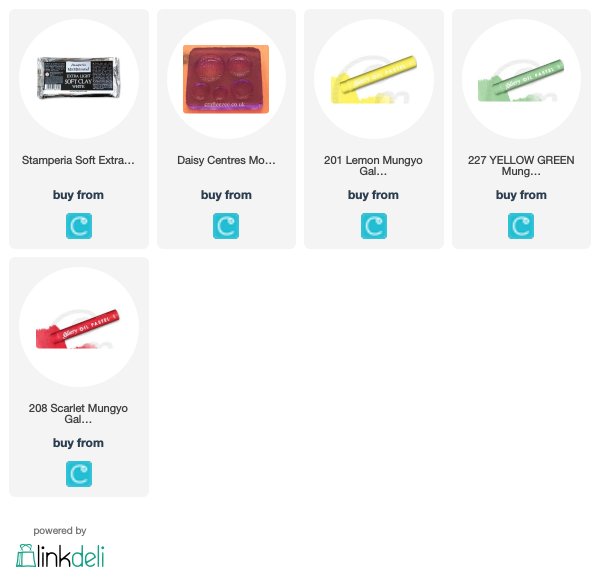
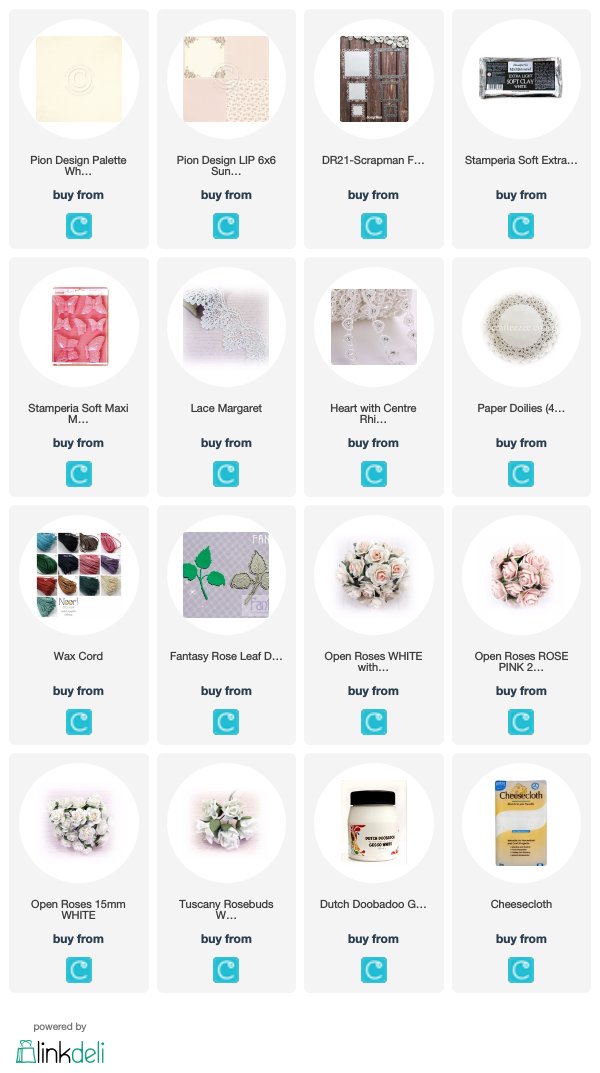
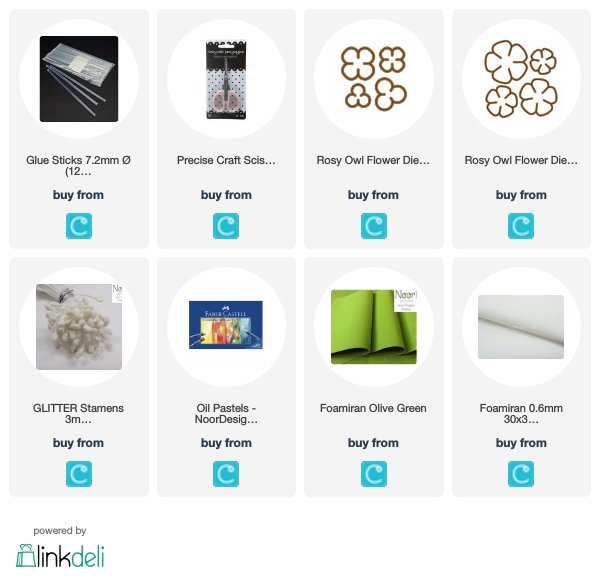
- Daisy Centres Mould,
- Stamperia Soft Extra Light Clay,
- 201 Lemon Mungyo Gallery Soft Oil Pastel,
- 227 Yellow Green Mungyo Gallery Soft Oil Pastel (optional),
- 208 Scarlet Mungyo Gallery Soft Oil Pastel (optional),
- a piece of kitchen sponge,
- a ruler.
From Stamperia Soft Extra Light Clay make 5 mini balls as it is shown in the photograph.


Place the balls of clay in the mould and gently press them to fill the whole area.


Leave the clay for about half an hour to dry and gently ease the centres out of the mould as pictured alongside. Be careful. Don't squeeze them because they are still soft.

Using scissors trim the excess bits and leave to dry for 24 hours.

Now it is time to colour the centries using oil pastels and a piece of kitchen sponge.

Gently cover all the surface with a yellow shade of oil pastel. If you would like you can apply some green and a hint of red on the edges of the centres.

Now your centers are complete and are ready to be used for completing the Daisy flowers which I will show you next time.
Thank you for stopping by!
Happy crafting!
Hugs!
Elena xxx
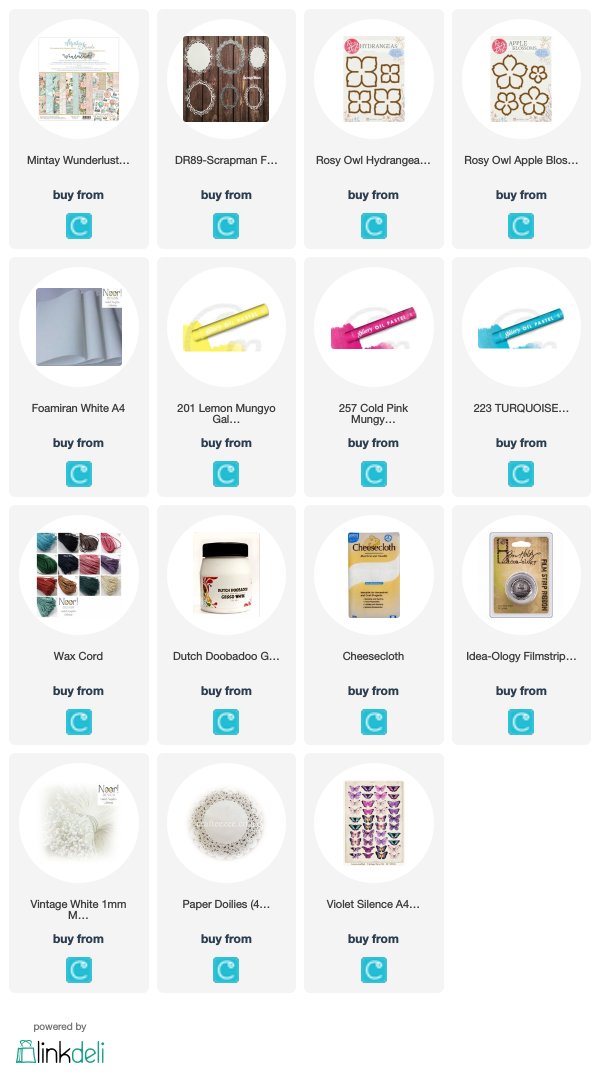
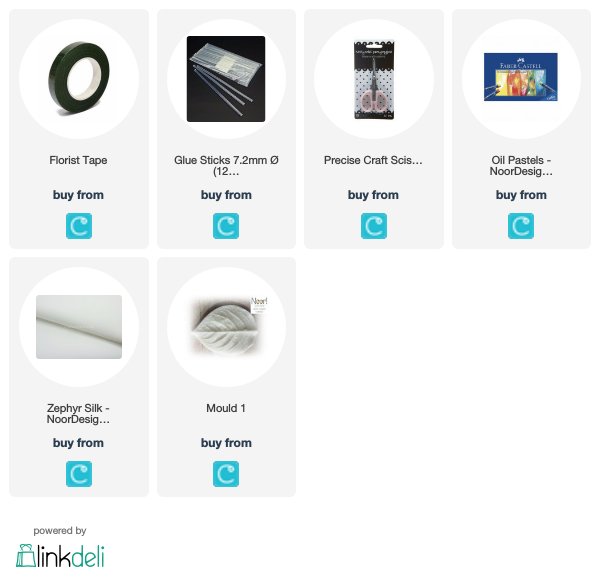
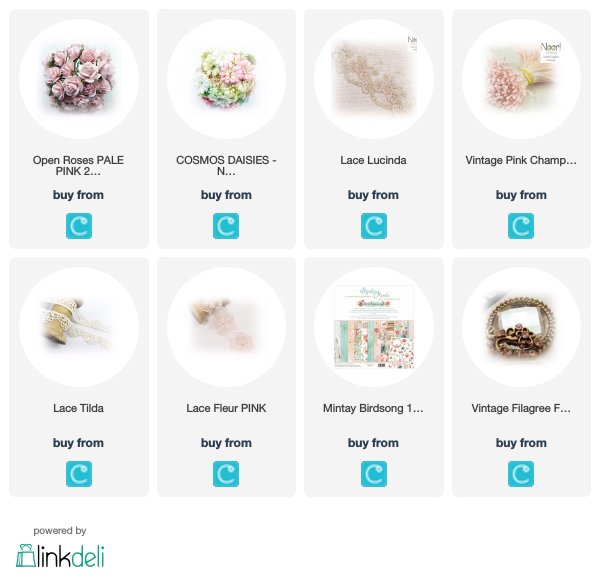
The products used can be ordered in the Noor! Design U.K. webshop: