Pages

Showing posts with label Foamiran. Show all posts

Thursday, 13 February 2020

Any Occasion Card with Flowers!!


Hello crafty friends,  I hope you are all having a fabulous week so far.

Suzi here today sharing a pretty card  I made 
with some pretty foamiran flowers and some
 heat embossing on one of Bloomar's gorgeous chipboard pieces
 along some fussy cutting of leaves and flowers. 


I chose to use the lovely 12x12 Dream Garden paper from ScrapBoys 
and fussy cut out one of the elements for behind my chipboard piece which was
embossed with Sizzix Arctic Sky glitter embossing powder.

The little butterfly is from the store (think it's a prima but not 100% sure)

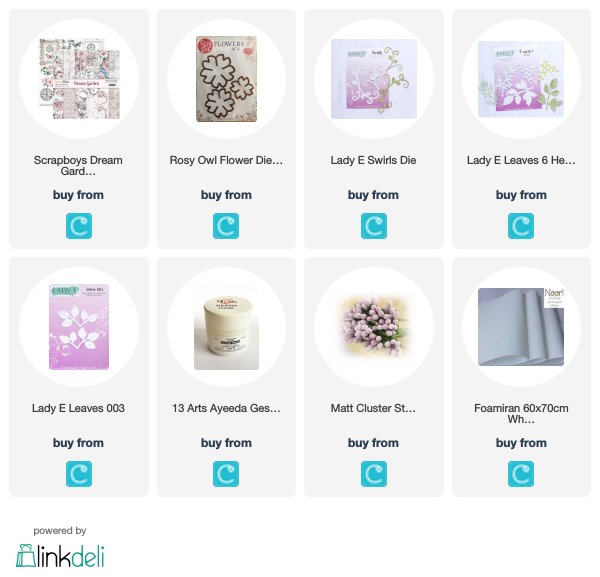
I will of course add a list of products used at the bottom of my post for you.

In the meantime here is another picture from a different angle.

 Thank you so much for popping in to visit, I hope
you enjoyed your stay and do please come back and see us soon.

Hugs  Suzi xox

Thursday, 6 February 2020

Anniversary Tag Card!!

Hello crafty friends,  I hope you are all having a fabulous week.  
Suzi here with you today sharing my DT card.


No stamping or colouring from me this week, instead I thought I would 
make some pretty foamiran flowers, heat embossing and some fussy cutting instead.

I chose to use the lovely 12x12 Dream Garden papper from ScrapBoys. I
fussy cut the little bird and butterfly added some foam pads
to make them sit up from the base of the card, I also cut the sentiment
from the bottom strip of the paper and added it to the bottom of my card.


I used some Lady E Design herb, leaves, swirl die along with the Rosy Owl AC6 flower die.
The Swirl die has been heat embossed with silver embossing powde,. the other
leaves and herbs have been coloured with distress inks with gesso and glitter added.


 Thank you so much for popping in to visit, I hope
you enjoyed your stay and do please come back and see ussoon.

Hugs  Suzi xox


Wednesday, 25 December 2019

Christmas tree

Welcome everyone

It’s Christmas Day and I would like to show you
 my Christmas tree :) 
I used MDF tree and covered it with few layers of white gesso, I used sponge to apply last layer with dabbing motion to create snow like effect.
Once everything was dry I added my poinsettias and other finishing and touches.

As this is my last project for Crafteezee I would like to thank Tracy for this amazing opportunity to be a part of her team. 

Merry Christmas and a wonderful New Year full of fantastic projects and lots of craft goodies under your Christmas tree :)


Best wishes
Monika xxx


Wednesday, 11 December 2019

Festive flowers

Welcome everyone 

It’s Monika here today with festive post :) 

I made lots poinsettias for my upcoming festive projects.
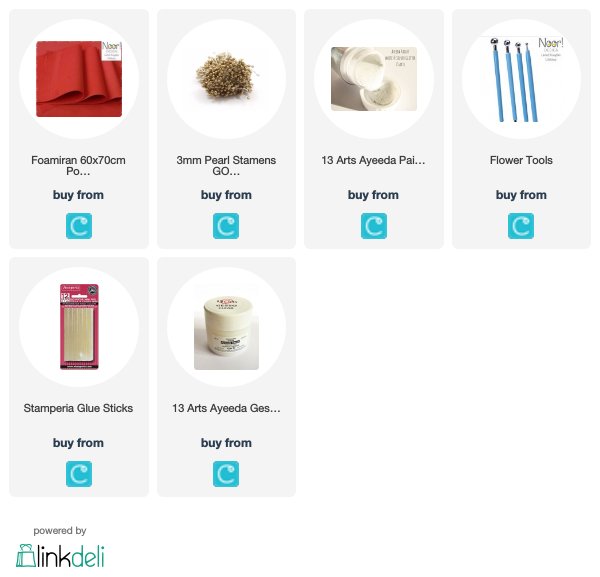
To create it I used red foamiran, die cute it and shaped using heat, for the centres I used gold stamens and finished it of but adding gold glitter.


Wednesday, 4 December 2019

Christmas card with Scrapboys paper collection

Hello everyone

Wow I can't believe it's December already, this year went so fast and we have got only 20 days until Christmas :)

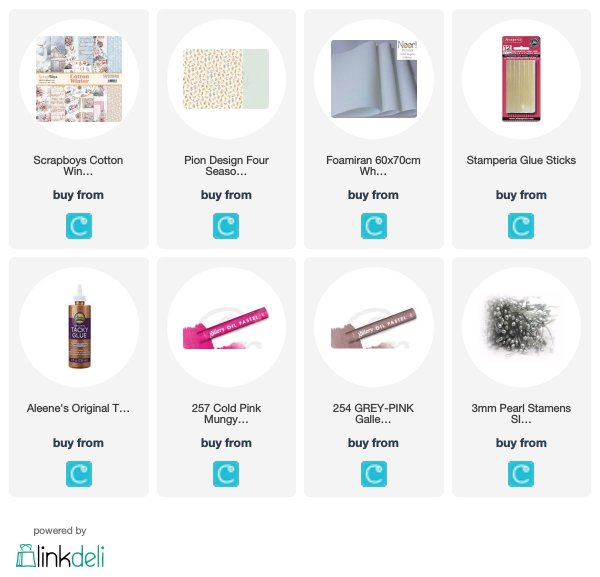
Today I'm sharing another card I made from new collection Cotton Winter by Scrapboys. Used multiply layers with beautiful stags image in the centre. To finish it off I used my handmade foamiran poinsettia with some branches cut from Pion Design paper. 


Kisses

Monika


Tuesday, 3 December 2019

Tunnel box card with Scrapboys Dream Garden

Hello, welcome to the Crafteezee blog. It's DT HenriĆ«tte here today and 
I'm sharing a tunnel box card I've created using papers from Scrapboys, 
- Dream Garden -


.

To make the tunnel box I followed a tutorial I found here.
I used the pretty papers from Scrapboys called Dream Garden and decorated the front
 of the box with foamiran flowers, leaves, swirly die cuts and
 cut outs from the paperpad.


To make the flowers I used two colors of pink foamiran and also white foamiran.
The pink flowers were a bit to bright in my opinion, they did not quite match the papers.
So I smeared some white gesso on the petals to tone the brightness down.


Inside, on the different layers of the tunnel, I glued flower cut outs from the paperpad.
In the middle of the box I placed the sentiment. 
There are a few sentiments on the backpage of the paperpad. Isn't that handy?


I also re-enforced the corners of the box with folded strips of paper to make 
the box more solid.


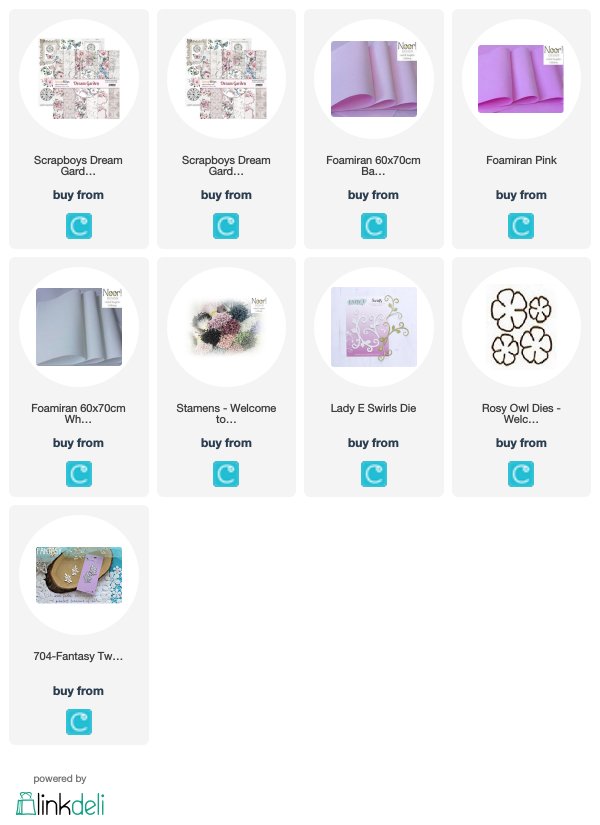
Below you can find all the products I used to make this tunnel box.
It's a fun project to make, I hope you'll give it a try.

Hugs, Henriƫtte.


Wednesday, 27 November 2019

Santa’s sleigh

Ho Ho Ho 

Santa where are you???

Your sleigh is ready!!!

I just love Christmas and all the preparations. 
Today I have got for you MDF sleigh. 
First I put it together and covered it with white gesso by dabbing it with a sponge to create snow effect.
Once it dried I decorated it with white foamiran poinsettias, branches, berries and tiny gold stars.

Hope you like my project :)


Wednesday, 13 November 2019

Christmas card

Hello everyone

Today I'm sharing my latest Christmas card I made from Scrapboys Cotton Winter paper collection.
I used 5 by 5 inches card base with few layers with pink foamiran poinsettia see video tutorial HERE


Wednesday, 30 October 2019

Sweet gift

Welcome everyone

The weather turned cold so to brighten up your day I decided to create a card with my favourite chocolate and with a lot of flowers.
I used white and pink foamiran and Lady E Design dies for the pink ones and Rosy Owl for the white. Created layers with Lemoncraft and Pion Design papers with additional sisal.
BlooMar chipboard were embossed with white embossing powder to give it softer look.
Of course I had to use some leaves and for this project I have picked beautiful Lady E Design small leaves die to cut few branches from the same papers as my layers.  


Hope you like my project

Kisses 


Friday, 4 October 2019

Frosty foamiran poinsettias

Welcome everyone 

Today I would like to show you my new video tutorial.
This time I decided to use a paper template I drew myself to create foamiran poinsettias.
My poinsettias are pink with grey stamens and dusted with glitter, perfect for any winter project.

So here is the video, enjoy šŸ˜‰


Hope that you will like my video tutorial and 
please let me know if you find this template useful šŸ˜„


Wednesday, 3 July 2019

Foamiran hydrangeas

Hello, HenriĆ«tte here today sharing foamiran hydrangeas. 
I made three different kinds.

A few years ago I made a photo tutorial on my own blog on how I make the
 hydrangea flowers. You can find it here.

Here's a picture of the 3 different kinds of hydrangeas I've made using Crafteezee 
foamiran and stamens.


The one on the left is my favourite. I made it using mauve colored foamiran and each petal is pressed on a mold to give the petals the texture.
There are about 30 flowers in this small bunch.


I just love the vintage look.


The flowers in the centre of the first picture are colored using purple, pink and blue chalks. 
I used chalks but you can also use pastel oils, inks or paints.
You can give white foamiran any color you like, just experiment and combine colors.
I didn't give the petals any texture but they still look pretty.


I made the white hydrangea by rolling the petals between my fingers after I warmed the foam against my iron. The flowers have some texture but also have a bit different shape.


Making hydreangea flowers is a time consuming process but definitely worth it.

Thanks for stopping by.
Hugs, Henriette.


Products used: