Pages

Showing posts with label Christmas. Show all posts

Wednesday, 4 December 2019

Christmas card with Scrapboys paper collection

Hello everyone

Wow I can't believe it's December already, this year went so fast and we have got only 20 days until Christmas :)

Today I'm sharing another card I made from new collection Cotton Winter by Scrapboys. Used multiply layers with beautiful stags image in the centre. To finish it off I used my handmade foamiran poinsettia with some branches cut from Pion Design paper. 


Kisses

Monika


Tuesday, 5 November 2019

Christmas card with Mintay

Hi, Henriëtte here today with a Christmas card I've made using the Mintay papers 
"The Sweetest Christmas".


I love this paperpad with the sweet colors and the cute baking elements.


I did fussy cut some of the elements which are on the back cover of the paperpad
 and grouped them on my card.


In the Crafteezee shop you can find more Christmas Themed Mintay collections.


Thanks for stopping by!

Hugs, Henriëtte.


Sunday, 24 December 2017

The last christmas card of this year

Hello everyone!

It's finally here - Christmas Eve! The day we've all been waiting for since weeks. I know it's different wherever you are, but here in Germany this is the day we celebrate - or better said the night. When it gets dark outside kids get finally allowed to enter the living room where the tree is lightning with the pressies are put under it. And with this day finally having arrived I am sharing my last christmas card of this year:


Here I used papers by Studio Light and Maja Design. I used white Gesso on the edges to add a winter-ish touch.

Across the card I've put the Winter Wishes Landscapes cut from white paper. I just needed to give the penguin a place to go to with this big present.


Here is the cute Penguin by Studio Light, bringing the last present to be put under the tree. He was colored in with Copics and I used Polychromos for the fine details and a white gelly marker for the dots on the present.

I've used the Shape Art Diamond stencil by Dutch Doobadoo to cut the paper I glued the penguin on, putting a doily and a die cut circle with stars - that you don't see much of - under it.

Between the label and the penguin I've put the Pine Trees, cut from cardstock and covered with some Gesso as well.


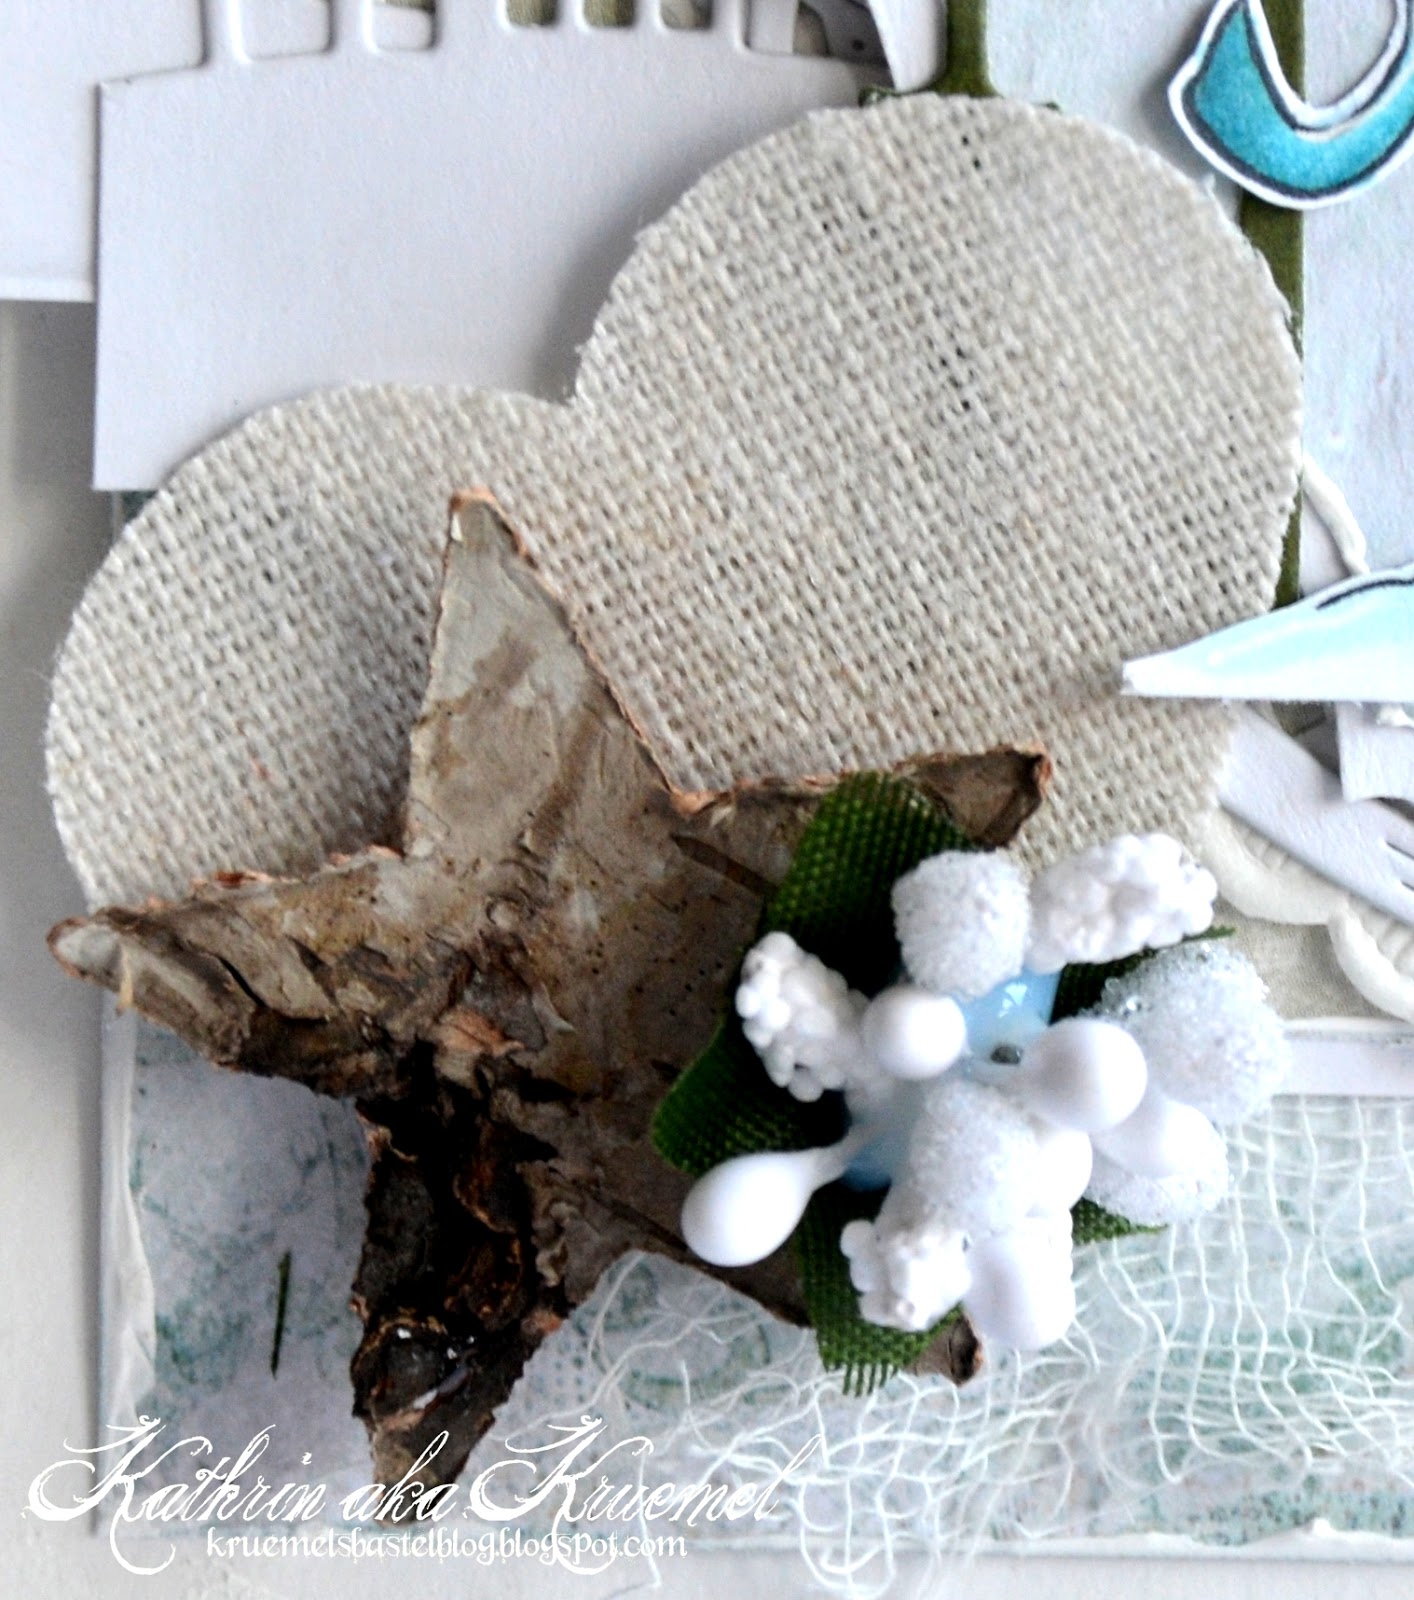
Of course the card wouldn't be complete without some embellishments. Here I went with one of the white berries, a star from birch bark and one of the lacey hearts by Noor!Design. These are covered with lace on one side, but this just didn't fit the style of my card here so I just turned it over showing the backside.

The saying on my card comes with the penguin stamp in a set.

So, I am wishing all of you a happy, peaceful and joyous christmas surrounded by the ones you love!

Hugs, Kathrin

The products used can be ordered in the Noor! Design U.K. webshop:

Wednesday, 6 December 2017

The most Wonderful time of the Year


Good Morning,

With just under 3 weeks to go until the big day I have been busy making more Christmas cards & having a go at making more Poinsettias out of foamiran. I must say I am getting a little addicted to making these as they are so easy & look just fab.

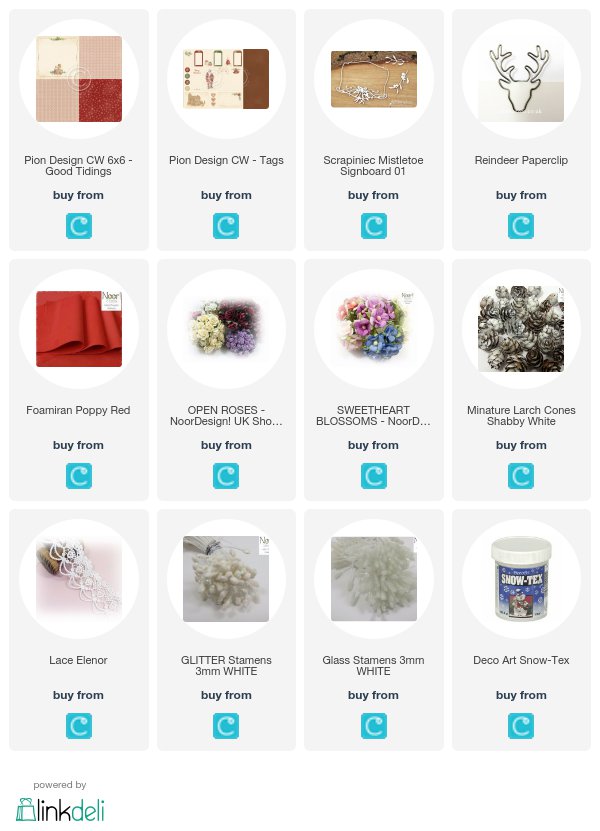
I have used the Pion Design CW 6x6 paper sheet called Good Tidings, I have used all 3 of the patterned papers & have cut out the little Santa to fit into the Scrapiniec Mistletoe Signboard frame.


I have added some snowtex to the Poinsettia along with the other flowers to give them the frosty winter look. I do love this stuff it's such fun but I do seem to get it everywhere, I think its just me though lol

Thank you for stopping by & come back tomorrow for more gorgeous inspiration from the DT.

Have a lovely day

Emma x


The products used can be ordered in the Noor! Design U.K. webshop:

Sunday, 3 December 2017

Foxes in a stocking

Hello everyone!

Today I have another christmas card to share and I used quite a few new items on it:


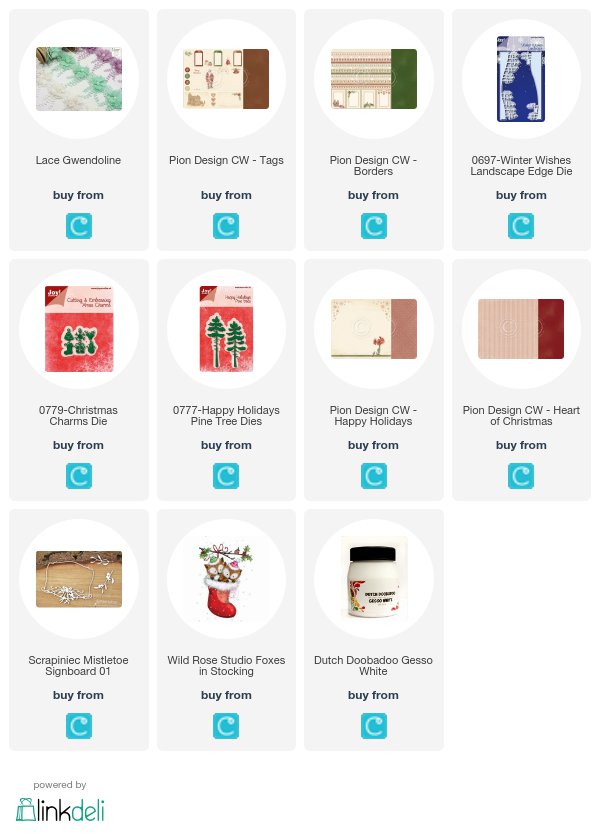
Those papers by Pion Design I used here are just beautiful. I used one with snowflakes printed on the edge/corners in the background, trying not to fully cover the snowflakes with the rest of my papers and decorations. 

On top of that I've added a rectangle from a solid red paper and then one with a hearts print. It's acutally the same paper - I've been using both sides of it.

Across the card I've added a border using the Landscape die, putting a piece of a banner cut from the borders desinger's paper by Pion Design on top of one side.


And here are the cute foxes by Wild Rose Studio. I was afraid the reddish orange/brown I used to color the foxes in would not look good with the dark red, but I think it actually does.

The image was colored in with Copics.


On the bottom left of my card I've added a few embellishments. I went with one of the mistletoe branches by Scrapiniec, a pine cone and a fabric flower here. The flower was simply cut from a piece of lace on which it was sewn for decorations.


Above the decorations I added some pine trees. They were cut from corrugated paper and I used white Gesso to add some snow. The Gesso was also used on the edges of all the designer's papers.

I also wanted to add a touch of green to my card, since there is some in the image. I don't really like the traditional christmas color combination of  red and green, but just a hint of green with lots of reds is fine with me. So I've cut one of the smaller tags from the Tags paper by Pion Design and tucked it under the trees. To the top of the tag I've added a bow from twine and also tied one of the little christmas charms to it. The deer head just fit so perfectly to the woods and foxes.

Have a happy sunday everyone!
Hugs, Kathrin

 The products used can be ordered in the Noor! Design U.K. webshop:
Sunday, 19 November 2017

An advent wreath

 Hello everyone!

I know, an advent wreath is a german tradition - but it may have made its way to other countries as well. It's a wreath with 4 candles and each of the four sundays before christmas one more candle gets lit up so all four of them are burning on Christmas Eve. 

I have made a not to traditional advent wreath to share with you today:


 Usually they are made from fir branches. But well, we papercrafters have to think outside the box, right?

A box is also what my wreath is put onto - with a large tag in the background.

I have cut the box from brown cardstock and also cut the tag slightly bigger to glue behind it and make it more stable.
Around the box I've wrapped one of the borders from a designer's paper by Pion Design.


I've put a square from the beautiful paper with the hearts print on top of the wreath, then I've cut four holes into it so the lights can be put through them. The main part of the lights is hidden inside the box.

The wreath is made from a ring of green cardstock from which I've cut out the four holes again, making them match in position.

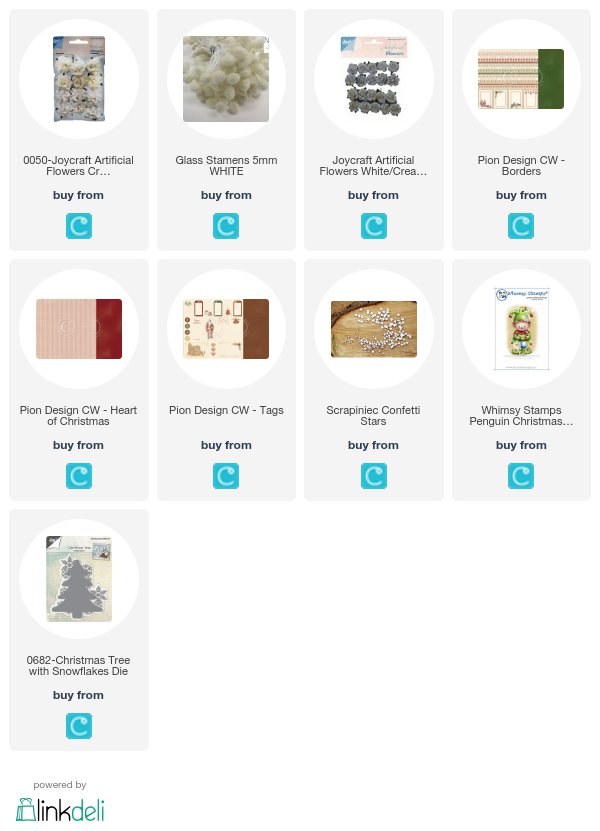
Of course an advent wreath also needs some decorations. Here I used a few of the chipboard stars by Scrapiniec and some 5mm glass stamen - again only using the ends here.


As I said before, I've glued a large tag to the back of the box. The tag - and the saying - are both cut from papers by Pion Design.

Onto the tag I then glued the Tree with Snowflakes. It was cut from white cardstock and from green cardstock also. I've cut the green tree down a bit so the snowflakes and a white "frame" from the white cardstock can be seen. I used a white gelly marker to add the gardland to the tree.

This cute elf is by Whimsy Stamps - and he's ready to decorate the tree. 
He was colored in with Copics, then cut out and put in front of the tree. I also used golden Stickles for the bells on his costume.

Next to the elf I've added two white paper roses.


And since I said I made an advent wreath I also needed it to be able to light up. You only have to screw closed the little bulbs. Best thing about it is that they all need to be switched on individually, so you can light up just one, two, three or all four "candles" - just like it needs to be done.

Have a happy sunday everyone!
Hugs, Kathrin

The products used can be ordered in the Noor! Design U.K. webshop:

Tuesday, 20 December 2016

Crafteezee collection, in the forest winter wonderlan

Hello everyone

Today I want to show you a box with a little baulb inside... The perfect little gift for someone that already have everything, also just the right thing for kids to make as a gift to give.


I made my box out of a 9" x 9" cardstock paper (I used white bazzill).
Score at 3" and 6" on both sides, and cut so you can fold in a flap and glue into a box.


on one side of the box i have put a lot of jummies... to make the box work all on its own without the baubl.


I had such a fun time making this, and to make the amazing ornament baubls that came in the crafteezee "forest Winter Wonderland kit"... ohh my how fun...


Do you not just love those pinecones... ohh my.. and the wooden heart... Love it to bits...

And make sure that you got your December crafteezee Collection "3D decandense" kit on order.. I for sure can not wait to get mine...


Love LindaSS

The products used can be ordered in the Noor! Design U.K. webshop: