Pages

Showing posts with label Studio Light. Show all posts

Sunday, 11 February 2018

Home

Hello everyone!

It's Kathrin here again today - and I made a card that is all about home. Wether you want to welcome someone new in your neighbourhood or want to send a card to someone who moved into a new home recently - I think, my card'd fit. 

Have you been sad about maybe not ordering the Magnolia advent calendar last year? No need to be sad anymore, all the stamps and dies are now available individually. And I used a few of them on my card. 


For this card I picked brown and light pink papers from different paper packs and brands. I wanted to give this card a kind of a rustic look. Allthough I think with the pink and flowers it also got a vintage or romantic touch.

Between the papers I've added some lace, a doily, cheesecloth and also a piece of corrugated paper.


This is cute My Own Key Tilda. I colored her in with Copics and cut her out close to the stamped lines. While doing the coloring I went with soft colors to make the image fit to the papers I've picked. Most times I do the coloring first and then pick the papers that fit my coloring, but here was one of the rare times I did it the other way.

Those houses are new dies by Magnolia - and I love them! On the bigger one I've put a stamped "home" with a heart instead of the O. And the smaller one - and yes, you have to look close to see it, I just put next to/under it. 


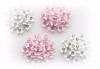
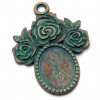
 Of course I also had to add a few embellishments. There are flowers, a meadow spray, tiny pearls and also a bronze colored key charm. And since I felt like the top needed some decoration as well I've added one of the laced butterflies here.

 Have a happy day everyone!
Hugs, Kathrin

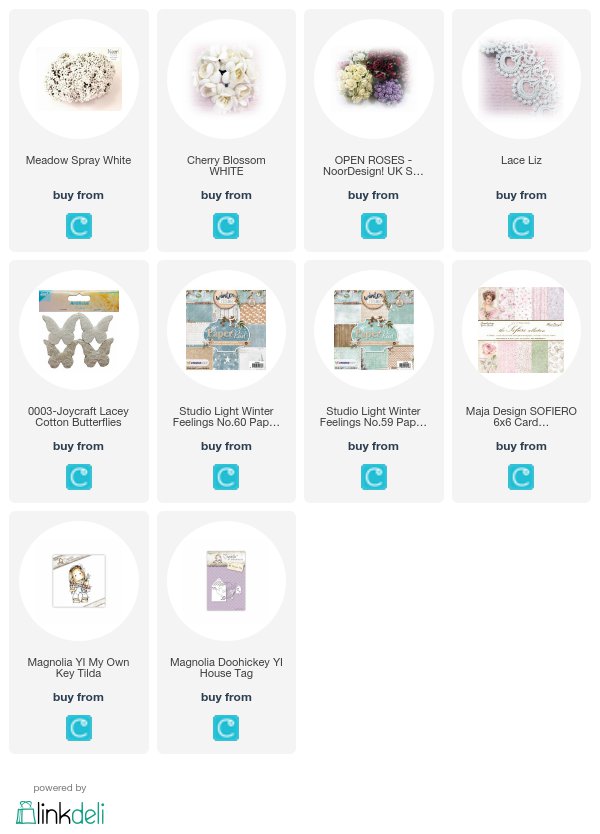
The products used can be ordered in the Noor! Design U.K. webshop:

Sunday, 21 January 2018

Frozen....

Hello everyone!

Honestly, I'd be ready for spring with its warming sun, the blooming flowers and outdoor times. But I know that we are still in the middle of winter and so I made a winter card today to share with you:


I thought, since I'm doing winter I'm doing it thoroughly and so I only used white and light turquoise combined with a hint of a grey-ish blue. 

I made a round card - when I started I wasn't sure if I wanted to make a lollipop flower or not. So I started with a large doily and put a paper rosette made from white cardstock on top of it. I ended up with just a card but if I change my mind I can still put a paper straw between the sections of the paper rosette.

The papers I used are all the light ones I was able to find in the Winter Feelings No 59 and No 60 paper pads by Studio Light. I've cut them in different shapes and put them on top of each other. And yes, even if there is no cheesecloth - I made this card! ;) But I had to put some lace between the papers...


This is Frozen Tilda - and when I first saw her I knew I needed to give her a home. She's just too cute! I've colored her in with Copics and cut her out. 

Behind the large circle I've also put the Pine Trees by Joycrafts and added a few flowers here.


On the right side I used one of the Landscape die, put it across the card and then added a few flowers - open roses and pixie blooms - here. I also wanted to use something different than just flowers and so I went with one of the stars made from birch bark. To make it match the colors on my card I've covered it with white Gesso.


And then I also needed some decorations on the top of the card. I used the new Invitation die by Magnolia here. It cuts two slits in one half and I used these to put the wax cord through. Then I've wrapped it around the "invitation" and tied a bow from it. I also used the heart shaped tag - the one that can be opened - here and tied it to the bow. The mittens in the background are from one of the older DooHickey Club kits. But I just needed to add them since they match so perfectly in theme.

Have a happy, frosty winter day eveyone!
Hugs, Kathrin

The products used can be ordered in the Noor! Design U.K. webshop:

Sunday, 7 January 2018

A winter card

 Hello everyone!

I hope you all had a great start into this  new year and now we're all back to our creative routine.

After the holidays I sometimes have a hard time picking a new theme. It's a bit too early for Valentine's or spring cards. So when looking out the window I saw snowflakes falling down gently and got inspired to make a winter-ish card.


This time I decided against a square card - the shape I like to do most - and went with a regular rectangle card base. On top of that I've put some designer's paper from the Winter Feelings No 60 Paper Pad. I covered the edges with white Gesso to add the impression of snow. 

On top of the designer's paper I've put the birch trees by Noor!Design, a die cut Big Fence and another piece of designer's paper by Maja Design.

For the saying I've die cut the word winter from the same paper I used as the background and used a rhinestone for the i-dot.


 Instead of a stamped image I went with this one that was cut from the bottom the Santa Claus designer's paper by Maja Design. Those two little bunnies playing in the snow really deserve their own card.

Around the image I've added the Mistletoe Round Frame by Scrapiniec. I think this is still great to be used after christmas.


For decorations I went with this fluffy white flower. It was cut from the Gwendoline lace. Then I've put some glass stamen and a brown paper spiral underneath.

Have a happy sunday!
Hugs, Kathrin

The products used can be ordered in the Noor! Design U.K. webshop:

Sunday, 24 December 2017

The last christmas card of this year

Hello everyone!

It's finally here - Christmas Eve! The day we've all been waiting for since weeks. I know it's different wherever you are, but here in Germany this is the day we celebrate - or better said the night. When it gets dark outside kids get finally allowed to enter the living room where the tree is lightning with the pressies are put under it. And with this day finally having arrived I am sharing my last christmas card of this year:


Here I used papers by Studio Light and Maja Design. I used white Gesso on the edges to add a winter-ish touch.

Across the card I've put the Winter Wishes Landscapes cut from white paper. I just needed to give the penguin a place to go to with this big present.


Here is the cute Penguin by Studio Light, bringing the last present to be put under the tree. He was colored in with Copics and I used Polychromos for the fine details and a white gelly marker for the dots on the present.

I've used the Shape Art Diamond stencil by Dutch Doobadoo to cut the paper I glued the penguin on, putting a doily and a die cut circle with stars - that you don't see much of - under it.

Between the label and the penguin I've put the Pine Trees, cut from cardstock and covered with some Gesso as well.


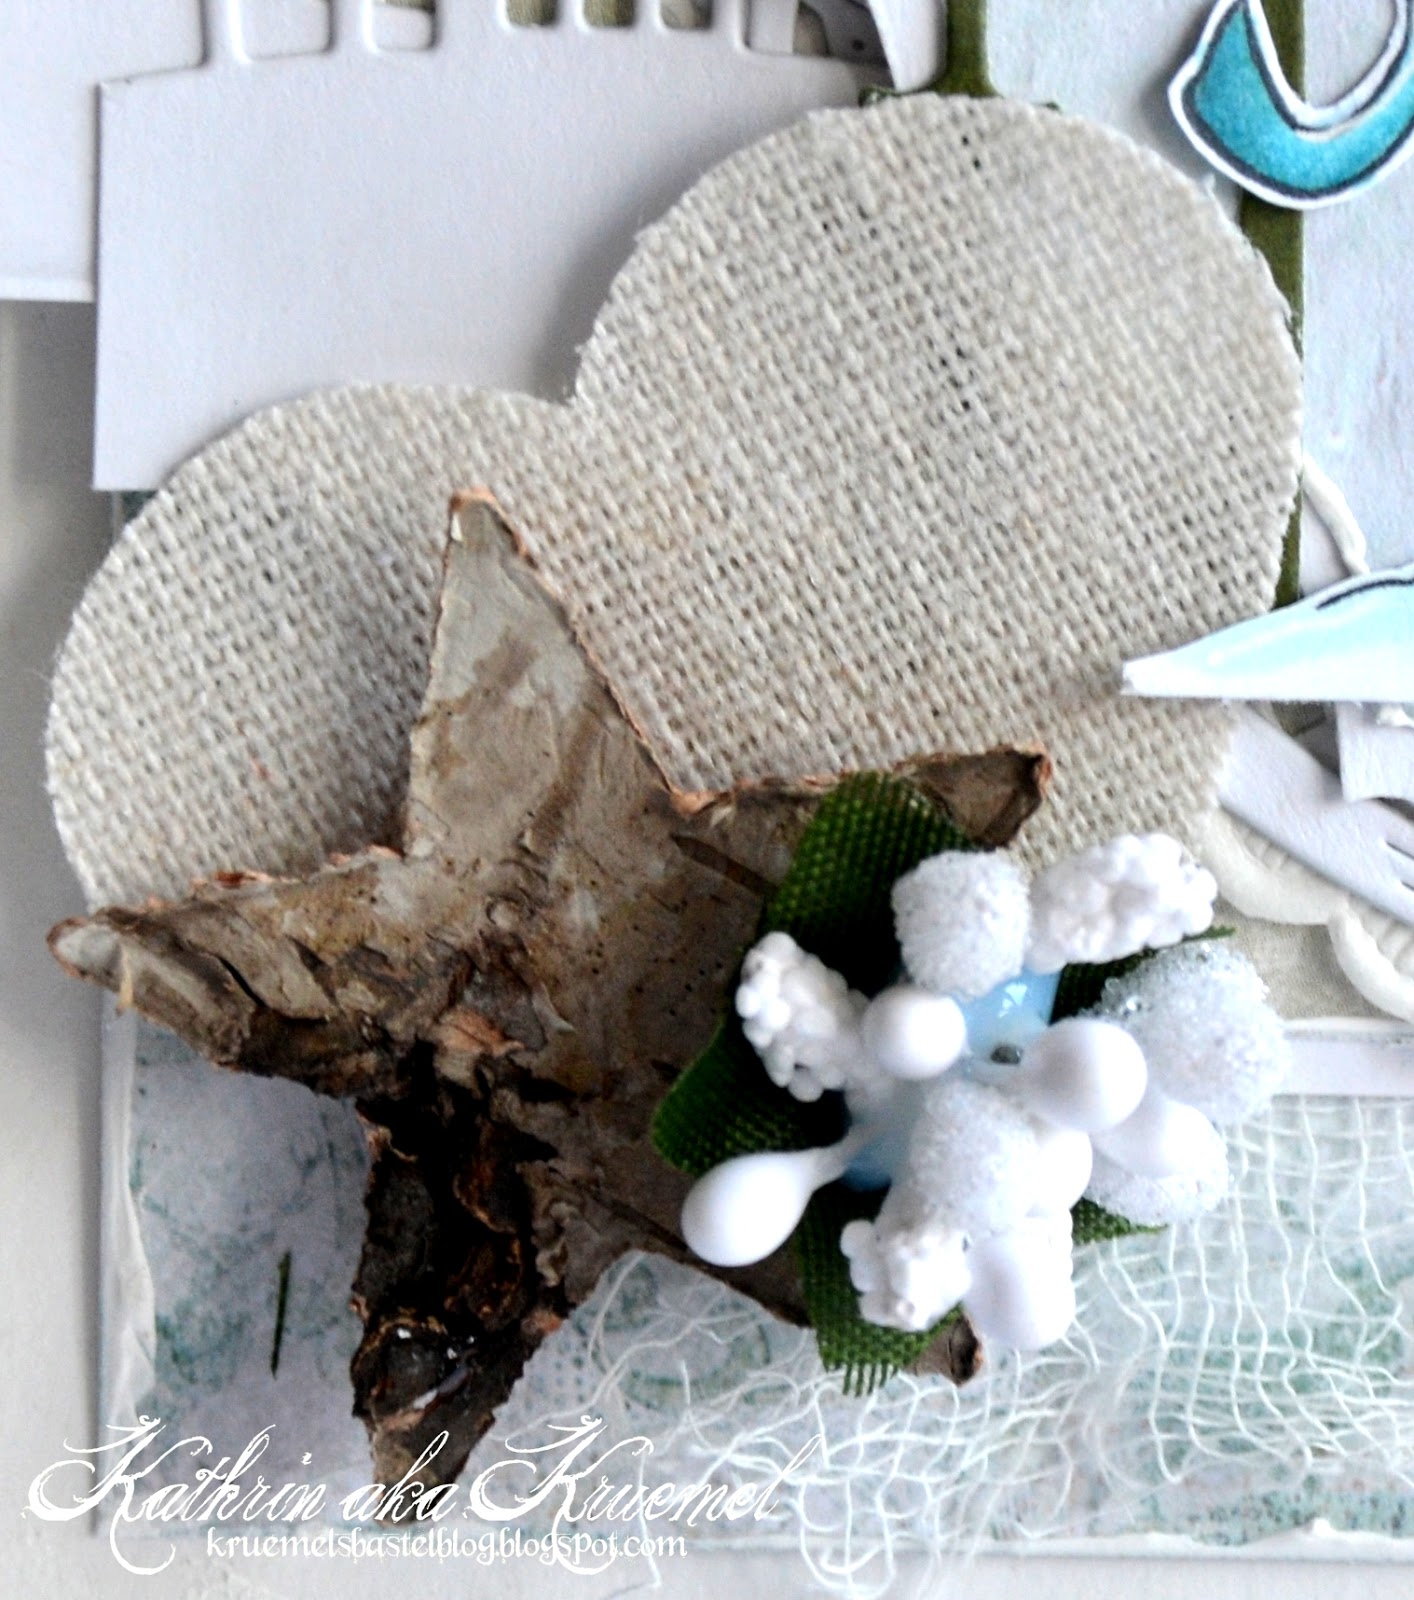
Of course the card wouldn't be complete without some embellishments. Here I went with one of the white berries, a star from birch bark and one of the lacey hearts by Noor!Design. These are covered with lace on one side, but this just didn't fit the style of my card here so I just turned it over showing the backside.

The saying on my card comes with the penguin stamp in a set.

So, I am wishing all of you a happy, peaceful and joyous christmas surrounded by the ones you love!

Hugs, Kathrin

The products used can be ordered in the Noor! Design U.K. webshop:

Sunday, 10 December 2017

A winter card with snow globe

 Hello everyone!

I am totally a person for warm and sunny weather. In winter, when it's snowing, an icy wind is blowing I love to look out my window and enjoy the nature but I don't really like being outdoors. But when it comes to crafting I love to add a lot of frost to my creations. And so I also added some to the card I am sharing with you today.


For the base I used one of the sheets from the Winter Feelings #59 paper pad by Studio Light. It's full of fun and frosty designs. To add even more frost I used Frantage Chunky White on the edges to add a frost pattern.

Across this paper I've put a piece of the Rebecca lace.


As the main element of my card I didn't go with an image this time but this snowglobe. It's made using the snowglobe die by Joycrafts. I've die cut the houses from light and dark grey cardstock and added another layer of white for some snow. The paper with the falling snow is another sheet from the Winter Feelings paper pad. I also added a few of the stars confetti here.

The frame and the bottom of the snowglobe were cut from silver glitter cardstock. It goes so great with an icy color scheme. To make the delicate pattern of the bottom pop out a bit more I used white cardstock behind the bottom.


On the left side I've put some trees behind the snowglobe. I used the birch trees die by Joycrafts to cut them and a white gelly marker to paint in the details through the holes in the die.

This cute Tilda with Snowheart by Magnolia is an older image but I thought it goes so perfectly with my card, I just had to use her.


On the bottom right of my card I've used some turquoise wax cord, white pixie blossoms and some of the white 5mm glass stamen. I only used the ends here, glueing the directly onto my card. They remind of me of ice covered berries. 


On the top right I've put one of the Paper Art Labels by Dutch Doobadoo behind the snowglobe. It looks like  a moon to me and just fits into the scene. I've tied some turquoise ribbon to it and added more berries and a die cut star to it.

 Wishing all of you a happy sunday!
 Hugs, 
Kathrin

The products used can be ordered in the Noor! Design U.K. webshop:

Monday, 14 August 2017

Keep you Head up Princess

Hello and good morning everyone, it's my day today to share some inspiration. Recently I had a play with the sweet Magnolia Tiara Tilda. And how great that she comes with a sentiment. Look what I have created with her... and so true 'Keep your head up Princess otherwise your crown will fall'. I will keep that in mind too :-)


Below you can see some close ups of my card...


I added some golden glitter to the crown


The sentiment


Thank you so much for you visit. Have a happy day and bye for now.
Hugs, Karina

The products used can be ordered in the Noor! Design U.K. webshop:

Monday, 27 March 2017

Warm Coffee on a cold Winter Day

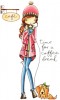
Good morning everyone, I hope you all are doing fine and had a fabulous weekend. I love to make Christmas and winter themed cards the whole year. Today I show you my newest one, made with one of the new Little Darlings All Dressed Up stamps 'Time for a Coffee Break'.


This is how my card looks inside...


I colored the image with Copics and added some post marks from the English Postcard Clear Stamps set...


Thank you so much for looking.
Have a happy day!
Hugs, Karina