Hello everyone!
Honestly, I'd be ready for spring with its warming sun, the blooming flowers and outdoor times. But I know that we are still in the middle of winter and so I made a winter card today to share with you:

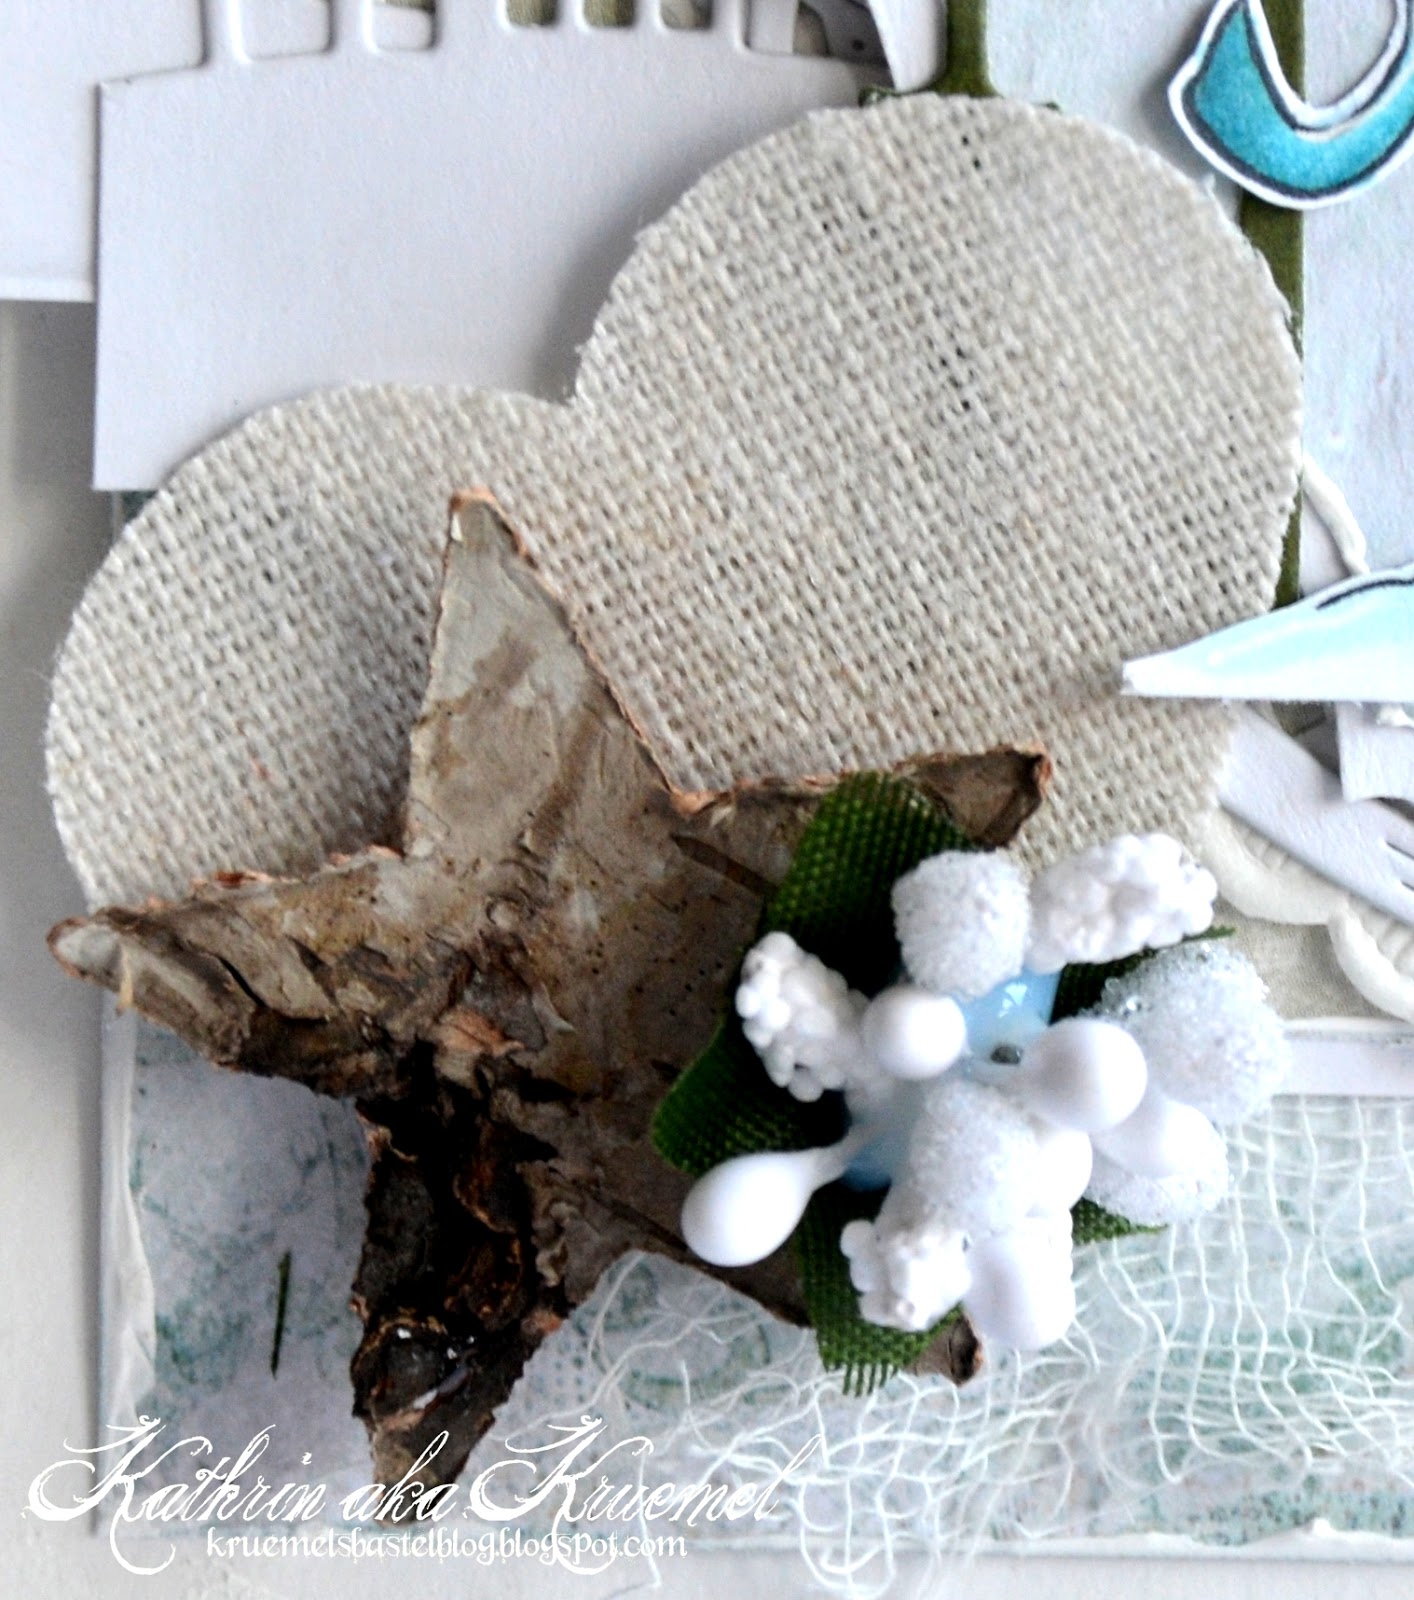
I thought, since I'm doing winter I'm doing it thoroughly and so I only used white and light turquoise combined with a hint of a grey-ish blue.
I made a round card - when I started I wasn't sure if I wanted to make a lollipop flower or not. So I started with a large doily and put a paper rosette made from white cardstock on top of it. I ended up with just a card but if I change my mind I can still put a paper straw between the sections of the paper rosette.
The papers I used are all the light ones I was able to find in the Winter Feelings No 59 and No 60 paper pads by Studio Light. I've cut them in different shapes and put them on top of each other. And yes, even if there is no cheesecloth - I made this card! ;) But I had to put some lace between the papers...

This is Frozen Tilda - and when I first saw her I knew I needed to give her a home. She's just too cute! I've colored her in with Copics and cut her out.
Behind the large circle I've also put the Pine Trees by Joycrafts and added a few flowers here.

On the right side I used one of the Landscape die, put it across the card and then added a few flowers - open roses and pixie blooms - here. I also wanted to use something different than just flowers and so I went with one of the stars made from birch bark. To make it match the colors on my card I've covered it with white Gesso.

And then I also needed some decorations on the top of the card. I used the new Invitation die by Magnolia here. It cuts two slits in one half and I used these to put the wax cord through. Then I've wrapped it around the "invitation" and tied a bow from it. I also used the heart shaped tag - the one that can be opened - here and tied it to the bow. The mittens in the background are from one of the older DooHickey Club kits. But I just needed to add them since they match so perfectly in theme.
Have a happy, frosty winter day eveyone!
Hugs, Kathrin
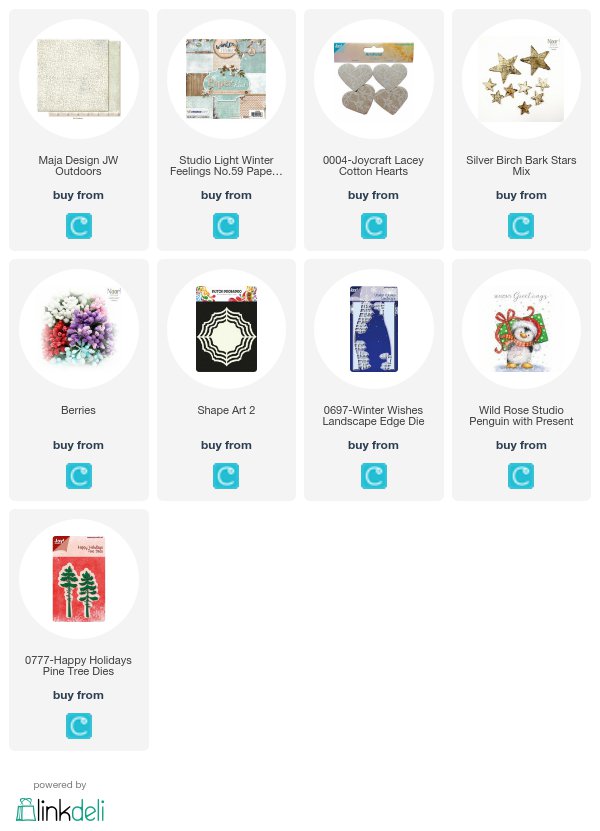
The products used can be ordered in the Noor! Design U.K. webshop: