Pages

Tuesday, 12 September 2017

Sunflowers

Hello dear friends!

Elena is here! 

This is my first presentation as a DT member of Noor Design UK, so I'm really excited! I was over the moon when Tracy called and told me the great news :-))))! Thank you so much, Tracy, for the opportunity given! 

It was a wonderful sunny day today and I really want to believe we'll have more shiny days like this. I love the Indian summer that brings lots of colourful bright tones warmed by the last golden rays of the autumn sun!


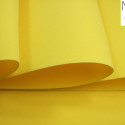
For this reason, I decided to show you how to make a sunflower out of yellow plain foamiran.


There is step-by-step photo tutorial. Enjoy! :-)


You need a strip 20 cm x 7 cm long, yellow plain foamiran.
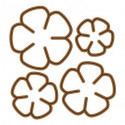
I cut it into 3 circles with diameters 6.5 cm x 2  and 5.8 cm x 1 (you can use circle cutting dies).


Then, I shaped them with scissors like that (to get this shape you can use Rosy Owl Flower Dies AC1):


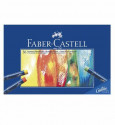
Next, I coloured  the edges of the petals using Gallery by Mungyo oil pastel 206 (you can use Faber-Castell Oil Pastel Crayons 111) on both sides.


After that, I heated up the iron up to grade 2 (silk) and warmed the leaves each individually and twisted and rolled them one by one.


Now was time to make the centre. 


For it, I used Flower Centres 9mm. To make the flower centre more naturally I stuck an yellow stripe (10 cm x 1.5 cm) , which I coloured with oil pastels 206 and 235  (you can use Faber-Castell Oil Pastel Crayons 111 and 176) and cut short slits like this:


I heated it a few seconds...


... and I stuck it in to the plastic centre.


After gluing, I had this natural looking sunflower centre:


Everything was ready to assemble my foamiran flower. 
I glued the three layers by placing them overlapping:


... punched a hole in the centre of the flower and attached the stamen.


VoilĂ ! :-)


Hope you like it!
See you soon!
Hugs! xxx


P.S. Dear Eulanda, thank you for your help! This tutorial is especially for you ;-)


The products used can be ordered in the Noor! Design U.K. webshop:
Sunday, 10 September 2017

My first post on this blog

 Hello everyone!
I was in vacation when I got an email that I am a new DT member for Noor!Design UK Shop. Could vacation get any better? 
Now I am back home again and have my very first project ready to share with you:


I made a little seed bag here and decorated it with a fall-ish theme - yes, sadly summer is coming to an end. But I am looking forward to all those fall colors.

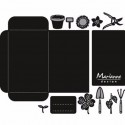
For the seed bag itself I used the Seed Pocket and Garden Tools die set by Marianne Design. I love how it now only comes with the seed bag die itself but also with so many little dies that can be used to decorate it.

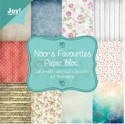
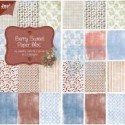
I've die cut the bag from a designer's paper with a wooden print from the Noor's Favourite Paper bloc. Then I put some cheesecloth and white cardstock on the front and then added the smaller rectangle from the set. It was die cut from a blue paper with white dots that comes in the Berry Sweet Paper bloc. 

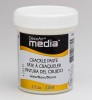
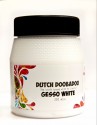
I also added some white paint on the edges of some of the papers. Therefor I used the Gesso White by Dutch Doobadoo. 


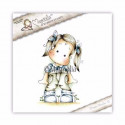
For the image I went with the cute Farmer Tilda. Isn't she a real cutie? And with the checked blouse she looks like a real gardener. She was colored in with Copics and then I've cut her out around the stamped lines.

Behind Tilda I've added some twine that I also used to tie a bow on the back and keep the bag closed.


The sunflower was made using some of the smaller dies that come with the seed bag. I've die cut the single parts from different colors of cardstock and then put everything together.


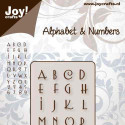
The label that also comes with the seed bag is what I used to add a little greeting to my creation. The "happy fall" was put together from single letters, cut using the Alphabet and Numbers die set. Those letters have the perfect size for this label.

I am looking forward to sharing more creations here with you and to my time here on the team. Until next week I am wishing all of you a happy sunday!
Hugs,
Kathrin aka Kruemel

The products used can be ordered in the Noor! Design U.K. webshop: