Pages

Thursday, 31 May 2018

Flower Fairy

Welcome back!  For today's card I opted for a lighter more whiter color scheme and one I don't do often so it was fun and challenging at the same time.  I've used some gorgeous papers from Craft & You called "White Days".  Ah so now I see where my inspiration came from.  LOL!!  This little paper pad packs a punch with 36 sheets and 12 different coordinating designs.  So cute!!  I also snuck in LDRS's  new "Butterfly" border and some new pearl laces from the store.  


Another fully filled luscious bouquet with a super fluffy seam binding bow, some flowers and a birch bark heart that I added a bit more gesso to.  


This little cutie is from Whimsy Stamps called "Flower Fairy" and I've colored her with my Copics.   I added some Scrapiniec confetti hearts then topped those off with some glitter.


I hope you've enjoyed my share today!

Thanks for stopping by,
Eulanda

Copics:

YG03, 63, 67, G9
E11, 13, 15, 17, 18
RV00, 10, 11, 32, 34
Y00, 13, 17
C5, 7, 9, 10
N0, 1, 3, 5

The products used can be ordered in the Noor! Design U.K. webshop:
Wednesday, 30 May 2018

Dancing Queen


Good Morning,

I hope everyone had a lovely Bank Holiday, the weather was a bit hit & miss for us but you can't complain. I have been having a play with the new Mintay Lovely Day papers.


For this card I have coloured up LDRS Polkadoodles Dancing Queen stamp using Copic Markers & a little glamour dust on her bow.


I have used lots of goodies on this card, there are some foamiran flowers, open roses, foam spirals, moss and some lovely pink sparkle organza ribbon that I have made into a large bow.


Isn't that butterfly & pen nib just super sweet.


Thank you for stopping by.

Hope you have a super day

Hugs

Emma xx


The products used can be ordered in the Noor! Design U.K. webshop:

Tuesday, 29 May 2018

Wild rose tutorial

Hello Everyone!

Welcome to my new tutorial for the Crafteezee blog.
Today I’d like to show you how to make what is a very simple but elegant flower; a wild rose.
These roses bloom in spring and early summer and when they have finished blooming they begin forming the wonderful multi-use rose hips.
Part of the charm that wild roses carry is that their blooming is so fast and transient but for this short period of time they spread incredible charm and tenderness.


To make this flower you will need:

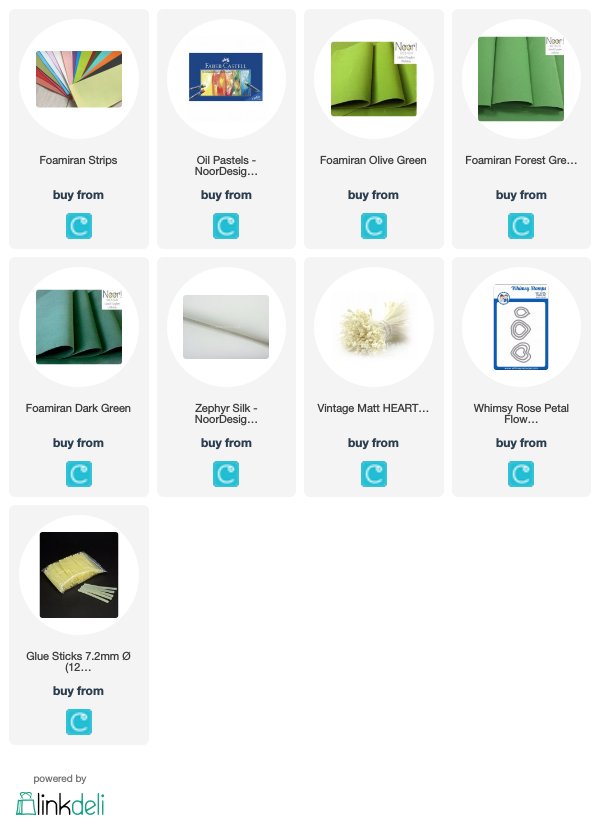
* a strip of white Zephyr silk foamiran,
* a 4 x 4cm square of green foamiran (it could be forest green, grass green or even olive green),
* the largest petal of a Whimsy Stamps Rose Die Set,
* a cocktail stick,
* a glue gun with glue stick,
* pink (or some other colour, magenta, purple etc.) and yellow oil pastels,
* approximately 20 double headed ivory heart shaped stamens,
* a wet wipe or a piece of kitchen sponge,
* a mini foil ball, approx. 1 cm.


From a 23cm x 5 cm strip of white Zephyr silk foamiran, cut out 5 
rose petals.


Using the cocktail stick etch some lines from the bottom toward the edge of each petal as I’ve shown here.


With a wet wipe apply oil pastel and colour the upper part of the petals.


Shape the rose petals by gently stretching the centre part of the petal between your thumbs and fingers as indicated in the photos.


Using extra care stretch the edge of the petal in the opposite direction as I have shown in the picture below.


Roll the edge of each petal backwards.


When you have finished your petal should look something like this. You don’t need to use an iron.


Now it’s time to make the centrepiece of our wild rose. Make a mini ball out of a piece of kitchen foil approx. 1 cm in size.


Cover the mini ball with a square of white Zephyr silk foamiran approx. 4 x 4 cm.


Glue it as I've shown here to create a mini bud.


Colour the stamens and the centre in yellow.


Glue the stamens around the bud.


It’s now time to attach the petals. Using the photos below for reference and using a small amount of glue, paste all the petals around the bud.


At the end, your wild rose should look like this:


To complete your wild rose I would recommend that the reverse side of the flower is endorsed with a green sepal, that is heated and twisted as shown. This would be made from a 4 x 4cm square of green foamiran and cut into shape and glued in place as shown.


Your wild flower is completely finished. You can use it to decorate a scrapbook project or to make some pretty hair clip, headband or other hair accessory.


Thank you for stopping by!
Wishing you a wonderful week!
Hugs!
Elena xxx


The products used can be ordered in the Noor! Design U.K. webshop:

Monday, 28 May 2018

Meet our Guest Designer Tammy

Morning,

I hope you are all enjoying the bank holiday weekend.  Today we have a beautiful guest joining us.  Please welcome Tammy Swallow from Kizzy Deisgns.  I'm sure most of you know of Tammy and over the summer period Tammy will be guesting for us and sharing her creations with us, so please leave Tammy some love to show our appreciation.

Tammy has made a photo frame and decorated it beautifully using NEW Mintay papers 7th Heaven, aren't they beautiful and of course Tammy's new addiction some handmade Foamiran flowers accompanied by some elements of cut outs from the Mintay papers.


A 15mm organza bow finished with a Genevieve pearl button and a few druzy sparkles.


Scrapiniec Alamor and a gorgeous butterfly cut from the Mintay papers.


More Scrapiniec chipboard a a druzy sparkle


Thank you Tammy for a gorgeous first creation, we are looking forward to seeing more :)

Tracy