
Hi everyone!
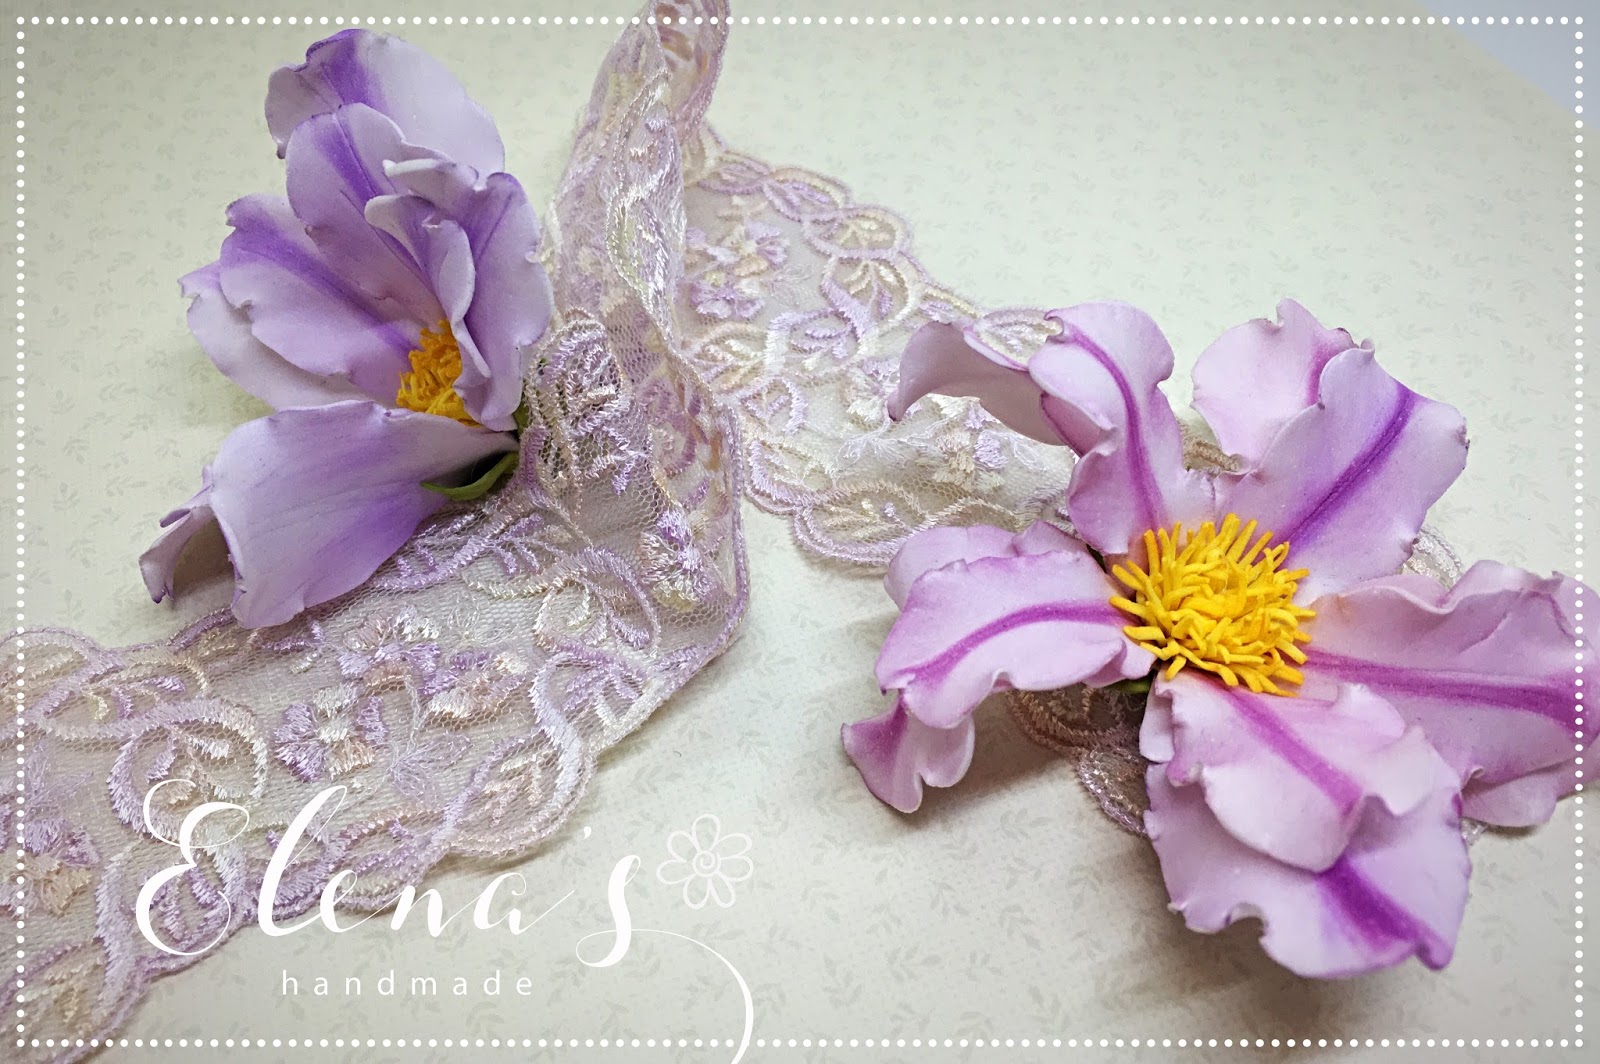
I've been thinking over the last few days of what I can show you for a foamiran flower tutorial that would be both easy and attractive and here it is... I've created a beautiful lily foamiran flower tutorial for you!
Unlike most other flowers, the perennial Lily is never truly dormant! The strength and beauty of this international flower has cemented its place in the culture of the world. With such an elegant look no wonder the flower means royalty, rebirth and purity!

You will need :
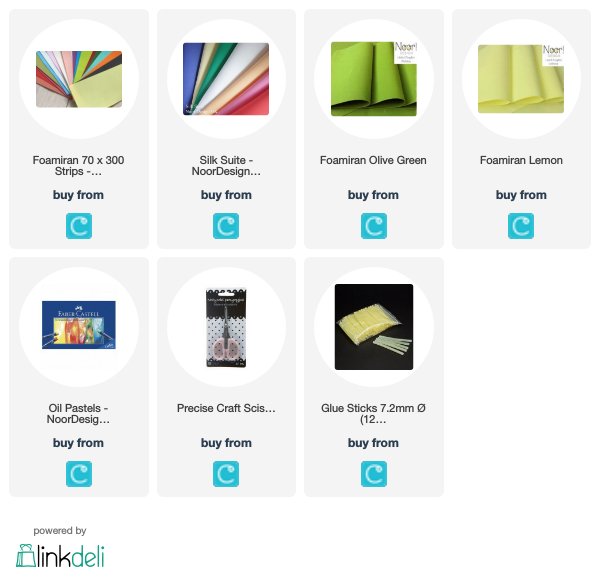
✔ a piece of white Silk Suite foam
✔ a square (5 cm x 5 cm) of olive green foamiran
✔ a strip (1.5 cm x 8 cm) of yellow foamiran
✔ two templates of petals with dimensions approx: 6 cm x 3 cm; 5 cm x 2.5 cm
✔ two oil pastels in desired colour (I chose mauve and orange)
✔ scissors
✔ a ruler
✔ a hot glue gun
✔ a piece of kitchen sponge and
✔ a toothpick
All the items you can buy from https://www.crafteezee.co.uk/

From a piece of heavy card stock cut out 2 petals with dimensions: 6 cm x 3 cm (big); 5 cm x 2.5 cm (small).

Using the toothpick, trace the templates and cut 5 big and 5 small petals out of Silk Suite foam.

The next few steps show you how to colour the petals:


The products used can be ordered in the Noor! Design U.K. webshop:
I've been thinking over the last few days of what I can show you for a foamiran flower tutorial that would be both easy and attractive and here it is... I've created a beautiful lily foamiran flower tutorial for you!
Unlike most other flowers, the perennial Lily is never truly dormant! The strength and beauty of this international flower has cemented its place in the culture of the world. With such an elegant look no wonder the flower means royalty, rebirth and purity!

You will need :
✔ a piece of white Silk Suite foam
✔ a square (5 cm x 5 cm) of olive green foamiran
✔ a strip (1.5 cm x 8 cm) of yellow foamiran
✔ two templates of petals with dimensions approx: 6 cm x 3 cm; 5 cm x 2.5 cm
✔ two oil pastels in desired colour (I chose mauve and orange)
✔ scissors
✔ a ruler
✔ a hot glue gun
✔ a piece of kitchen sponge and
✔ a toothpick
All the items you can buy from https://www.crafteezee.co.uk/

From a piece of heavy card stock cut out 2 petals with dimensions: 6 cm x 3 cm (big); 5 cm x 2.5 cm (small).

Using the toothpick, trace the templates and cut 5 big and 5 small petals out of Silk Suite foam.

The next few steps show you how to colour the petals:
Rub the pastel on the piece of sponge.
Fold the petal in half lengthwise, then colour the folded line with the sponge (pic.1).
Paint all the petals unilaterally (pic.2).
Apply a shade of the same colour across the all petal both sides (Pic. 3,4)

As I mentioned previously, Silk Suite foam is a very flexible, soft and easy manipulative material so you don't need any iron!
Gently stretch the edge of the petal in opposite direction as shown in the picture below. When you finish they'll have a curly shape.
Gently stretch the edge of the petal in opposite direction as shown in the picture below. When you finish they'll have a curly shape.

Next step is to prepare the stamen. You can make it from a strip of yellow foamiran (1.5 cm x 8 cm, approx).
Cut the strip at about 1 cm in short slits (pic. 1) and colour it along the cut edge on both sides (pic.2). Roll the cut strip and glue it with a hot glue gun (pic.3). Carefully approach the bundle of foamiran to the heated surface of the iron for a few seconds. Pull the stamen off and dishevel it. Repeat everything again until achieving the desire shape (pic 5).

Now its time to assemble the petals to the centerpiece. There are two layers of petals and we'll start with the smallest ones. The picture below shows how to do it. Put little drops of glue and stick all the petals successively.

Once you've stuck the first layer, you have to stick the second one with the big petals. Glue every big petal above the already glued small one as it's shown on the picture.

Once you've stuck the first layer, you have to stick the second one with the big petals. Glue every big petal above the already glued small one as it's shown on the picture.

The last step of our lily creation is to cover the back side of the flower with a green sepal made out of olive green foamiran square (5 cm x 5 cm) . Heat and twist it in the way shown below and stick the calyx to the back side of the flower.

Now its completely finished! You can use it to decorate a scrapbook project or to make a stunning hair clip, headband or some other accessory.


Now its completely finished! You can use it to decorate a scrapbook project or to make a stunning hair clip, headband or some other accessory.


I hope you like my new tutorial!
Wishing you an amazing weekend fill with lots of new inspirations!
Hugs!
Elena xxx
The products used can be ordered in the Noor! Design U.K. webshop:
Just wonderful. Fab instructions too. X
ReplyDelete