Hi everyone!
Today I will show you not just one individual flower but also how to make a delicate flower spray from a few of the pretty open flowers. A flower arrangement like this can be used both for a scrapbook decoration and also for
a stunning flower accessory.
To make this flower spray you will need:
- A strip of white foamiran 4.5 cm x 31.5 cm,
- a strip of Dark green foamiran 1.5 cm x 18 cm,
- a cocktail stick,
- a glue gun with a glue stick,
- an iron,
- pink (or some other colour) oil pastel,
- approximately 20 double-headed Vintage Rose 1 mm flower stamens,
- a piece of a kitchen sponge,
- scissors,
- florist wire #30,
- a piece of green florist tape
- flower tool,
- a ruler
- tweezers.
From the white foamiran strip cut seven equal squares, 4.5 cm x 4.5 cm approximately.
Draw a five petal flower shape into each square.
Colour the edges of the petals on both sides with a little extra emphasis on the tips of the petals.
Heat the petals using the iron.
Push the centre of the flower with the flower making tool from the non-heated side.

Perforate each flower in the centre using a cocktail stick as indicated.
Using tweezers, stick a bunch of stamens (at about 1 cm in length) as shown in my photograph. Three double headed stamens are pretty much enough for each flower.
Prepare seven pieces of florist wire 10 – 12 cm in length.
Make a little loop at the end of every piece of wire.
Place the wire in the flower as indicated in the photos.
Adhere with a drop of hot glue and apply the little bunch of stamens in the centre of the flowers.
Clutch the petals as shown.
Attach the flowers in a small bunch with a piece of florist tape.
From the strip of green foamiran shape two leaves.
Using the iron heat both of them.
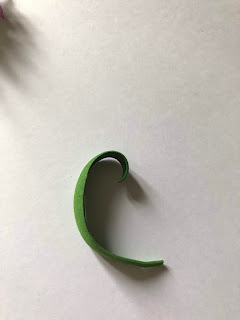
Fold it along its length and bend it slightly as I have indicated.
Attach the shaped leaves at the bottom of the spray with glue and a piece of florist tape.
Now the flower spray completely finished.
Thank you for stopping by!
Hava a happy crafting!
Hugs,
Elena xxx


Oh, how sweet flower spray!!! Love it! Thanks so much for the detailed tutorial!!!
ReplyDelete