
Hi Everyone!
As I promised you last time, today I'll explain to you how you can complete your Daisy flower.
You will need:
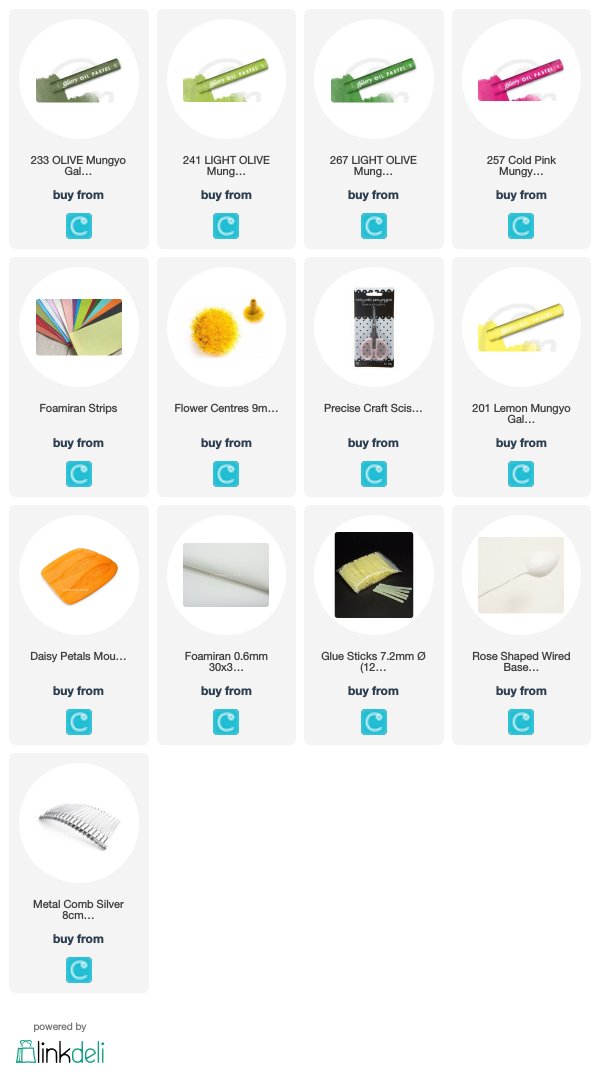
- Foamiran 0.6 mm, white,
- 201 Lemon Mungyo Soft Oil Pastel,
- a half of piece of kitchen sponge,
- a daisy flower centre,
- a Daisy mould,
- an iron,
- a hot glue gun with glue sticks,
- scissors.
Cut a rectangular piece of white foamiran big enough to cover the kitchen sponge, at about 7cm x 8 cm approx.

Cover the piece of kitchen sponge as shown.

Heat the rectangular piece.

Quickly press the kitchen sponge with the foamiran into the mould.

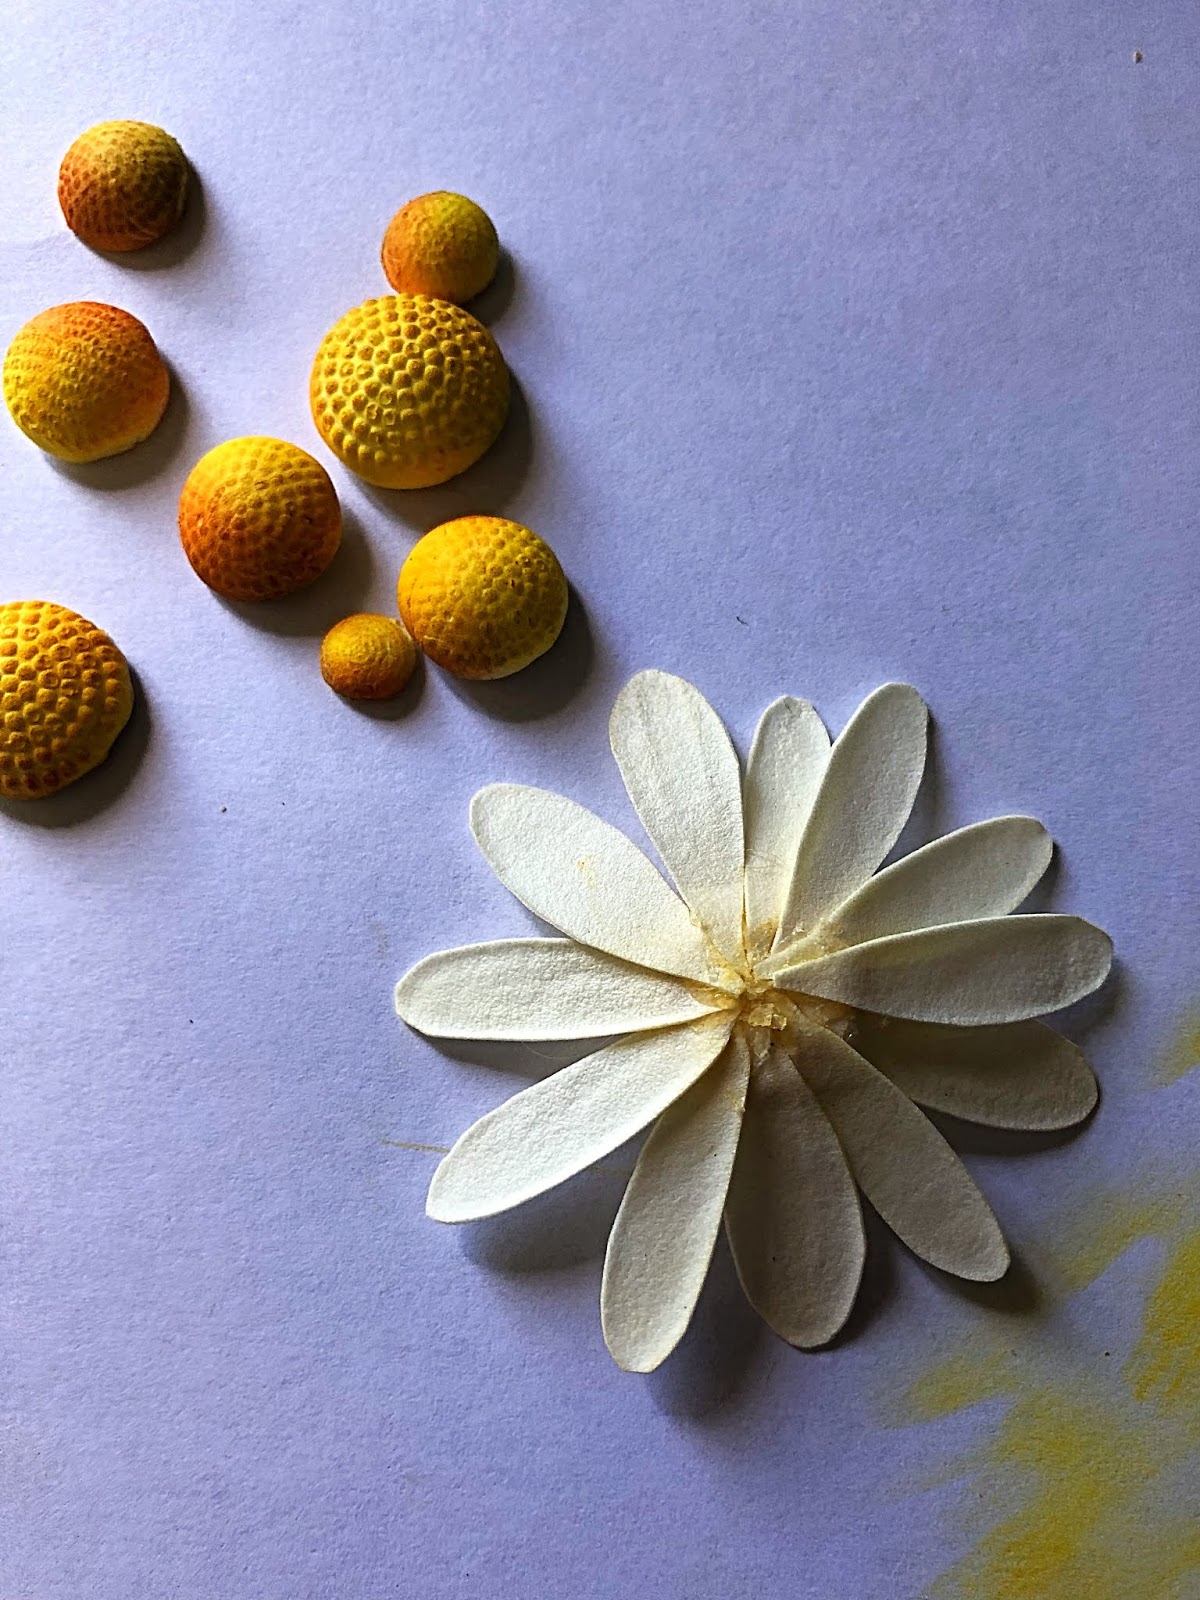
You should have the imprint like this:


Repeat the process and cut 12 small and 12 medium petals.


Colour the bottom part of the petals with yellow oil pastel.

Apply a drop of hot glue on to the edge of the petal and glue it on the reverse side of the daisy centre as shown.


Clue all 12 small petals into the centre consecutively.

Complete the flower by gluing the larger petals overlapping the first layer.


Roll the edges of the petals backward.

Now your flower is ready. You can make lots of similar daisies flowers. My collection is shown below.

Here you can see a floral hair comb which I've made featuring some of my daisies, green leaves and a hot pink rose.

I do hope you like and have enjoyed this tutorial.
Have an amazing crafty week!
Hugs!
Elena xxx
The products used can be ordered in the Noor! Design U.K. webshop:
Mooie uitleg met prachtig resultaat.....bedankt!
ReplyDeleteGroetjes Diny
love this but I so cant get my foam to work with my iron but have enjoyed playing with it this last week as i have a new card featuring it on my blog today
ReplyDeleteFantastic result.
ReplyDelete